The art of growing and propagating plants enables you to reduce costs and is a smart step toward being a self-reliant and more sustainable gardener. With prices increasing, learning the skills to multiply what you already have is a worthwhile venture.
With cuttings, you don’t need to wait for seeds to germinate, you’re guaranteed identical plants to the parents, and you’ll get stronger, faster-maturing plants because they’ve had a jump start.
Let’s explore four main types of cuttings and the techniques you can use to multiply your plants.
The Difference Between Cutting Types
The type of cutting and the way to propagate is based on what part of the plant is used, what type of plant, and the season you’re taking the cutting.
Hardwood Cuttings
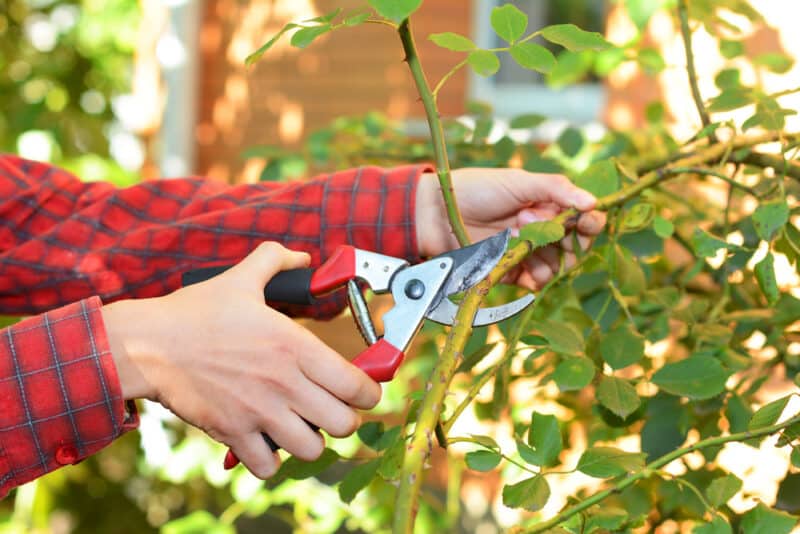
These are taken from deciduous and evergreen hardwood trees and shrubs. Take the cuttings from a dormant plant in late fall to early spring, except when the wood is frozen. Take the material from the more mature wood of the plant rather than the green parts.
Hardwood cuttings are suitable for plants such as pines (Pinus spp.), oaks (Quercus spp.) hardy fuchsias (Fuchsia spp.), figs (Ficus spp.), poplars (Populus spp.), gooseberries (Ribes uva-crispa), rambling roses (Rosa spp.), currants (Ribes rubrum), and jasmine (Jasminum spp.).
Semi-Hardwood Cuttings
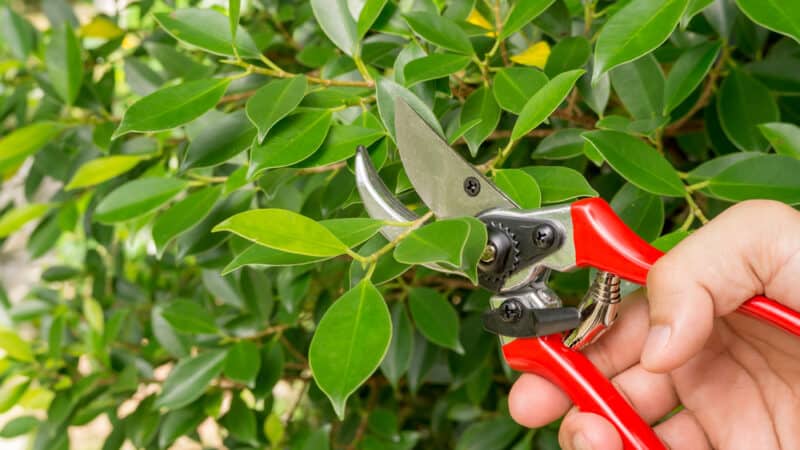
Also referred to as semi-ripe cutting, this type is taken from semi-green stems in the mid to late part of their growing season. They aren’t brand-new shoots, nor are they fully matured.
Usually, these types are taken from late summer to early fall, but it depends on what species you’re cutting and where you live.
This type works for:
- Salvias (Salvia spp.)
- Rosemary (Salvia rosmarinus)
- Bay (Laurus nobilis),
- Lavender (Lavandula spp.)
- Thyme (Thymus vulgaris)
- Sage (Salvia officinalis)
- Hyssop (Hyssopus officinalis)
- Ivy (Hedera spp.)
- Rhododendron (Rhododendron spp.)
- Passionflower (Passiflora spp.)
- Honeysuckle (Lonicera spp.)
- Witch hazel (Hamamelis spp.)
- Larch (Larix spp.)
- Elm (Ulmus spp.)
- Laurel, both cherry (Prunus laurocerasus) or Portuguese (P. lusitanica)
- Privet (Ligustrum spp.)
- Boxwood (Buxus spp.)
- Camellia (Camellia spp.)
- Hardy fuchsias (Fuchsia spp.)
- Viburnum (Viburnum spp.)
Softwood Cuttings
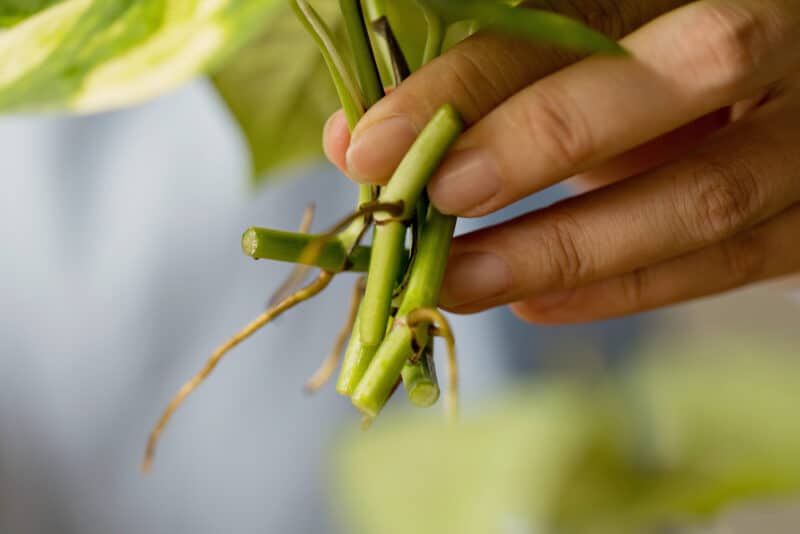
This type is taken on the current year’s growth from the young stems of hardy or tender perennials, usually in spring to early summer.
This technique best suits plants such as clematis (Clematis spp.), aster (Aster spp.), fuchsias (Fuchsia spp.), hydrangea (Hydrangea spp.), verbena (Verbena spp.), magnolia (Magnolia spp.), and roses (Rosa spp.).
Herbaceous Cuttings
This type of cutting is taken from a plant with no wood growth. Being more tender, they’re typically taken from spring to summer. Ideal for plants such as dahlias (Dahlia spp.), impatiens (Impatiens spp.), coleus (Coleus spp.), poinsettias (Euphorbia pulcherrima), and chrysanthemums (Chrysanthemum spp.).
How to Prepare to Take Cuttings
There are some fundamental tools and products you will need to take cuttings. Get these set up before you start propagation. Here is a quick list to get you prepared:
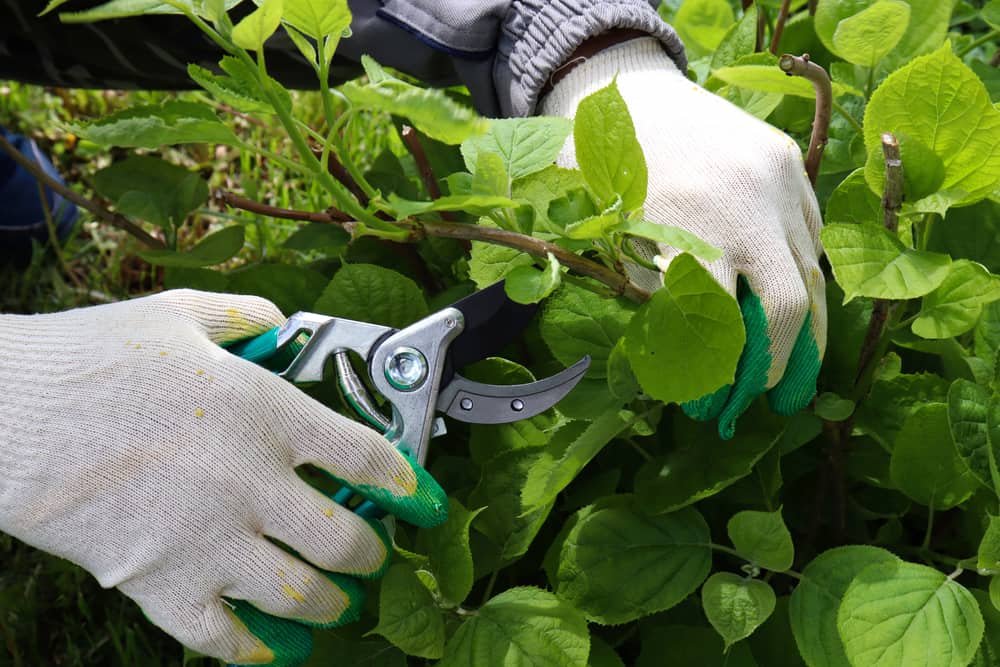
- Pruning shears, kitchen scissors, or a knife. Any scissor-type tool can be used if it’s sharp enough to cut through the plant stem cleanly and efficiently.
- Rubbing alcohol, detergent, or warm, soapy water. This is to remove any residual dirt from the tools. Previous gardening activities could risk spreading disease.
- A container. The cuttings need to be protected against drying out and damage before processing. Hardwood and semi-hardwood cuttings benefit from a cup of warm water. A plastic bag or bowl will help keep moisture in softwood and herbaceous cuttings.
- Plant pots. With all types of cuttings, consideration needs to be made to the length of time the cuttings need to develop, root systems, climate and time of year, future division, and replanting of cuttings. The pot must be free draining.
- Growing medium. This should be soilless, free draining, and loose in consistency: perlite, vermiculite, sand, soilless potting mix, or a combination of peat moss.
- A rooting hormone. There are various types of gel and powdered rooting hormones on the market. Check that the one you will use fits the kind of plant and cutting you take.
- Cloth. Have a clean cloth to dry the cutting ends before using the rooting hormone.
- Labels and pen. It’s essential to label the cuttings if you take them from different plants.
- Trowel, dibber or finger. To situate the cutting into the right place with minimal disruption of the rooting hormone, make a hole in the growing medium.
- Spray bottle. This is to keep the growing medium moist if you keep them undercover.
How to Propagate Plants Through Cuttings
All cuttings can be done similarly, but there are specifics to know about each type.
Within the types of cuttings, the steps can vary depending on the species you’re working with. For instance, you might take a longer hardwood cutting off a fig than you would from a fuchsia.
You can grow pine cuttings outdoors year-round, but fuchsia cuttings need to be kept indoors during cold weather.
Dahlia tuber cuttings don’t need growth hormone, but hardwood trees do.
Always start with cleaning the tools you’ll use. Here are the general steps:
Hardwood Cuttings
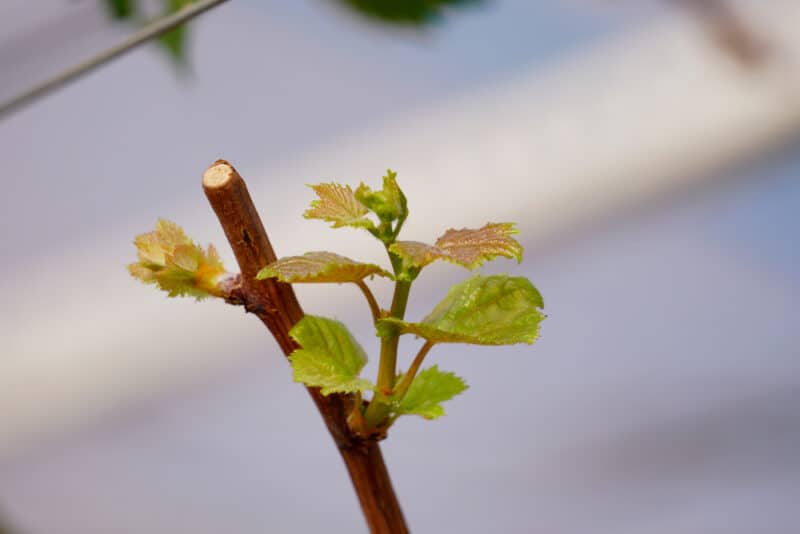
- Take cuttings early in the morning, but avoid times of heavy frost, freezing temperatures, or snow.
- Cut off a stem section about six inches long and a half-inch in diameter. Cut at a 45° angle and under a leaf node. Remove all but the top two or three leaves.
- Dry off the ends of the cuttings and dip each into the rooting hormone.
- Place a cutting into the growing medium, about two inches deep. Make a hole with the dibber, a pencil, or your finger.
- Place the pot in a greenhouse, on a windowsill, or in a shaded and protected area. Keep the medium moist and monitor for drying out or rot. Remember to label them, as it will take a year before they are ready for transplanting.
Semi Hardwood (Semi-Ripe) Cuttings
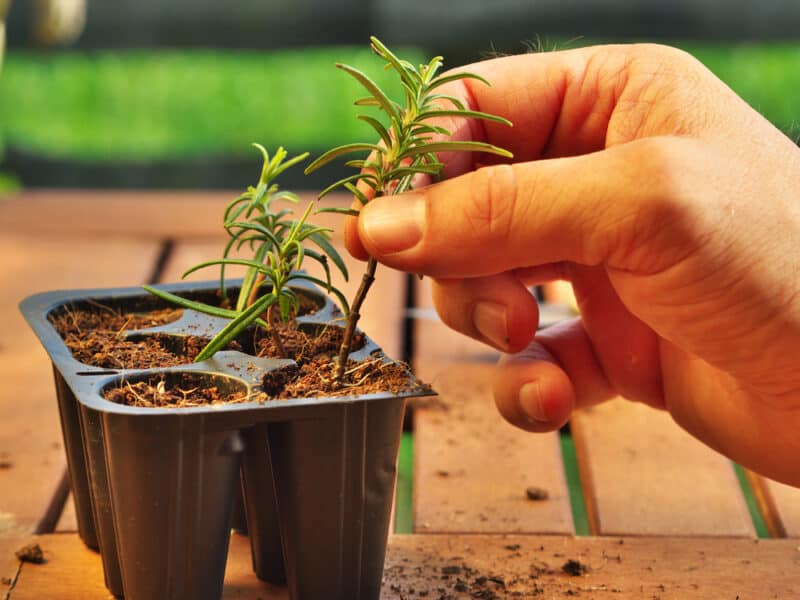
- Snip a three-inch cutting after a junction and below a leaf node. If you take numerous cuttings at once, collect them in a plastic bag to maintain their moisture.
- Remove the leaves on the lower third of the cutting to form part of the stem and roots.
- Dip each end in the rooting hormone and place it in the prepared pots. Secure by firmly patting the growing medium around the cutting stem.
- Place cuttings in a greenhouse, cold frame, or protected area with bright but indirect light. Protect them from frost if you place them outdoors.
Softwood Cuttings
- Take cuttings in the warmer seasons and protect them from strong sunlight and heat. Plant out when roots form and after hardening off.
- Take a five-inch cutting with at least one leaf bud and a few leaves. Take cuttings early in the morning for a good supply of sap.
- Wound the end of the cutting by smashing or roughing up the base to assist in root formation.
- Dip into the rooting hormone.
- Place each cutting in the pre-prepared pots filled with soilless potting medium.
- Put the containers where there is good airflow. Softwood cuttings are tender, and moisture needs to be maintained.
Herbaceous Cuttings
- Select five inches of new growth to grow new plants, snipping below a leaf node at an angle. Place cuttings in a plastic bag or bowl containing water to maintain moisture while preparing them for potting up. Do this in the morning before the day’s heat, as these are delicate cuttings.
- Snip the top foliage off slightly to shock the cutting into producing roots. Rooting hormone is not necessary with these cuttings, depending upon the plant.
- If taking numerous cuttings of the same plants, use a plug tray. Ensure all the cuttings are the same length to make the tray easier to handle. Place sand on the growing medium surface to firm up the cuttings and improve hygiene.
- Keep moist but not over-watered. Heat mats assist with speeding up root growth. Re-pot and pinch the cuttings to promote fuller plants and more growth before planting. Protect from poor weather conditions and harden off before planting in the garden.
Problems When Taking Cuttings
A cutting that is too long risks poor root generation as the cutting will put all its energy into supporting the top and not into growing beneath the soil. The same applies to a cutting with too many leaves.
Long or leafy cuttings dry out or rot before growth is achieved, resulting in a weak, stringy plant that is less productive in the garden.
Keep the medium moist to avoid drying out, but don’t over-water, or the cutting will rot.
Leaves on cuttings are at risk of pests such as thrips, spider mites, aphids, and whiteflies. Foliar diseases can creep in, namely wilt, powdery mildew, grey mold (Botrytis), and damping off.
These will need to be dealt with quickly as they threaten the growth of the new plants. Maintain good airflow and isolate infected plants.
Hardening off the plants before planting them in the ground assists new plants in regulating themselves.
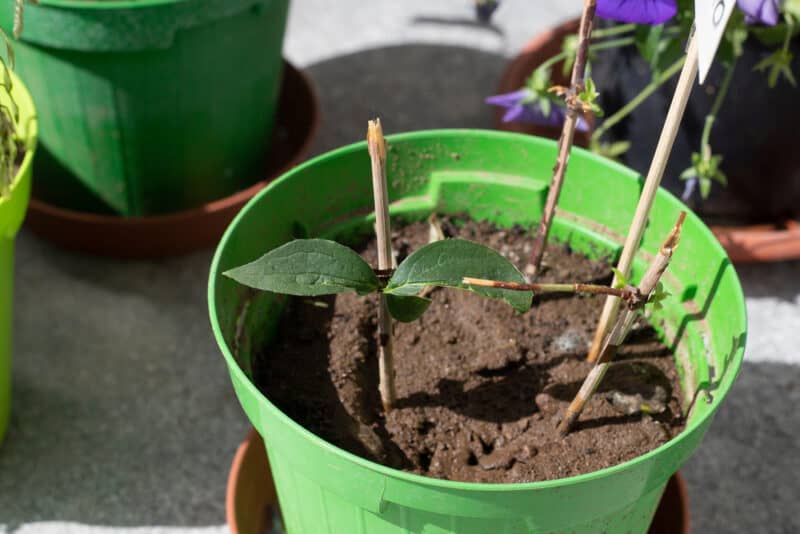
It takes time, so be patient. Softwood and herbaceous cuttings are quicker and more reliable, but timing depends on the season you take them and your year’s planting plan.
Consider repotting once the roots have developed significantly if there’s a delay in planting due to weather conditions. All cuttings must be protected from heavy rainfalls, frost, snow, and freezing conditions when they’re young.
Maintain moisture of your growing medium, and supply adequate shade and airflow if you propagate in the hotter months.
