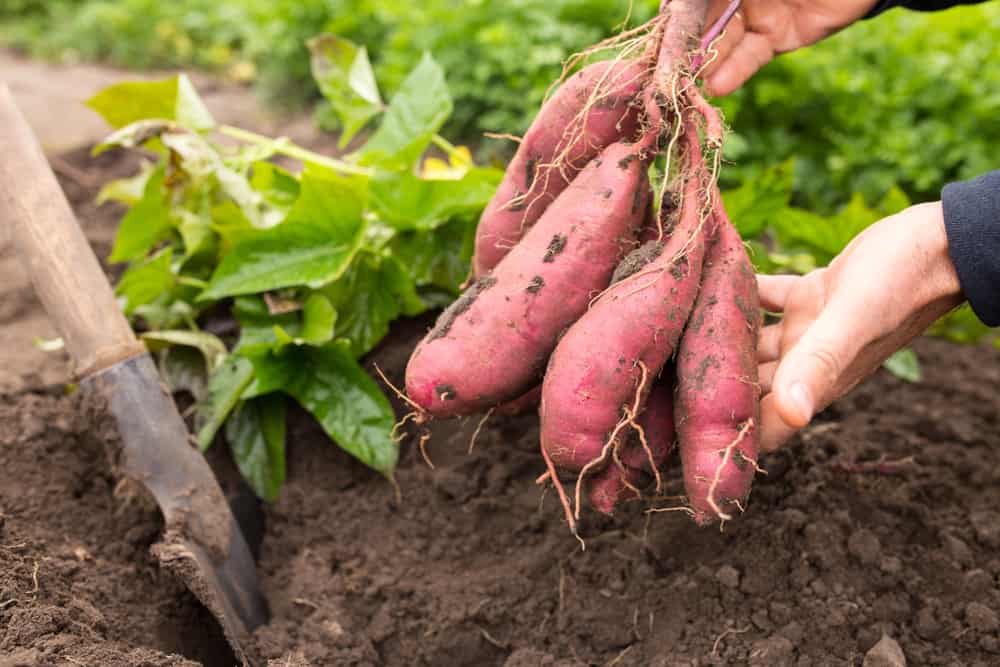
Sweet potatoes are some of the most versatile, nutrient-dense vegetables you can grow. They multiply quickly in the right environment and are quite low-maintenance. They can adapt to a wide range of climates. Of course, even low-maintenance species still have issues. Below are some of the most common problems growing sweet potatoes, and how to sort them out.
Remember, a little preparation goes a long way. Rotate your crops, clean your tools, and buy certified disease-free slips. If you still run into trouble, this guide can help.

Problems to Watch Out For
While it may seem that there are a lot of problems growing sweet potatoes, chances are you’ll only encounter one or two of them a year. Check your plants daily to catch issues before they become a big calamity, and enjoy the harvest!
Additionally, remember that sweet potato leaves are edible too: sautee some of them like spinach and enjoy them alongside their terrific tubers.
1. Transplanted Slips Wither and Die
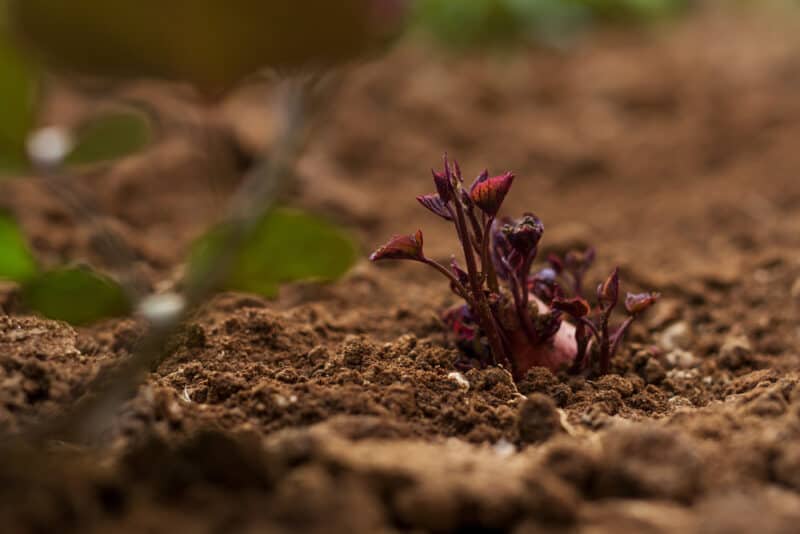
This could either be a soil or water issue. Sweet potatoes tend to fare badly in alkaline soil, so make sure they’ve been planted in soil that has a pH between 5.5 and 6.5. They do best in sandy or clay loam that’s well-draining.
Alternatively, your slips might be aching for water. Slips need to be kept consistently moist throughout the rooting period. If they don’t get enough water, they pitch a fit and die really quickly. Pre-soak the soil before planting, and keep the slips really damp before transplanting them. Then water them regularly until they’re well established.
2. Slips are Alive, but Not Producing Vines
You may not have planted them correctly. Choose slips that are strong and meaty, not frail and pathetic looking. You might have felt sorry for them at the nursery and wanted to give them a new home, but they’re going to fail on you.
Choose strong, healthy slips and bury them right up to their top leaves in a good, sunny spot. Water them well, and watch them thrive.
3. Stems Wilt and Fall Over
Sweet potatoes can be prone to Fusarium or Verticillium wilt. These are soil-borne pathogens that can affect a wide range of different plant species.
Rotate crops regularly, and be sure to deep till and solarize the soil between plantings. If you can find disease-resistant slips at the nursery or garden center, they’ll be much more likely to survive if they encounter this issue.
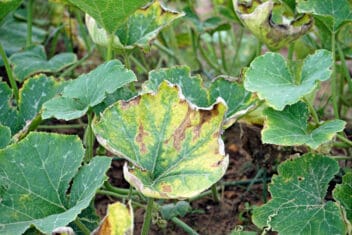
4. Leaves Are Spotted and Fall Off Easily
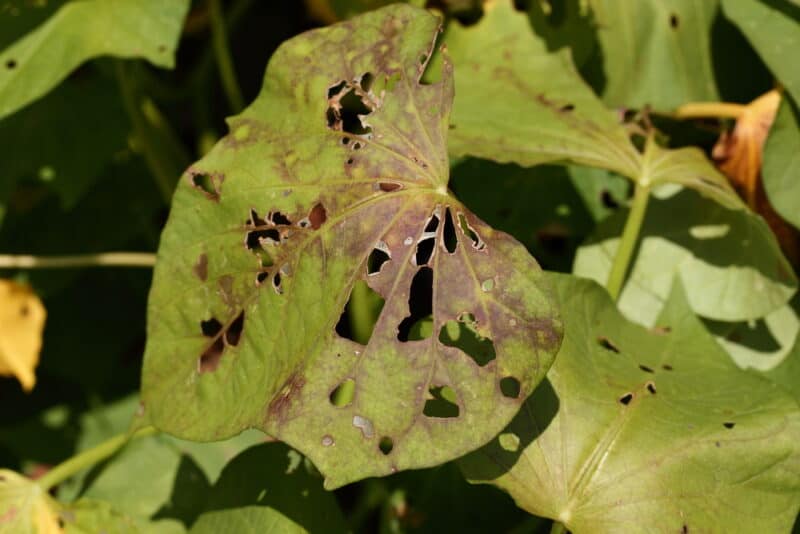
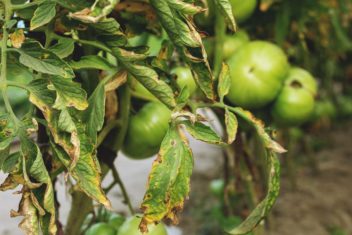
You might be dealing with Alternaria leaf spot, here. This is another fungus that attacks a wide range of plants, and it can’t be cured. If you spot the issue early, you can pull up and burn affected plants so it doesn’t spread.
Remove any detritus on the soil around your plants, and cut back unnecessary foliage to allow sunshine to penetrate to the soil level. Buy resistant varieties in the future, and consider treating the area with a natural fungicide to reduce fungal spore levels.
5. Tubers are Covered in Black Spots
This is known as “black rot,” and is a soil-borne pathogen (Ceratocystis fimbriata) that’s partial to potatoes. Your best bet to avoid it is to rotate your crops regularly, and don’t plant tubers in that area for at least four years. Do a deep till so sunshine can get down into the soil and kill off spores.
If you find that you have to deal with this issue again in the future, you may need to treat the area with a fungicide.
6. Roots Have Black Blotches on the Surface
If there are black areas on the potatoes’ surface that scrub off easily, you might be dealing with scurf. Once again, it’s a fungal disease (caused by Monilochaeles infuscans) that loves tubers, but this one favors warm soil rather than cool, damp earth.
It’s a superficial issue, so you can just scrub it off the tubers with a bristle brush and some apple cider vinegar before cooking, and it won’t affect you at all.
7. Sweet Potatoes are Tiny
Remember how we said that these tubers love water? Well, you can have too much of a good thing. One of the main problems growing sweet potatoes arises when people water a bit too enthusiastically. Too much water will result in dwarfed tubers.
Your best bet is to water evenly and consistently throughout the growing season. If you can’t dedicate yourself to a specific watering time every day, set up a drip hose on a timer to take care of it for you.
8. Tubers are Misshapen
This can happen if there are larger stones or gravelly bits in the soil. Basically what happens is the tuber comes across a barrier as it develops, and either arches itself to grow around it, or splits. You’ll end up with weirdly shaped roots instead of the thick, healthy ones you were hoping to fill with chili and guacamole.
As far as problems growing sweet potatoes go, this is a fairly common one. You can avoid it by really turning over and raking your soil to at least one foot deep before planting. Remove any stones larger than the size of a pea, and you should be good to go.
9. Roots are Elongated and Spindly, Inner Flesh is “Stringy”
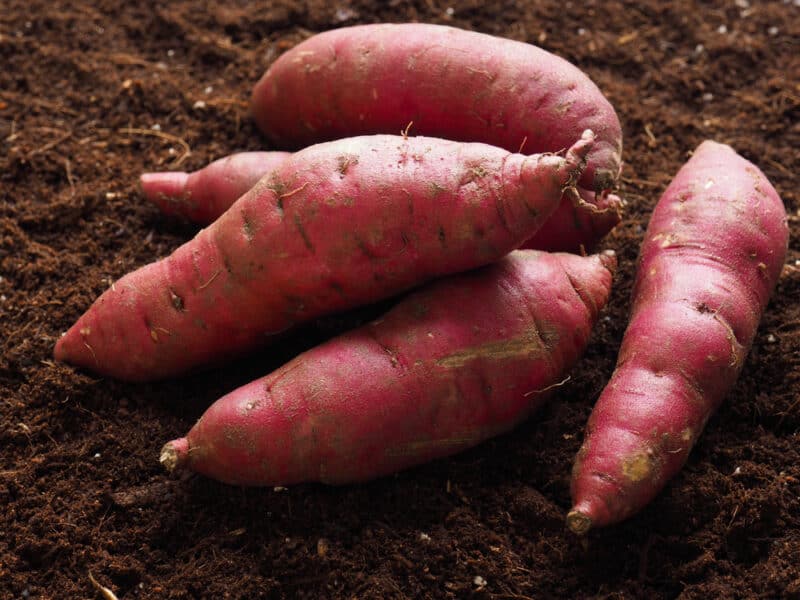
There’s probably too much clay in your soil, and it’s retaining more water than your tubers can handle. Check your soil down to two feet deep when planting sweet potatoes. If you find that there’s a surplus of clay, work in plenty of aged compost, as well as sand and other aerating matter.
10. The Tubers Aren’t Sweet (or Taste “Off”)
This often happens if the tubers are left in the soil for too long, especially in colder climates. You need to harvest sweet potatoes before the soil temperature dips below 55°F. Research the first frost date in your area and aim to harvest two weeks before then.
11. Hard Cork-Like Bits in the Tubers (Even After Cooking)
If you come across these hardened pieces, you might be dealing with internal cork (Sweet potato feathery mottle virus). It’s a viral condition transmitted by aphids and causes hard chunks to form inside the tubers.
Buy resistant slips next season instead of using sweet potatoes from this year’s harvest to plant the next batch. Then take steps to reduce the aphid population, such as introducing ladybugs and scattering diatomaceous earth around the area.
12. Tubers are Full of Holes
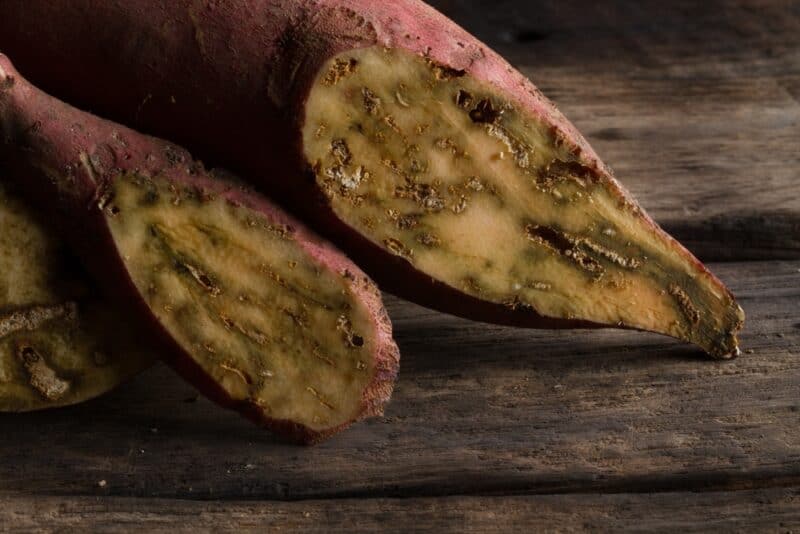
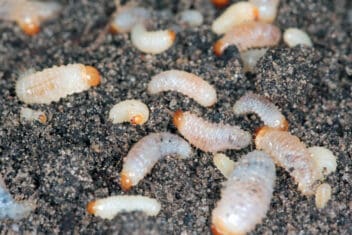
The most likely interloper is the sweet potato weevil (Cylas formicarius). Yes, pretty much every plant on Earth has an insect that specifically likes to devour it. The weevil grubs develop from surface-laid eggs, and they’ll gravitate towards any roots they find. You can fend them off by mounting soil high up your plant stems so they can’t get to any roots.
Additionally, diatomaceous earth will take care of them quickly. Scatter it liberally around your plants and it should kill off their numbers significantly.
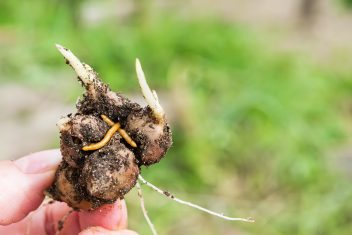
If you discover that the holes are being made by wireworms instead, then you’ll have to take a different route. While diatomaceous earth will also affect them, your best bet is to pre-treat the soil before your next planting. They can’t survive in water, so just flood the entire area well to drown them. Then give that area several days to drain out before you turn the soil and plant your slips.
13. Sweet Potatoes Rot in Storage
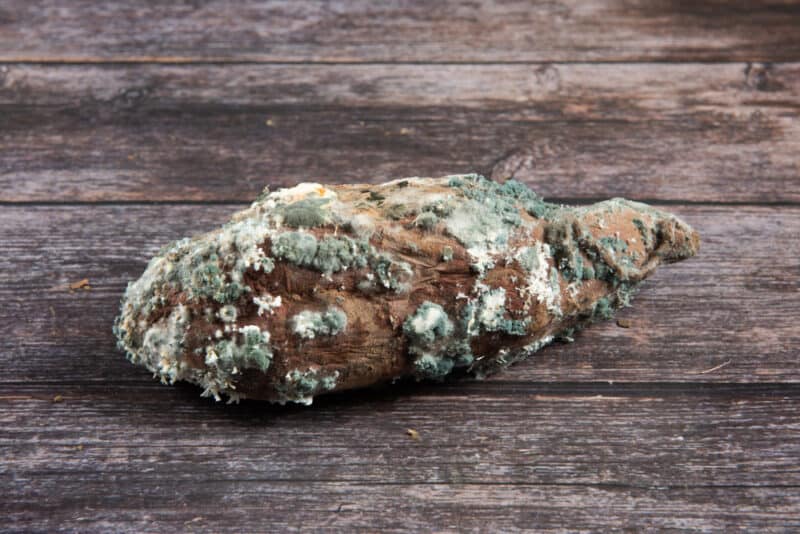
You may have noticed that sweet potato skin is quite thin and delicate. As a result, raw tubers can develop bacterial issues and rot if they aren’t stored correctly. Check out our article on how to cure sweet potatoes before putting them up for winter. By taking this extra step, your tubers are more likely to last well in long-term storage.
Should you find that you keep having storage issues, even after curing, then consider using a different storage method. For example, you can dice, blanch, and freeze your tubers instead. Pressure canning is also an option, as is processing these roots into soups and sauces.
