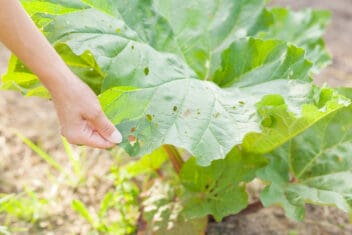
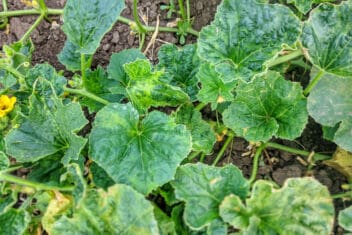
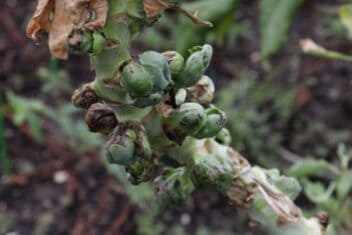
Peas are one of the easiest vegetable plants to grow in your garden, but sometimes, problems arise. That leaves you wondering – why are my peas dying?!
Even though most gardeners find that peas are easy to grow, don’t feel bad if things start looking bad.
It’s not uncommon for pea plants to wilt or turn yellow. The first thing you have to do is figure out what the problem might be and then find out how to fix it. This guide will help.
The Most Common Reasons Why Your Peas Are Dying
In many cases, if your peas are dying, it’s due to a disease. Many different diseases infect pea plants. Here are the ones that are most likely to cause your pea plant to start dying.
1. Fusarium Wilt
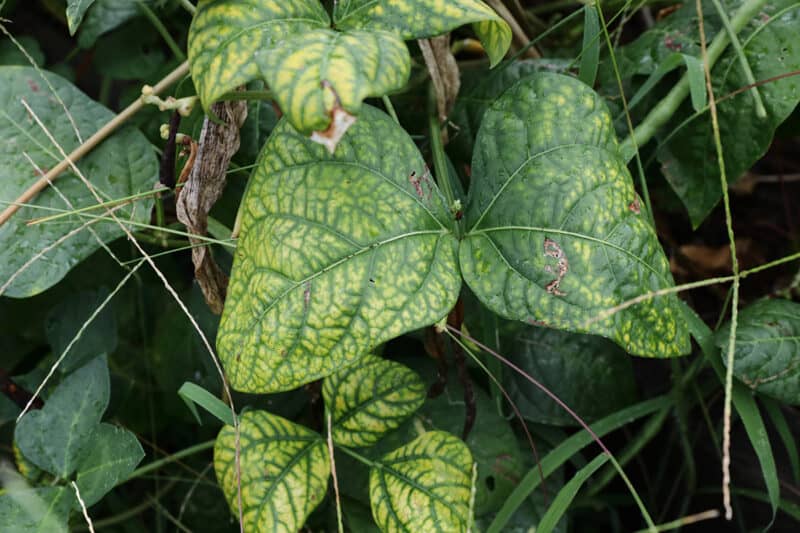
The most common disease that bothers pea plants is fusarium wilt. It typically infects tomato plants, but your peas are also a likely target. Signs of a fusarium wilt infection include:
- Stunted growth
- Yellowing leaves
- Wilting foliage
This fungal disease enters your plant through the root system. Unfortunately, the only ‘treatment’ requires removing and destroying all affected plants. Practicing crop rotation reduces the risk of infecting future pea plants.
If you encounter fusarium wilt, be sure to grow a variety of peas the following year that are resistant. The seed packet will have a capital ‘F’ on the packaging.
2. Root Rot
Root rot is a fungal disease that strikes pea plants, transmitting through the soil, wind, water, and spores. Signs of root rot include:
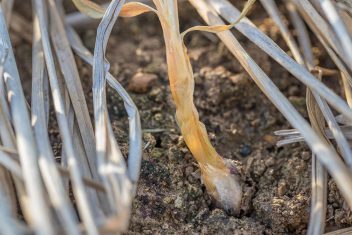
- Plants turn yellow at the base.
- Gradually, the stems start to wither.
- Plants eventually die from root rot.
The problem with root rot is that it lives in the infected soil over the winter, infecting new plants in the next season. There is no treatment for root rot. All you can do is remove and destroy the infected plants.
The best thing that gardeners can do is to take measures to prevent root rot.
Ensure the soil is well-draining, and avoid over-watering because it increases the risk of this fungal disease. Space each plant the appropriate distance apart to leave room for air circulation.
3. Downy Mildew
One of the easiest plant diseases to identify is downy mildew. Signs of downy mildew include:
- Yellowed areas
- Gray powder that looks like mold on the underside of the leaves
- Dark spots on seed pods
You can take several steps to prevent this disease and treat it once it attacks, so check out our guide to this disease.
After downy mildew finds your garden, it’s essential to rotate crops for at least four years. Make sure to remove garden debris because the spores live on the debris. You also might want to source resistant seeds.
The most important step to get rid of this fungus and avoid problems in the future is to space plants for air circulation. Downy mildew thrives in areas where plants are close together because there’s humidity.
4. Ascochyta Blight
Ascochyta blight is a fungal disease that spreads in the winter through plant debris or infected soil. In the spring, infected soil spreads the spores through the rain and wind.
Signs of ascochyta blight include:
- Plants drop their buds
- Blackened areas appear on the stems
- Yellow or brown areas appear on the foliage
Once infected, all plants must be removed from your garden to help manage the spread. Ascochyta blight spreads rapidly through gardens once introduced, and no fungicides treat this disease.
5. Anthracnose
Here is another fungal disease that spreads in high humidity and moisture conditions. The classic signs of anthracnose are:
- Withering leaves
- Dropping leaves
- Plant dying back
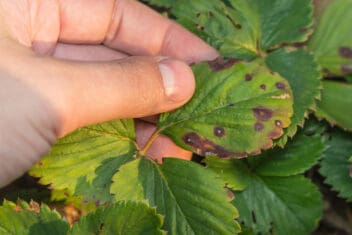
- Round or angular spots on the leaves that are reddish-brown to black.
This fungus is most often found in eastern North America. There are treatments to help reduce the severity and spread. Copper and sulfur-based fungicides may be applied every 7-10 days; they’re an effective option.
Heavily infected plants must be removed and destroyed to stop the spread.
6. Powdery Mildew
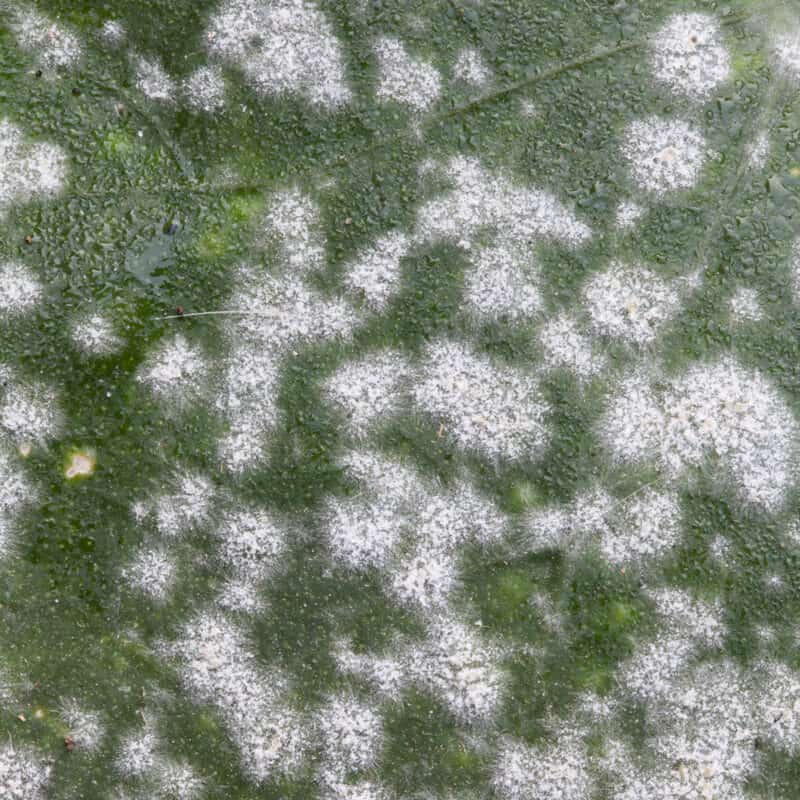
This fungal disease is similar to downy mildew; they look similar at times. The biggest difference is that powdery mildew spreads on dry leaves when the humidity is high. Powdery mildew doesn’t spread or germinate in wet conditions.
Signs of powdery mildew include:
- White powdery spots on leaves
- White coating that covers the leaves, stems, and pods
Powdery mildew is most common in late summer or fall, but it rarely causes the death of your plants. The best thing to do is remove the infected leaves and branches.
In the future, make sure to rotate crops to reduce the risk of the spores germinating on your plants. Keep water off of the foliage as much as possible, and destroy the plants and their debris after harvesting. Leaving them lying around gives the spores a habitat to grow.
7. Mosaic Virus
This viral disease has no cure, and it’s spread from plant to plant by aphids and leafhoppers. If those live in your garden, mosaic virus is a possibility.
The signs of mosaic virus include:
- Mottled light and dark green pattern on the leaves
- Distorted leaves
- Brittle leaves
- Stunted growth.
The best thing for gardeners to do is to remove the diseased plants. In the following years, be sure to plant resistant varieties and remove all broadleaf weeds that might host the virus.
Even when plants have mosaic virus, some may still produce edible fruits, but the yield will be drastically reduced. Many of the signs make it look like your peas are dying, but that doesn’t happen in all cases.
How to Save Your Dying Pea Plants
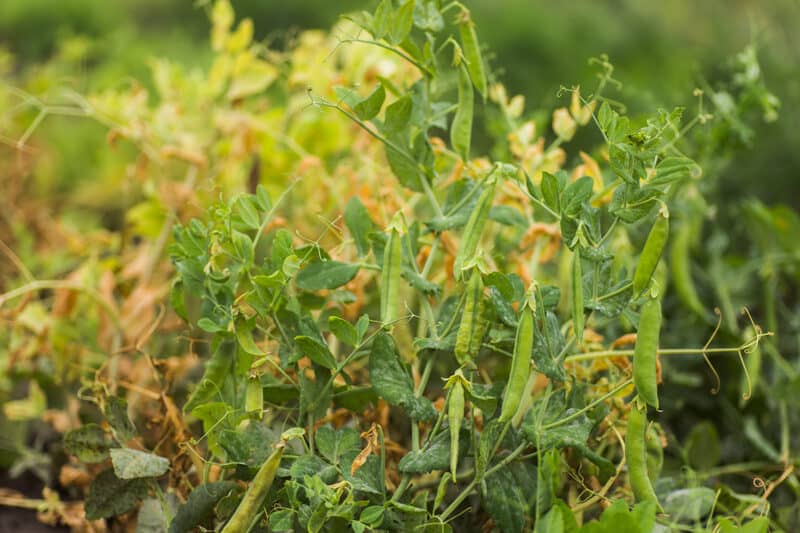
If your plants don’t have any common diseases, it could be an environmental issue that is causing your dying peas. That could mean water issues, nutrient problems, or crowding.
Here are some tips to help revive wilting and dying pea plants.
8. Provide More or Less Water
Watering – under and overwatering – is the number one environmental reason for dying pea plants. All plants require a delicate balance of water to survive. Too much water leads to root rot and other fungal diseases. Too little water causes your plants to wilt and die.
Start by checking your soil moisture level with your finger. If it’s dry two inches down, it’s time to water. Wet soil two inches down doesn’t need to be watered.
If your plants are yellowing due to water stress, understand that yellow leaves will not turn back to green; they’re yellow to stay. You’ll know that your new watering routine works when the yellowing no longer progresses.
9. Add Potassium
The two most important nutrients that peas need are phosphorus and potassium. You cannot add extra phosphorus to the soil after your plants are growing, but it’s possible to use a potassium fertilizer to give your pea plants a boost.
Make sure you add compost or composted manure to your garden before planting your peas. Side dressing your peas with compost is helpful, and consider adding wood ash or mined rock powders to boost potassium.
10. Remove a Few Plants
If your plants are too closely planted together, consider cutting a few down with a pair of sterilized gardening scissors. Doing this might seem counterintuitive; reducing the number of plants will reduce your yield, right?
No!
Healthy plants produce a higher yield, and plants need proper air circulation to avoid fungal diseases. Open up the area around your plants!
How to Keep Pea Plants Healthy
A majority of the serious pea plant disease are fungal, which means that proper management reduces the chances of your plants contracting them.
Here are some tips for keeping your pea plants healthy and disease-free.
- Plant disease-resistant seeds to start your garden off on the right foot.
- Always ensure your garden has well-draining soil. Peas grow best in raised beds because the soil rarely becomes waterlogged.
- Follow proper spacing for your plants and seeds to increase air circulation. It’s best to have plants spaced too far apart than too close together—fungal diseases like plants that are in close proximity.
- Spread mulch around your plants to stop rain from spreading spores on your plant. Mulch also helps to retain soil moisture.
- Remove and dispose of all plant debris, especially any infected plants. Many diseases live on plant debris for up to a year, so taking the debris out will reduce the chances of it living and spreading in the following year.
- Rotate your crops. Make sure to avoid planting legumes in the same area three years in a row.
- Clean your tools often. Ideally, you would clean your garden tools after working with each type of plant, but that might be hard when you have a large garden. However, be sure to sanitize them after each use.
When you start wondering – why are my peas dying – you quickly find out there are several reasons that your plants might have problems. Go through the symptoms of your plants to find what matches the best and use these tips to keep your other pea plants healthy.
