Radishes are some of the easiest, quickest crops you can possibly grow. That said, if you’re having problems growing radishes it doesn’t mean that you’re an incompetent gardener and should pursue basket weaving or accounting instead. There are a number of different factors that can determine whether your radishes will flourish or flounder.
Let’s take a look at some of the most common issues and how you can sort them out.

17 Problems That Can Ruin Your Radish Crop
Whether you’ve had problems growing radishes in the past or you’ll be growing them for the first time this year, this guide should help you figure out most of the issues you may face. Remember to work the soil well, amend it as best you can, and water regularly.
Rotate your crops often, keep them well-spaced, and water at the soil level rather than on the leaves. These practices will help prevent most problems. With just a bit of effort, you’ll be rewarded with armfuls of glorious, spicy goodness to enjoy.
1. Stunted or Small Roots
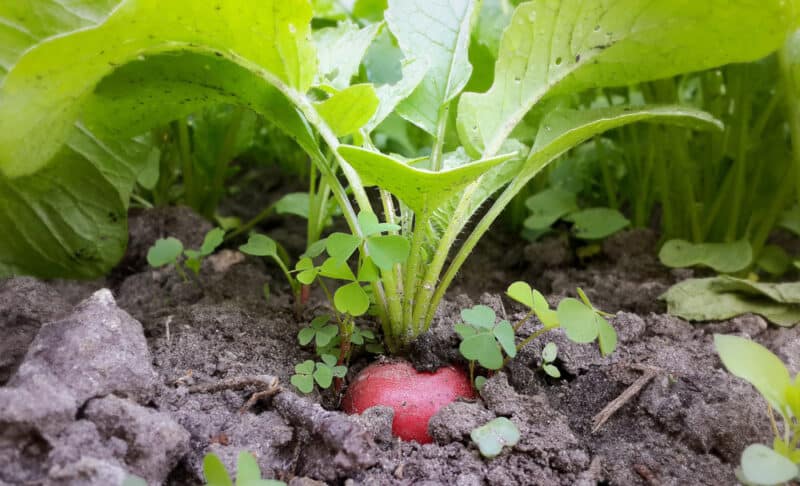
Radishes do best in loose, loamy, well-draining soil that has lots of aged compost and sand worked into it. If it’s too clay-rich or doesn’t have enough aerating material, then the soil can compact.
As you might imagine, compacted soil is less than ideal for root bulbs to develop. They’ll feel constricted, and will be stunted significantly if they develop at all. I had to amend my soil like crazy so roots could develop in it.
Make sure the soil’s pH is around 5.8-6.8, and add more aged compost to the soil before planting than you think you’ll need. In addition to sand, you can work some perlite in there for extra aeration. Aim to work the soil to fluffy tilth that’s at least 12″ deep. This should provide your roots with plenty of space to develop unimpeded.
2. Failure to Germinate
These vegetable seeds are partially light-dependent to germinate. As a result, you might experience seed germination failure if you’ve planted them too deeply.
As radish problems go, it’s an easy one to fix. To sow, simply rake the soil’s surface and scatter the seeds around. Sprinkle lightly, and then use a hose on its lightest spray setting to dampen the area. Don’t soak the lot or the seeds will float away elsewhere. You’re aiming to moisten the soil, not saturate it.
3. Plants Are Stunted

Radishes need a fair bit of space to stretch out in order to form their bulbs properly. As such, planting them too close together will inhibit their development significantly.
Furthermore, crowding these plants too close together will make them compete for valuable resources like soil nutrients and water. For small varieties like ‘Cherrybelles’ or ‘Hailstones,’ aim to sow the seeds 2 inches apart, in rows spaced 10-2 inches.
Larger varieties like daikon radishes will need more space, of course. If you’re low on growing room, try growing icicle radishes instead of round varieties. They take up significantly less space as they’re elongated, not bulbous.
Then thin seedlings so only the healthiest and strongest are left in the soil. Aim for a gap of 5 inches between developing plants so they have room to stretch. You can use the pulled sprouts in sandwiches or as soup garnishes.
4. Tiny Roots

Okay, so radishes consistently make it onto those amazing lists of food plants you can grow in the shade. The thing is, just because something can stay alive in low light doesn’t mean it’s going to thrive there. The first time I planted a crop of radishes, I made the mistake of planting them in an area that only got sunlight for about two hours a day.
Guess what didn’t develop root bulbs larger than peas? That’s right.
Your radishes need a good six hours of sunshine daily in order to thrive properly. Otherwise, they end up spindly and stunted. You won’t get much vegetative growth, and the bulbs will be shrunken and flavorless.
5. Flowers Forming

Radishes do need several hours of sunshine daily (as mentioned), but they appreciate partial shade during the hottest part of the day.
Additionally, remember that radishes do best in cooler weather. In fact, they’re very prone to bolting in the heat of mid-summer. Aim to grow your radishes as early spring and mid-autumn crops rather than during the hottest part of the year.
You can get the best radish harvests if you plant them at the same time as your peas and lettuces.
Since radishes need a bit of shade to protect them at midday, consider planting them behind your pea and bean trellises. Simply take note of where the shade falls between 11 am and 2 pm, and prepare your radish beds in those areas.
6. Drooping Leaves and Shrunken Stems
Fusarium wilt is a soil-borne pathogen (Fusarium oxysporum f. sp. raphani) that attacks plants’ roots and stem parts below ground level, preventing them from being able to draw in water properly. The lower plant parts will look shrunken and brown, and the aerial plant parts will droop sadly.
Pull up and burn any plants that exhibit signs of this pathogen. Treat the area with an organic fungicide, and only sow wilt-resistant varieties in that area for a few years. Or better yet, avoid future radish problems by rotating crops every few years.
7. Rotting Roots and Wilting Plants

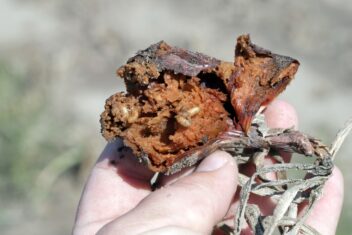
Have you heard of the blackleg disease before? I hadn’t until one of my friends showed me rutabagas that had turned to black slime underground. It’s a fungal infection caused by Leptosphaeria maculans that can (and will) spread throughout the soil around a root crop, rotting the bulbs and spreading up the stems.
Unfortunately, the plants may not show any sign of rot until they’re in really bad shape.
You can prevent blackleg by pre-treating the soil in your planned grow bed with colloidal sulfur, or hot water infused with garlic. Then, after the seeds (or seedlings) have been planted, sifted wood ash can be sprinkled around on top of the nearby soil.
Water regularly with warm water, and feel free to add a bit of organic fungicide to the watering schedule every couple of weeks.
8. Powdery Growth on Leaves
This awful mildew can form during or after a period of intense heat and humidity. Powdery mildew is caused by a pathogen (Erysiphe cruciferarum) that lives in the soil, but you won’t necessarily know it’s there until it makes an appearance and starts causing problems for your radishes. Symptoms include a white, powdery growth on leaves.
You can try to avoid it by keeping your radish leaves pruned so they don’t overlap, or spread out across the soil’s surface. If mildew does show up, however, you’ll need to pull up and burn the plants. Then you’ll need to apply an organic fungicide to the surrounding area so it doesn’t spread to your other crops.
9. Holes in the Leaves

Since radishes are members of the Brassicaceae family along with cabbages, kale, and Brussels sprouts, you can bet that cabbage white butterfly (Pieris rapae) larvae love to munch on these plants too. They go for the leaves and stems rather than the roots, so it’s possible that you’ll still have bulbs to enjoy even if they annihilate the leafy greens
If you don’t have poultry to let loose into the garden, set up some floating row covers. They’ll keep the butterflies at bay so they can’t lay eggs all over your plants.
10. Missing or Holey Leaves
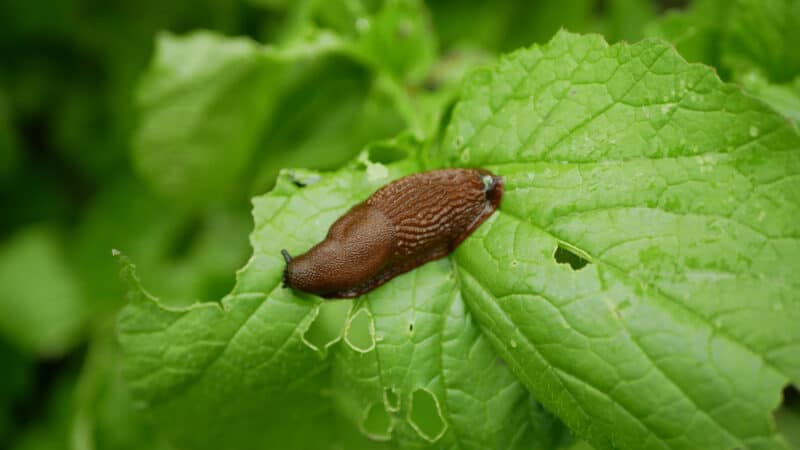
These slimy jerks are immensely fond of devouring radish leaves. If you go out into the garden early in the morning and at dusk, you should be able to pick slugs and snails off your plants by hand. Alternatively, you can encourage ducks and chickens into the garden to eat them, or create beer-based slug traps.
Just don’t use poisonous slug pellets, as they can badly damage local wildlife that preys on snails and slugs. Our guide has more tips for dealing with these common garden foes.
11. Wilting Plants
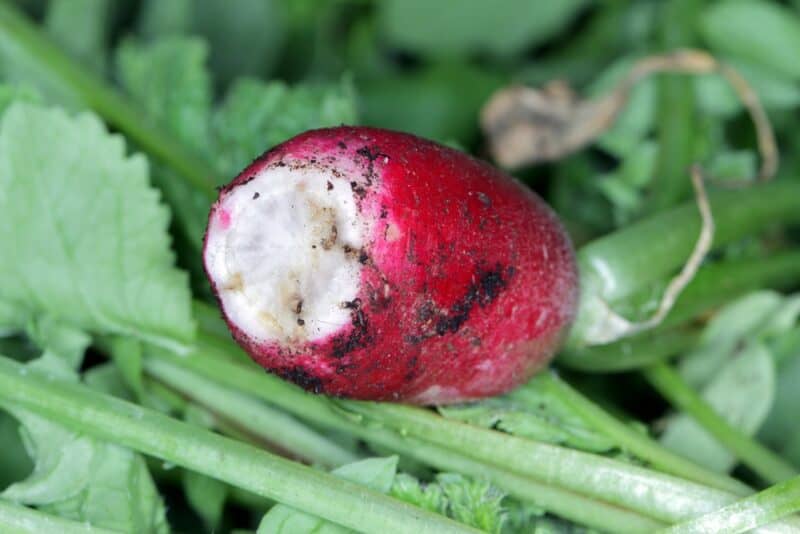
Are your radish plants getting plenty of light and water, but seem to be wilting anyway? Then inspect the roots to see if cabbage maggots (Delia radicum) may be present. These horrible larvae look like squiggling grains of rice and love to burrow down into brassica roots. They’ll render radishes, kohlrabi, rutabaga, and cabbages pretty much inedible by devouring the root core and rotting it out from the inside.
The best way to deter these is to use floating row covers from day one. This way, cabbage flies can’t lay their eggs in the soil near your plants’ stems. Definitely a case of an ounce of prevention being completely worthwhile later.
12. Tiny Shotholes in Leaves

Pest problems when growing radishes are fairly common, and flea beetles are one of the most frequent visitors.
These tiny little beetles swarm brassica plants and leave countless holes in their wake. I lost my entire tatsoi crop to them a couple of summers ago, so I know their havoc well. The best way to deal with them is through preventative measures.
They like to overwinter in dead leaves and debris, so be sure to rake fallen leaves and such out of your garden before winter hits. Then turn over the soil thoroughly in springtime so birds can pick off the larvae. Use floating row covers to keep them out of the garden, and put down little sticky traps if you find evidence that they’re frequenting your brassica beds.
Additionally, parasitic braconid wasps are immensely fond of beetle larvae. Plant yarrow in amongst your radishes to attract them and they’ll help keep populations down. You can also plant mustard as a trap crop nearby to keep the beetles away from your radishes.
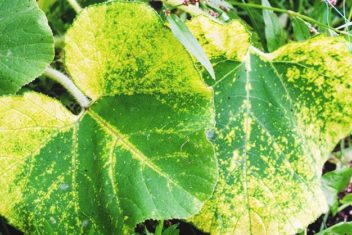
13. Deformed Leaves With Yellow Stippling
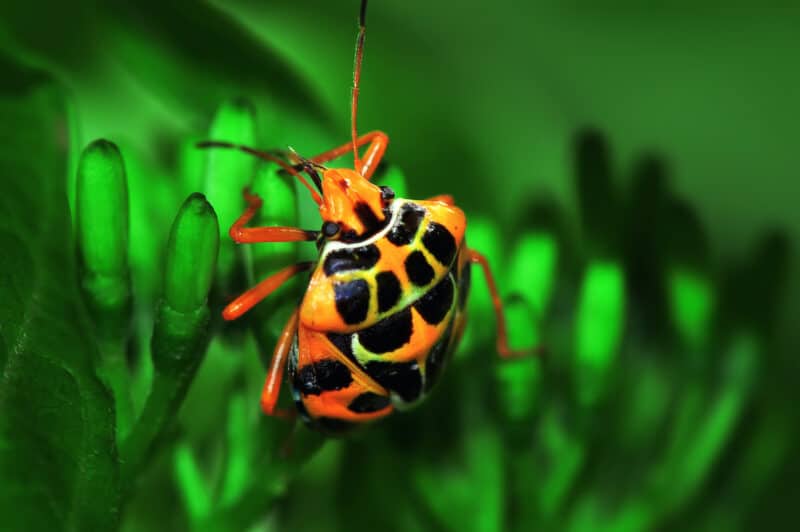
Harlequin bugs can be found throughout North America, and they’re particularly fond of brassica plants. Their life cycle is quite short and swift, and they can wreak havoc on your radish plants practically overnight.
The best way to deal with these insects is to keep the entire garden area well weeded. If there’s any grass around the perimeter, mow it as short as possible. Harlequin bugs breed (and hide) among weeds and tall grasses. By eliminating their breeding and nesting grounds, you reduce their chances of obliterating your crop.
Pick them off your plants if you see them and toss them into a bucket of soapy water. Then inspect your plants to remove their eggs and/or nymphs. To prevent them entirely, keep all your brassicas beneath gauzy floating row covers, or grow them in greenhouses instead.
14. Cracked Bulbs
Have you ever pulled up a radish (or another root vegetable) only to discover that they have deep, gouging splits in them? This is caused by irregular watering and is easy to prevent as far as problems growing radishes go.
Simply make sure that your radish beds get consistent watering throughout the growing season. If you allow the soil to dry out and then water deeply, the radish roots will go through a massive growth spurt; more than their outer flesh and skins can handle. Those cracks are like deep, nasty stretch marks, and can leave the roots open to different diseases, insect predation, and rot.
Aim for regular, gentle waterings rather than irregular deep soaks. One of the easiest ways to do this is to put a sprinkler on a timer so it sorts that out for you daily.
15. Deformed or Forked Roots
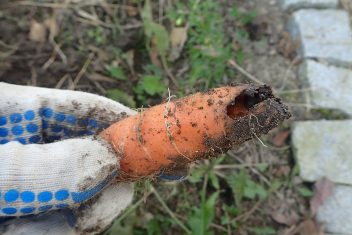
If your radishes are coming out looking forked or weird, then there’s too much heavy grit in the soil. This can include large pebbles or merely bigger chunks of grave. Basically, when the growing root comes into contact with a larger object, it won’t have the strength to push it away. Instead, it’ll adapt to form around the obstacle.
This can result in twisted, forked, or otherwise mangled-looking roots. To avoid this problem, make sure to rake and sift out anything larger than 1/4″ as you’re preparing your soil beds.
16. They’re Too Spicy
When it comes to radish problems, this one is an easy fix.
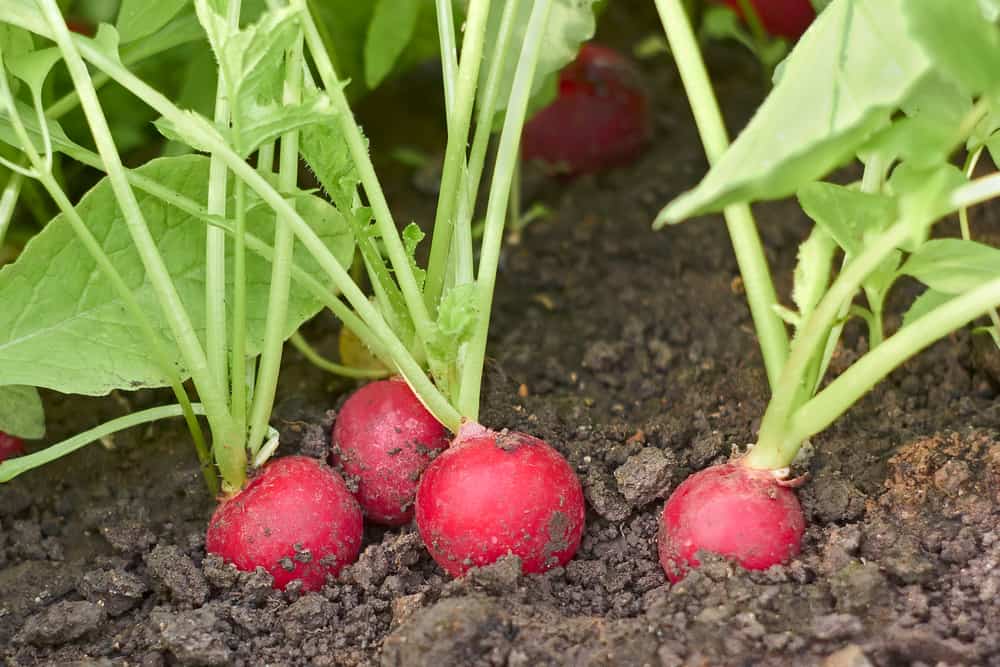
You know how carrots get sweeter the longer they’re left in the soil? Yeah, radishes don’t do that. In fact, they just get woodier and hotter the longer you leave them in the ground. Keep an eye on their development and harvest them as soon as their bulbs start to peek up above soil level.
This way, you’re sure to have sweet, juicy, crunchy radishes instead of mouth-searing pebbles.
17. Plenty of Foliage but No Bulbs
Excess nitrogen in the soil will prompt your plants to develop a lot of leafy growth, but they won’t develop healthy roots or bulbs. You can avoid this issue by testing your soil’s nutrient levels before planting in the spring. Amend with more carbon to balance out the nitrogen levels, and amend with potassium and phosphorous as needed.
If abundant leaf growth is happening mid-growing season and it’s too late to amend the soil for your current plants, that’s okay. Just consider this to be a crop of healthy greens. After all, radish greens are some of the most nutritious leaves you can eat. They’re high in iron, calcium, vitamin C, and phosphorous, and are packed with antioxidants. Try them creamed like spinach, braised like kale, or simply steamed lightly to retain as many nutrients as possible.
Once you’ve harvested this current crop, amend the soil as described and then sow the next batch. Some varieties only need 16 to 20 days to mature, so you’ll have a new batch of radish-y beauties in no time.
