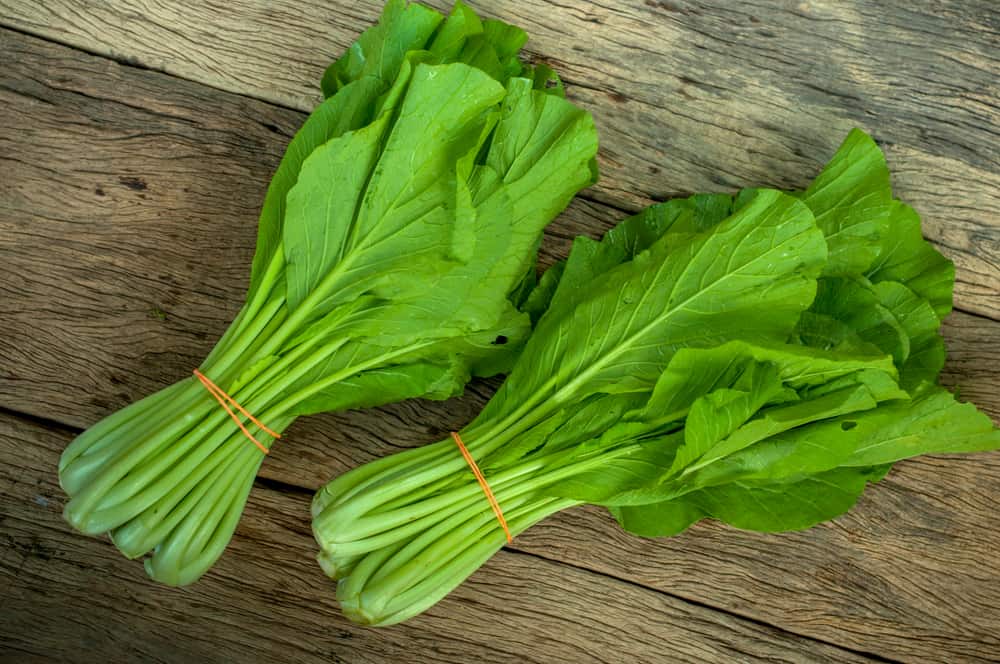
Are you a fan of mustard greens? They’re a staple in Southern cuisine but are also used in a variety of dishes all over the world. They’re exquisite in the Indian dish sarson ka saag—especially spread on warmed roti or naan bread. They’re also fantastic in Ghanaian peanut soup. But growing mustard greens can mean dealing with problems.
Growing your own mustard is usually simple, especially if you live in a cooler climate. They’re hardy cabbage cousins that mature quickly and have few growing issues. That doesn’t mean they never have problems.
Below are some of the issues you may encounter when growing mustard greens in your own garden. You may not encounter any of them, or several may pop up in a single season, but all have fairly simple solutions.

9 Problems to Watch For When Growing Mustard Greens
Mustard greens aren’t to most herbivores’ tastes, so you won’t find deer or rabbits munching on these leaves. That said, certain insects are partial to this vegetable, and it’s also vulnerable to certain fungi, viruses, and bacterial infections.
If you find that you’re dealing with a lot of unwanted insects around your mustard greens, try some companion planting. Members of the mint family—particularly spearmint and catnip—can help to repel cabbage worms. Meanwhile, yarrow, tansy, fennel, dill, and buckwheat help to attract predatory insects like braconid wasps and lacewings.
Once you have some flourishing mustard plants, you can trim the leaves individually or harvest them in one fell swoop. Then explore some spectacular new ways to enjoy these delicious, spicy greens!
To help you find success, here are the most common problems to watch out for.
1. Seeds Aren’t Germinating
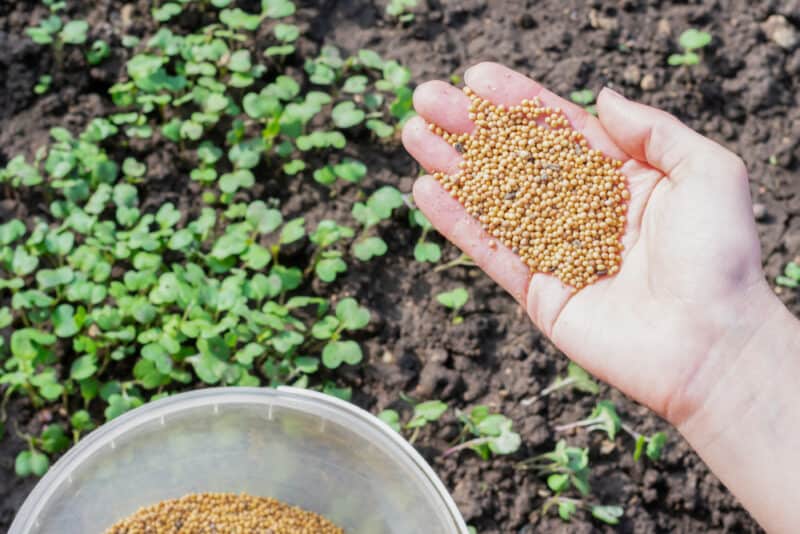
A client once came to me utterly distraught because none of her cabbage or kale seeds were germinating. We did a viability test and determined that they were good and healthy, so we tested the soil next to see if that was the issue.
Oh, bingo.
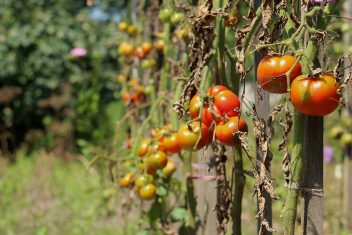
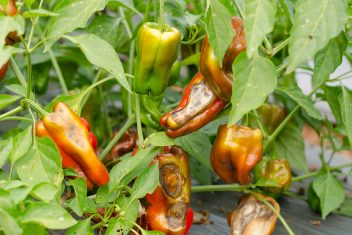
She had grown tomatoes and peppers successfully in that area and figured that brassicas (mustard greens are brassicas) would be great for crop rotation. They are, but only if you test and amend the soil accordingly. The acidic soil that the tomatoes thrive in is too pokey for the mustard greens. So we worked some dolomite lime, wood ash, and aged horse manure compost into the soil to balance it out. Her brassicas thrived like crazy after that.
Always do a pH test before planting anything in your soil, and amend as needed to provide the right environment.
2. Failure of Seeds or Seedlings to Thrive
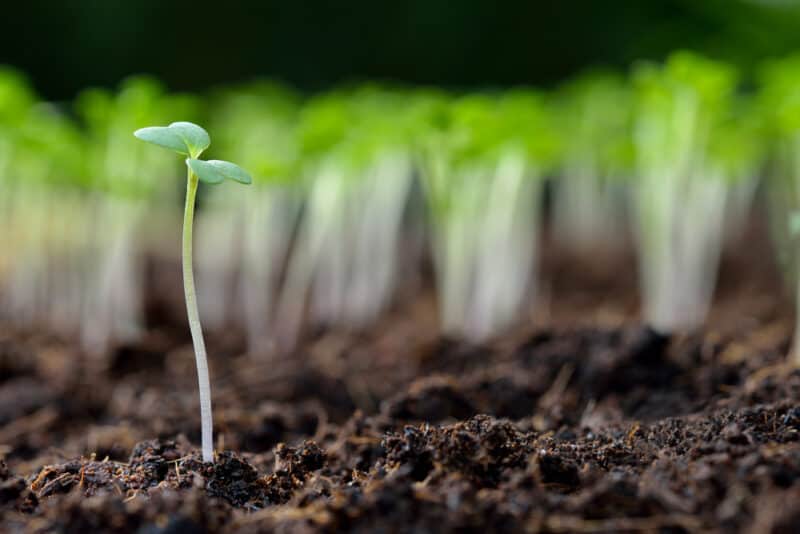
One of the main reasons mustard greens fail to thrive is that they don’t have the right sun, soil, and weather conditions.
Like most other brassicas, they prefer cool, slightly damp weather and can bolt if it’s too hot or dry. The soil needs to be neutral to slightly alkaline, with a significant amount of sand, loam, and clay. If the soil isn’t sufficiently well-draining, it can compact or go boggy. Make sure that your plants get plenty of suns, but offer them shade at midday if you’re in a warm area like the south or the western US.
Another reason why mustard can fail to thrive is competition with weeds. You really need to be on top of the weed situation around your mustard, or else the interlopers can suck all the nutrition out of the soil. As a result, your beloved spicy greens will be stunted and devoid of flavor.
3. Wilted Greens
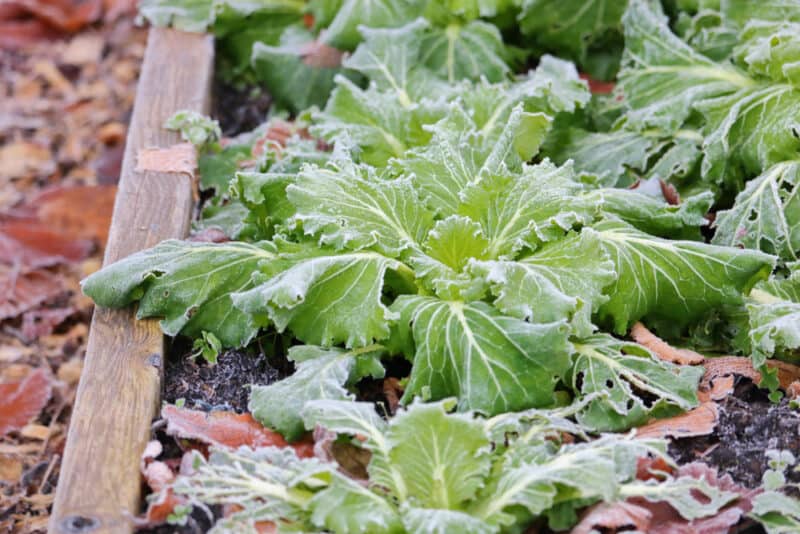
We’re not talking about the kind you braise with olive oil and garlic here, but rather leaves that have wilted and drooped on the stem. One of the most common reasons why mustard greens look wilted in the field is that they haven’t had enough to drink.
These are thirsty plants and need to be watered consistently throughout the growing season. If you don’t want to set up a drip line for constant irrigation, then water your greens generously at soil level both morning and evening.
4. Stunted, Yellow Leaves
Brassicas are heavy feeders, and your mustard greens need a lot of nitrogen to stay healthy.
Work plenty of well-aged compost into the soil before planting, and then offer them some slow-release, nitrogen-rich fertilizer at the midpoint of their growing cycle. Keeping nitrogen levels high and phosphorous low can also encourage more leafy growth, and discourage bolting and flowering.
5. Bolting
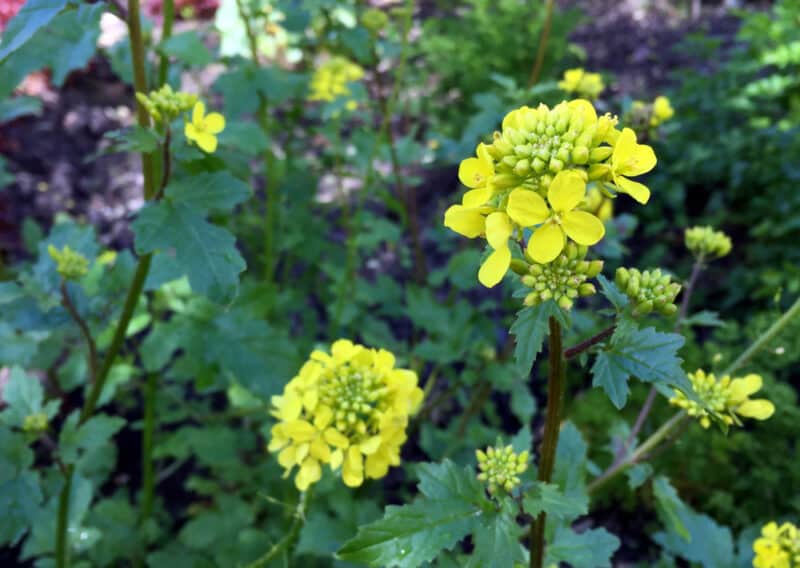
Have your mustard plants gone to seed practically overnight? It happens during a sudden heatwave or if you’re growing them during the hottest part of the summer. Aim to cultivate your mustard greens in springtime and autumn rather than in summer to avoid problems.
They’ll mature in 4–6 weeks, so you don’t have to wait too long to harvest them.
If you live in a hotter climate that might make them prone to bolting, plant them in a place where they’ll receive partial shade. The lack of direct sun full-time might keep them from going to seed at the slightest temperature spike.
If your plants happen to bolt, all is not lost. Let them go to seed, and then harvest those seeds once they’re nice and plump. Allow them to ripen off the vine, and then process them into your favorite mustard condiment recipe.
6. Defoliation
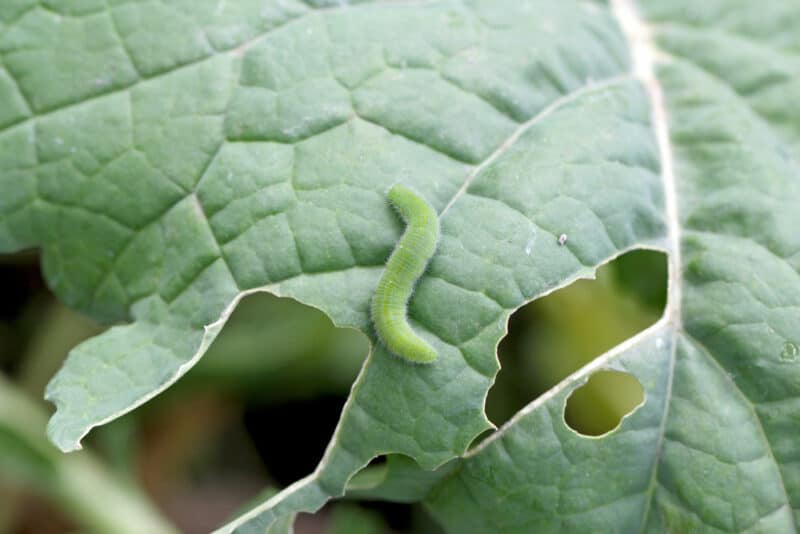
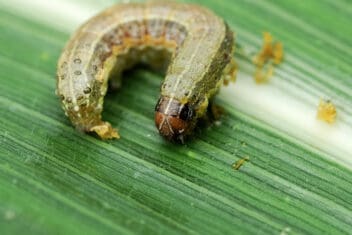
If you’ve been gardening for a while, chances are you’ve already encountered the dreaded cabbage white butterfly (Pieris rapae).
Its larvae can obliterate entire Brassicaceae crops unless you use a few different methods to fend them off. Furthermore, it’s not deterred by mustard’s strong scent or fiery taste. Many people actually use mustard as a trap crop to draw cabbage white butterflies away from their kale, cabbage, or Brussels sprouts because it’s so tasty.
Needless to say, this isn’t great news if you’re growing mustard for food and spice. Fortunately, there are ways of keeping your greens safe.
A treatment containing Bacillus thuringiensis (Bk) is ideal for killing many different kinds of caterpillars and other larvae. You can purchase concentrates of this powerful beneficial bacteria at Amazon. Combine that with floating row covers and you’ll reduce losses by about 90%.
Additionally, slugs can also wreak serious havoc on your greens. Our guide can help you deal with those annoying pests.
7. Holes In the Leaves
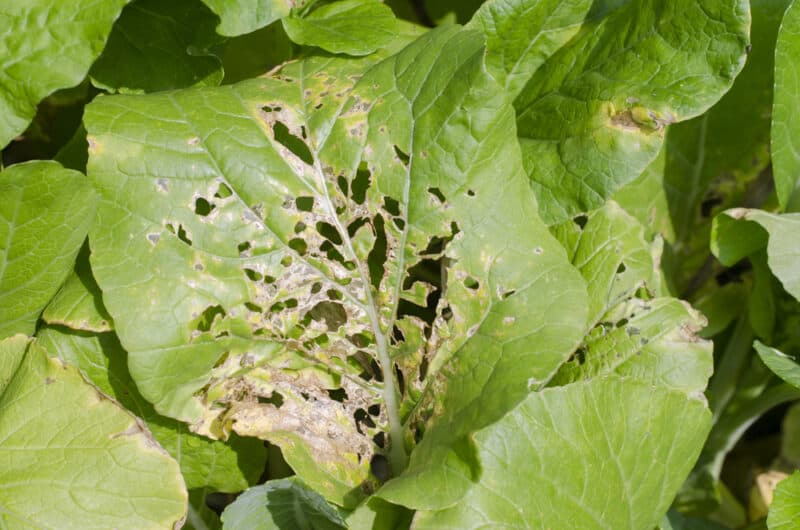
Holes in leaves are generally caused by either cabbage worms or flea beetles.
Cabbage worms are bright green and can camouflage amazingly well among brassica leaves. Flea beetle larvae are grayish and spiky: rather like small, moving durian fruits. The adults are small and black with a glossy carapace.
You can eliminate both with the aforementioned Bt, as well as by sprinkling generous amounts of diatomaceous earth around your plants. Floating row covers can help too, as can sticky traps placed at the soil level. Pick off these caterpillars early in the morning or after sunset, and let your poultry graze on them as well.
Another thing you can try is cultivating red-leaved mustard varieties rather than green ones. The worms and larvae can’t camouflage against them, thus making them much easier to see and obliterate.
8. Yellow-Leaved Plants that Droop During the Day But Perk Up at Night
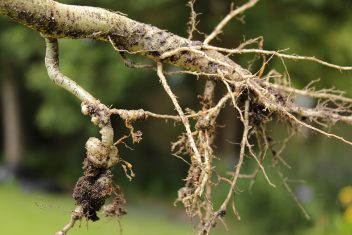
This is probably due to clubroot, which is caused by the Plasmodiophora brassicae fungus. It causes the roots to swell up and distort, preventing them from drawing in vital nutrients.
There’s no cure for clubroot, and even rotating crops regularly won’t do much. This is because the pathogen can stay alive in the soil for over 10 years. Deep tilling the earth can help expose fungal spores to sunlight, thus killing them. Adding quicklime can also help to kill off this pathogen. Your best bet is to get seeds from a reputable seed company that are resistant to this issue.
9. Fuzzy Gray Blotches on Leaves
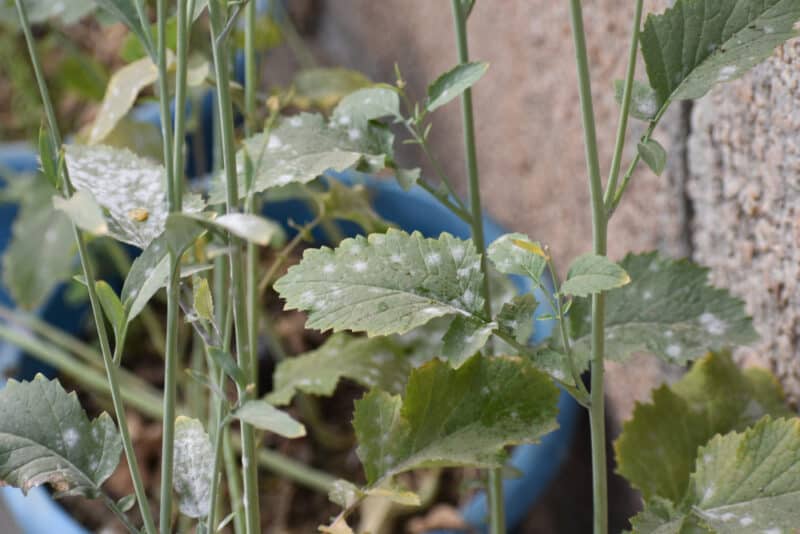
Hello, downy mildew! If you’re cultivating mustard in a cool climate that gets a lot of rain, you may end up dealing with this fungal issue. Much like other fungal blights, there’s no way to eradicate it completely. You can try to prevent it by clearing away all debris from the soil’s surface and trimming leaves that brush close to the soil level.
Remove any affected leaves and burn them immediately. Then treat the plants with an organic fungicide. If you catch this issue early, you might be able to save the rest of your crop. Rotate your crops regularly and don’t plant brassicas in the same spot within four years of the previous planting.
