Does growing mushrooms at home sound like a fun endeavor? Are you considering mushroom farming for your family or to make a small profit? You may be feeling overwhelmed about where to start, but fear not. It isn’t as challenging as it seems.
Mushroom farming is growing in popularity because people are really starting to appreciate the delicate flavor differences in the varieties of mushrooms. Since the market is high for mushrooms, certain types can fetch top dollar at your local market.
On top of that, learning how to grow mushrooms is a rewarding experience. You get the chance to see these mysterious fungi develop from spore to plate. The more you practice, the more you learn, and you’ll find new techniques and ways to experiment.
Growing mushrooms brings with it a lot of questions; it’s not as familiar as growing zucchini or beans. This guide is meant to answer all the crucial questions you need to consider before mushroom farming.
Types of Mushrooms to Grow
You have many options when it comes to types of mushrooms you grow. Growing only one type means that you typically have fewer complications and you can figure out the perfect environmental conditions for that type. Experimenting with multiple types lets you figure out what works best for you.
Blue Oysters
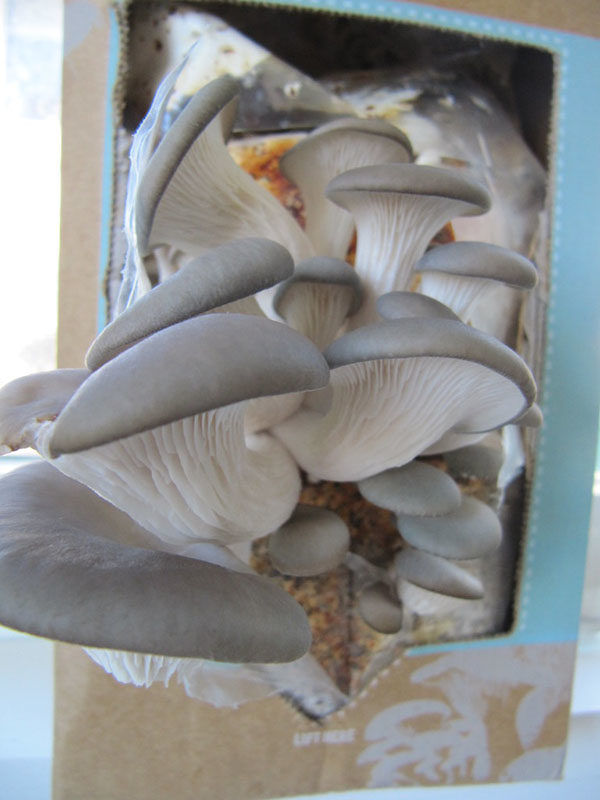
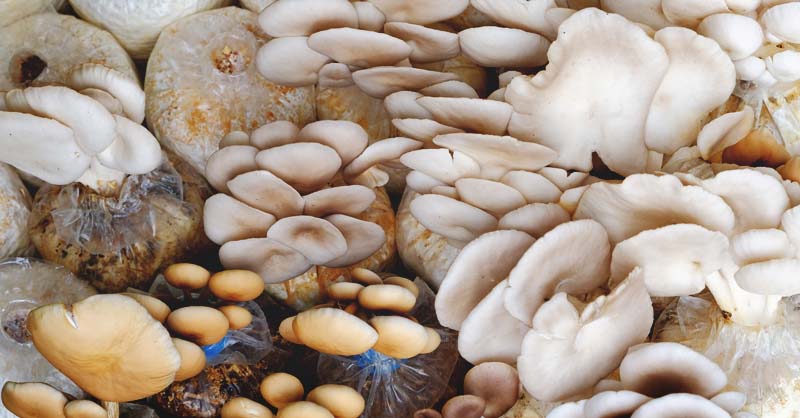
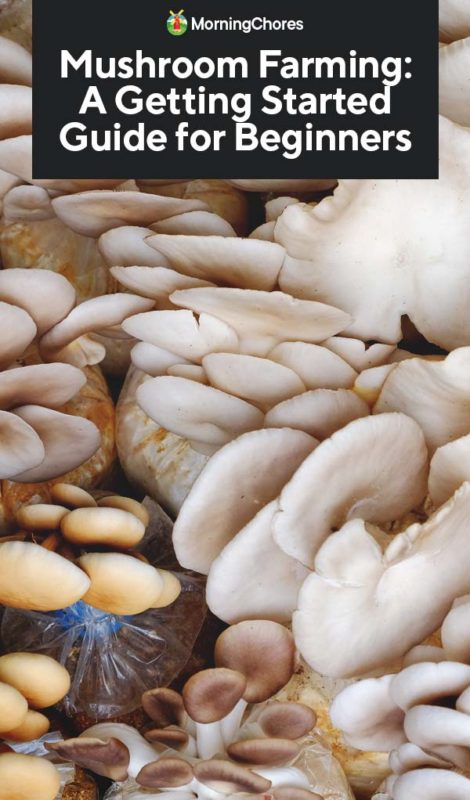
Blue oysters are an easy-to-grow variety and do well outdoors or on straw logs indoors. They’re a well-known mushroom, but you can’t typically find them in the grocery store, so they can fetch a decent price. They’re an ideal option for a beginner because they’re forgiving.
They have a mild flavor and tender consistency that lends well to cooking.
King Oysters
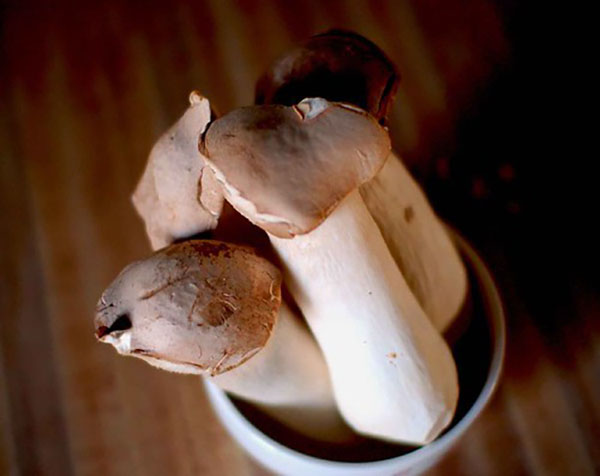
King oyster mushrooms are another easy to grow option, but they do best when grown in supplemented sawdust rather than straw. They are a bit more challenging to grow blue oysters. The flavor is worth it, though. King oysters have a rich, meaty flavor.
They have a long shelf life; you can sell them up to two weeks after properly harvesting. However, since they have a long shelf life, that also means they can be shipped long distances. You’ll face competition from overseas growers.
Chanterelle
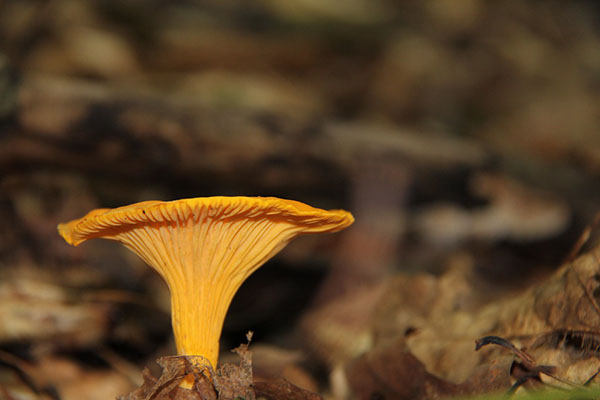
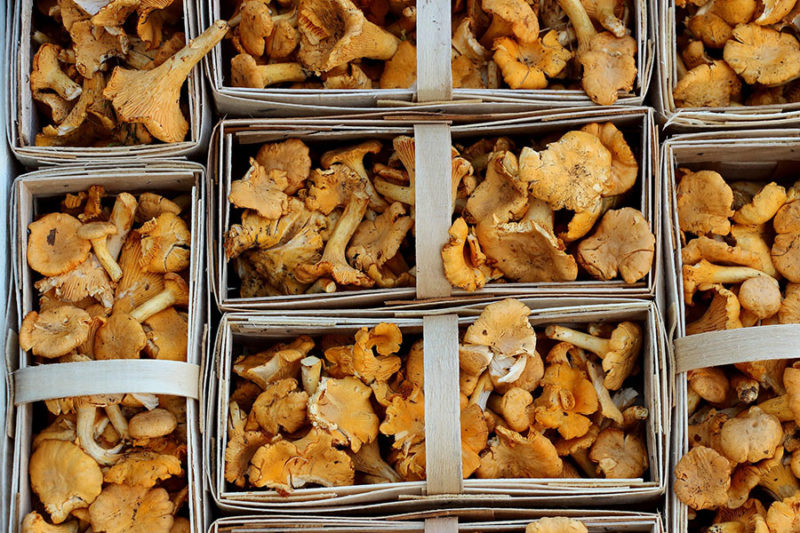
Let’s be clear up front: chanterelles are not easy to grow. They’re more for the farmer who is looking for a challenge or has some space to play around and see what they can produce. But if you can get them to sprout, you’ll have no shortage of buyers.
Lion’s Mane
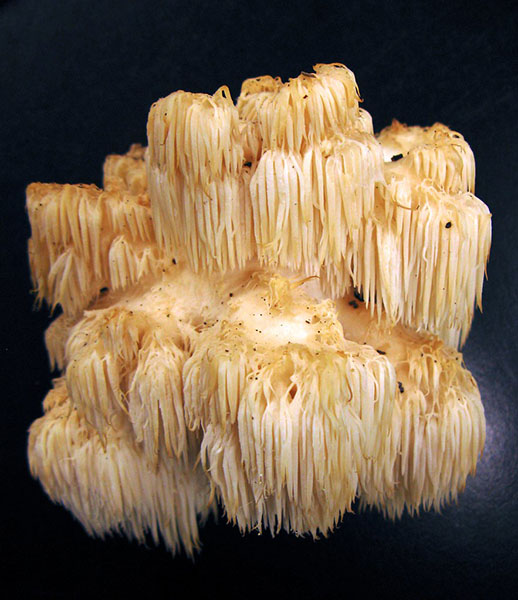
Lion’s mane mushrooms will set you apart because most consumers can’t find these beautiful fungi. You can harvest and deliver straight to the customer, but you do need to be careful because they have delicate teeth.
Lion’s mane is delicious, with a buttery, lobster-like flavor, and growing it will produce huge yields.
Wine Cap
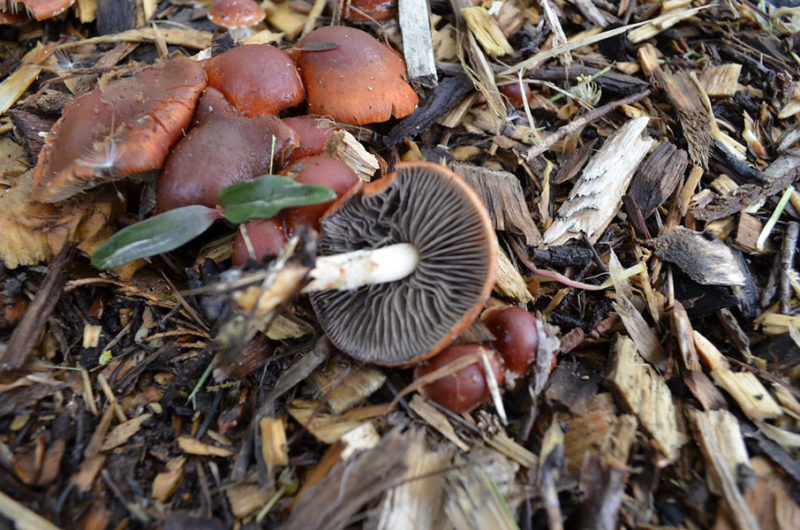
Wine cap is a great option if you’re looking for a mushroom you can grow in the soil outdoors. It has a lovely red cap that looks good in your display and the nutty flavor makes it a favorite with buyers.
Shiitake
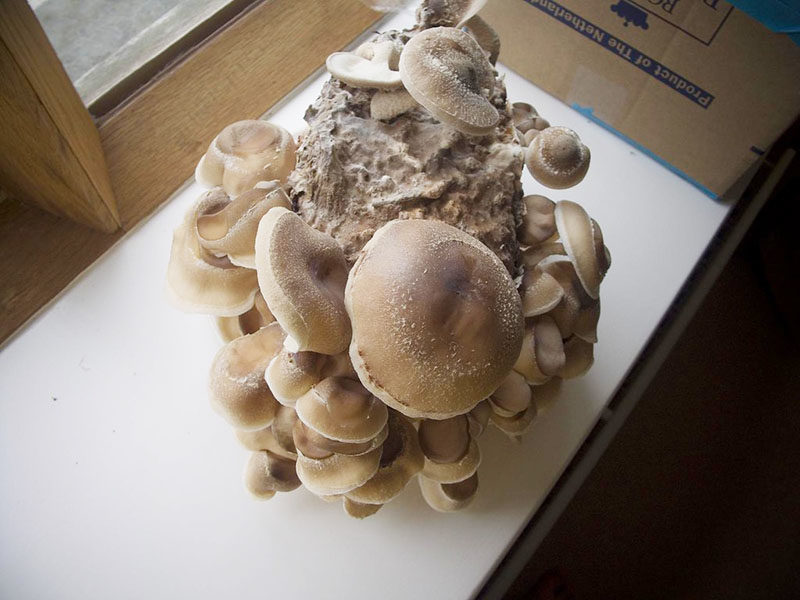
Shiitake mushrooms are a perennial favorite with buyers, but they are a bit harder for new growers. If you can figure out how to grow them, there’s a high demand out there. They’re well-known and well-liked, so selling your mushrooms won’t be a problem.
Parts of a Mushroom Farm
Like farming any veggie, growing mushrooms requires several steps to be completed in the right order to achieve the desired results. The components of a mushroom farm work together and all of the elements need to be in harmony. Of course, creating these parts can be as straightforward or as complex as you want. Let’s take a look.
1. The Lab
The lab is where the process of growing mushrooms begins. Truth be told, it’s also the hardest part of the growth cycle for new growers. It can be difficult to create the proper environment for the mushroom mycelium to grow; it requires a moist and nutrient-rich medium to develop, such as a jar full of grain or agar filled petri-dish.
As you cultivate the spawn, it’s necessary to have a laboratory, or a safe place for the mycelium to grow. Ideally, you want this space to be sealed off from everything else and have clean walls and floors. Make sure you can wash the area down with bleach. You’ll need a table and a shelf.
When you enter the lab area, you’ll need good hygiene as well because you don’t want to introduce bacteria that might compete with the mycelium. Most labs even have a HEPA filter and a blower to provide a clean stream of air.
Small scale mushroom growers can get away with using a temporary space to do lab work. You might set up space in a clean bedroom and be very careful about exposing the Petri-dishes to germs.
If you decide to purchase pre-made grain spawns, you’ll be able to avoid creating a lab. However, remember that purchasing spawns is a cost, and for large scale mushroom farmers, you’ll lose money in the long run.
2. The Prep Area
Next is a prep area which needs to be clean but not lab clean. A shed or garage is excellent for this. It’s where you’ll prepare the grains for sterilization. For large scale growers, you’ll want to have an area that you can simmer the grains and drain them. It makes sense to have a space for it there rather than your kitchen.
3. The Grow Room
The grow room is where everything comes together, and all the work that you put in before starts to pay off. You’ll be rewarded with mushrooms in this space. A grow room can be any size that you want, depending on how many mushrooms you want to produce.
If you’re growing on logs, you need a rigid bar to hang the logs. If you opt to use grow bags, you can use shelves. The one thing is that you have to be able to control this area – the CO2 levels, the humidity, and the temperature.
You can also use an area in your garden as a “grow room” if you are growing mushrooms outside.
Understanding Spawn and Substrates
Spawn
When you’re ready to get started, you have to decide what type of spawn you want to use to start the culture. You can create your own spawn utilizing a sterile culture or purchase a ready-to-inoculate spawn.
Starting your spawns at home is quite the process and harder for beginners to do. It requires a higher start-up cost because you need to create the lab area that we discussed above. However, for the long and large-term scale, it’s the cheaper route.
Purchasing ready-to-inoculate spawns are perfect for beginners. You don’t need sterile lab space. The negative is that you need to purchase these spawns from suppliers and that costs more if you’re operating a large scale mushroom farm.
Substrate
After you have the spawn, you need to pick a substrate in which you’ll grow the mushrooms. This aspect is one of the most important for mushroom growing.
Remember growing mushrooms is way different than growing plants. How mushrooms use a substrate isn’t how plants use soil. A substrate is used for energy and nutrition, and it’s required for mushrooms to grow and fruit. Different mushrooms require different substrates.
A few common mushroom substrates include:
Straw
Pasteurized straw is commonly used to grow oyster mushrooms. It’s cheap and effective, but it’s messy.
Hardwood Sawdust
Use sawdust from hardwood trees such as oak, beech, and maple. It works great for many types of mushrooms.
Manure
Button mushrooms grow well in composted manure, especially if it’s prepared using a two-phase composting and sterilization process.
Coco Coir and Vermiculite
Coir is a mix of ground up coconut husk and shells. Then, mushroom growers mix that with vermiculite to create a substrate.
Coffee Grounds
You might be surprised to know that mushrooms grow in coffee grounds and other urban waste products. Banana leaves are another option!
The Steps to Start Mushroom Farming
1. Prepare the Substrate
Before you do anything else, you need to prepare the substrate. Cut the straw or whatever you want to use into short, small pieces. Then, wet the substrate.
Heat the material in boiling water and boil for half an hour. Then, remove it from the boiling water, drain it, and spread out on a clean surface to let it cool down.
This process is called sterilization or pasteurization. Mold and bacteria can grow in moist locations as well, so these processes remove any bacteria or microorganisms that might damage or kill your spawn.
This process can vary depending on the substrate, but it is usually something along these lines.
2. Put the Substrate in Plastic Bags
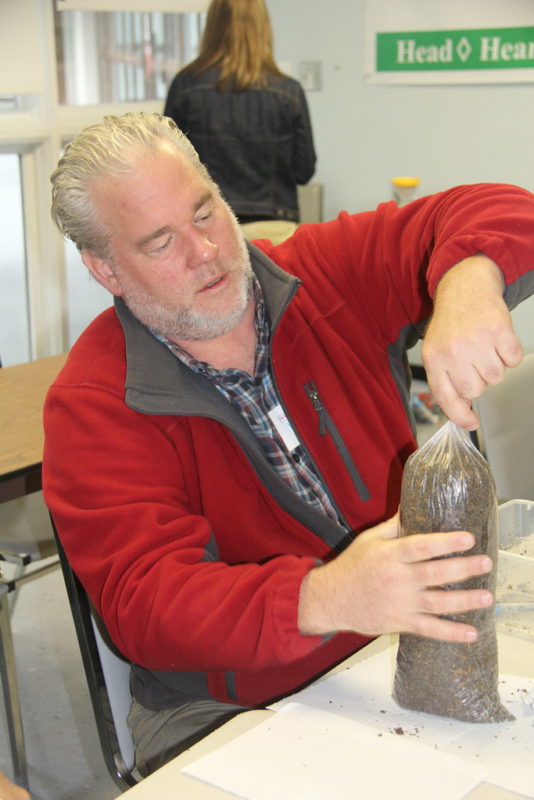
After the material cools down, pack it into plastic bags. Put two or three inches of the substrate into the plastic bag and then sprinkle the spawn on top. Continue this process until the bag is full. Close the top of the container and poke holes in it.
3. Incubation
The next step is incubation. The plastic bag with the spawn needs to be kept in an area that is around 78℉. It’s best to keep them on a shelving unit that doesn’t get natural light. Ideally, you should cover windows and cracks and use a red darkroom light when you have to check on the bags.
Leave them in the incubation stage until you see small pinhead mushrooms close to the air holes in the bag. That’s when it’s time to move to the next step of mushroom farming. Again, this process can vary depending on your mushrooms.
4. Start the Fruiting Stage
Now you get to move onto the fruiting stage. In this space, whether you have a room or a small corner created for fruiting, you need a high level of humidity. The temperature should be around 65 to 70℉. Unlike the incubation stage, fruiting requires a lot of natural light, about 12 hours daily.
To start the fruiting stage, you have to shock the mycelium, which forces the spawns into fruiting. To do this, move the bags to a cool place for a day. Basements are usually a great choice, then move it to the fruiting room. When you move it into the fruiting room, cut away at the bag so the mushrooms can start to grow.
5. Harvest and Prepare to Sell
Before the mushroom caps start to uncurl is the best time to harvest your mushrooms. Harvesting mushrooms is one of the most straightforward steps! For most mushrooms, all you have to do is twist the stem off close to the growing block. Some require a sharp knife to slice the mushroom off at the base.
It’s crucial that growers only use clean tools and equipment to harvest. Wear gloves and consider wearing a mask. Some growers develop an allergy to the spores of the mushrooms that they grow.
Do your best to harvest appropriately to get the best price. Make sure to remove any substrate material, so your customers are pleased with your high-quality mushrooms.
Starting Your Mushroom Farm
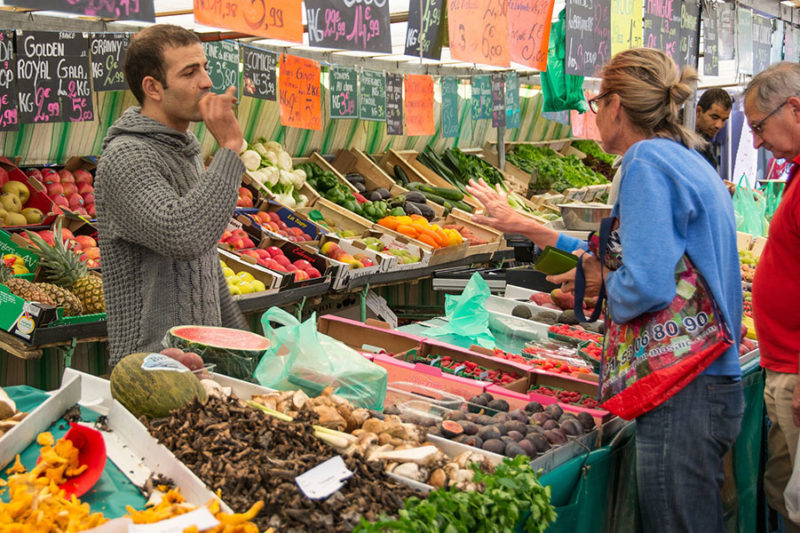
Of course, there is much more to mushroom farming. Don’t forget that you have to consider local and city regulations if you’re growing out of your home. Zoning laws play a factor as well, so it’s vital for anyone looking to start mushroom farming that they take time to research thoroughly. You don’t want to invest in equipment only to find you’re breaking a local regulation.
Don’t forget that mushroom farming is still farming, even though it’s a smaller scale. It takes a lot of work, but that work is so rewarding.

