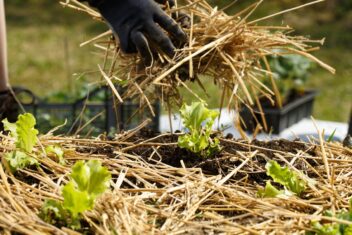
Most gardeners are familiar with USDA hardiness zones, which help them understand their first and final frost dates, but most people don’t know much about microclimates in the garden.
Microclimates are areas where the climate is slightly different in one area from another on your property.
Understanding these unique areas allows you to create or harness them for your gardening needs. You already have them on your property, so why not take advantage?
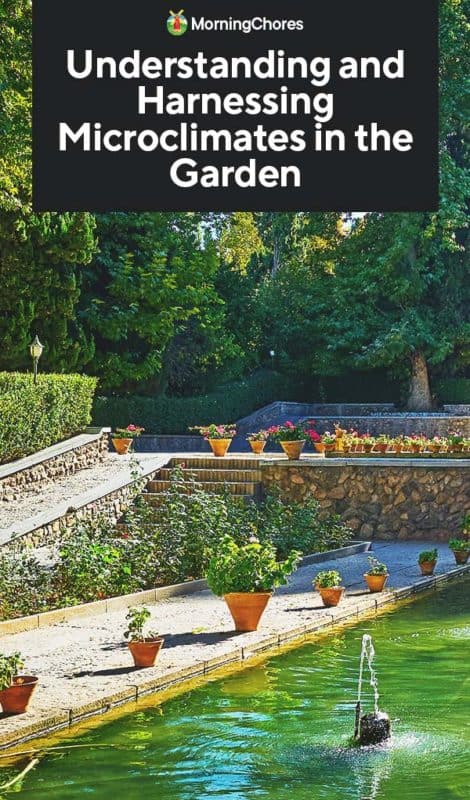
What Are Microclimates?
By taking a look at the word, you might be able to guess what microclimates are. They are small areas where the climate is different than the surrounding areas.
These areas might be colder or warmer, drier, or wetter than the rest of your property. You’ve stumbled upon hundreds of microclimates throughout your life, maybe without even knowing it.
Perhaps you walked along the beach and noticed that it’s always windier there. You might notice that when you’re closer to a body of water, such as a river, the snowfall tends to be different than near your house. If you live on top of a hill, you probably receive more sunlight than the valley.
Large vs. Small Microclimates
You can find large and small microclimates in an area.
Large microclimates could be an entire city, a north-facing slope in the region, or a valley in your county that is cooler than average.
Cities tend to be warmer due to the “heat island effect.” That’s why leaves tend to emerge faster in cities and more populated areas than in rural locations. Frost dates also often are later in the year in these large microclimates.
Smaller microclimates are typically within your yard or your street. These are areas that are warmer colder, wetter, dryer, shadier, or sunnier than the general climate in the area.
For instance, the shady spot under a large oak tree is a microclimate.
How to Identify Your Microclimates
Before you can take advantage of the microclimates in the garden, you have to be able to identify them. Some areas have websites that track large microclimates, like AgWeatherNet in Washington.
Here are some simple tips for determining your own microclimates in the garden.
1. Observe Your Property
The observation period takes a few days. It’s essential to observe your property at different times throughout the day to see how things differ.
You need to start looking early in the morning to find the earliest sunlight. Then, keep checking throughout the day. Make a note of any landmarks on your property, such as trees, driveways, porches, and other structures that might change your microclimate.
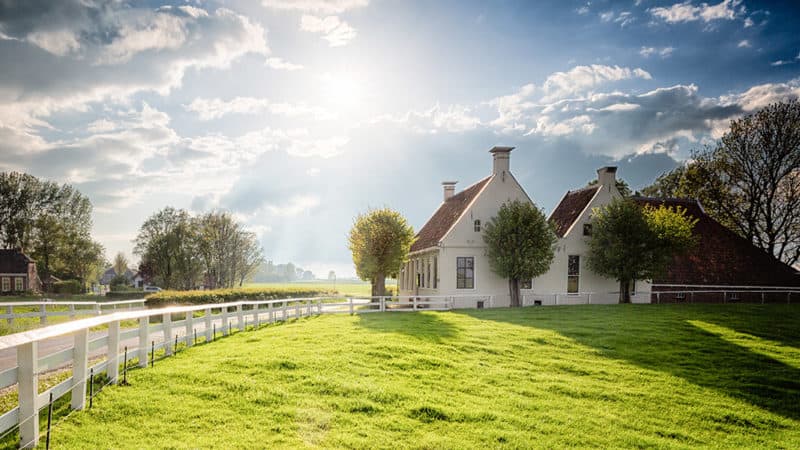
Note where the sun hits and where it doesn’t. Observe how long these areas get sun.
If you have a thermometer, put one in your yard and then move it around from day to day to measure subtle temperature variations.
You can also put up small flags in various areas to determine if the wind seems to blow stronger or more often in some areas than others. Place cups around your yard to gather rainwater.
The more tracking you can do, the better idea you’ll have of the different climates in your yard.
2. Map Your Property
It can be helpful to diagram and map your property to identify those microclimates.
Include as many details as you can. It will help you make the best decision as to what plants to grow and where.
3. Make Notes

Once you identify how much sunlight, rain or wind each area of your property receives, you can mark that on the chart.
Some microclimates can be hard to identify. If it doesn’t rain for several days, you might not notice those low spots or areas that hold more moisture than others.
Keep at it. The more time you put into it, the better data you’ll be able to collect.
Make the Most of Your Microclimates
Pick Plants for Each Microclimate
Now that you know how much sunlight each part of your property receives, you can make a list of plants for those areas.
For example, in the areas that receive the most sunlight, plant your tomatoes, peppers, corn, and other sun-loving plants. When you find nice pockets of shade throughout the day, those can be an oasis for members of the brassica family or different greens.
Start Experimenting
The fun part comes last. You get to put all of your planning together and start to plant things. Remember that this doesn’t have to be too serious. Some things might fail, and that’s okay – you can chalk that up to being a learning experiment.
Say that you’ve never been able to get bay to grow where you live in USDA zone 7, but you have a sunny slope that is protected from harsh wind and gets more heat during the day than other areas.
It might just be hospitable to growing bay even though you aren’t in the right climate.
The Four Exposures on Your Property
Here are four general exposures on all properties that you might encounter.
Southern Exposures
These areas on your property, especially when they’re closer to cement or rock walls, are the hottest in your yard. If you live in a colder climate, this is where you want to grow your heat-loving plants, such as tomatoes or peppers.
At the same time, if you have plants that like shade and don’t tolerate heat as well, avoid these locations.
Eastern Exposures
This is the area that receives the first sunlight in the morning as the sun rises, and by mid to late day, it’s in the shade. If you have plants that like shade or dislike too much heat, they’ll grow well in this microclimate. For example, sage loves eastern exposures; they’ll flourish under these conditions.
Find the east-facing wall on your home. If you live in the south, you can use this location to plant crops that don’t typically grow well there, such as rhubarb. You also can try salad greens, which tend to be heat sensitive. They won’t wilt in the afternoon sun if you pick an eastern microclimate.
Western Exposures
In western exposures, sunlight appears around midday and lasts until later in the evening. Mid to late-day sunlight is hotter, so if you have plants that need a lot of sunlight and tolerate hotter heat, then try this location for them.
You might have a west-facing wall of your house that receives early morning shade. Then, by the middle of the afternoon, it receives plenty of afternoon sun that is bright and warm.
This changes in the fall and winter when the morning sun reaches the area earlier. That means these garden beds are 5-10 degrees warmer than other spots in your yard. Consider using low tunnels or hoop houses during the cold months.
There are plenty of plants that could handle this intense light and sun. Consider plants like corn, eggplants, horseradish, sunflowers, or garden huckleberries.
Northern Exposures
If you have plants that don’t like heat and prefer some shade in their lives, a north exposure location could be the ideal choice. Some of these microclimates receive deep shade, so it’s a good idea to try to measure and watch to determine how many hours of sunlight plants would receive there.
Most vegetables need six hours to grow, but you can find some fruit bushes or herbs that handle more shade.
Other Examples of Microclimates in the Garden
Aside from directional microclimates, there are a few different unique situations that might take place in your garden that could change what plants grow best.
Driveways, Sidewalks, and Rocky Areas
Rocks and concrete are dense objects or surfaces, and they absorb sunlight and heat from the day. Then, throughout the night, these objects release the heat, making the ground around those surfaces and objects immediately warmer. It could even be dryer in those areas.
These areas could extend the growing season of the plants that you grow there or next to them. This is also a great area to put plants that prefer heat or dry soil, like:
- Okra
- Melon
- Peppers
- Tomatoes
- Tomatillos
- Lavender
- Purslane
Low Spots
These spots can be hard to figure out; they’re little holes or depressions in your property. The problem with low spots is that they tend to accumulate water, which makes for soggy ground. Not all plants like to have “wet feet” or saturated soil.
You’ll need to be cautious about the plants you put in these areas. Celery, parsley, chickweed, and celeriac all love plenty of moisture, so they grow well in the spring and fall.
Slopes
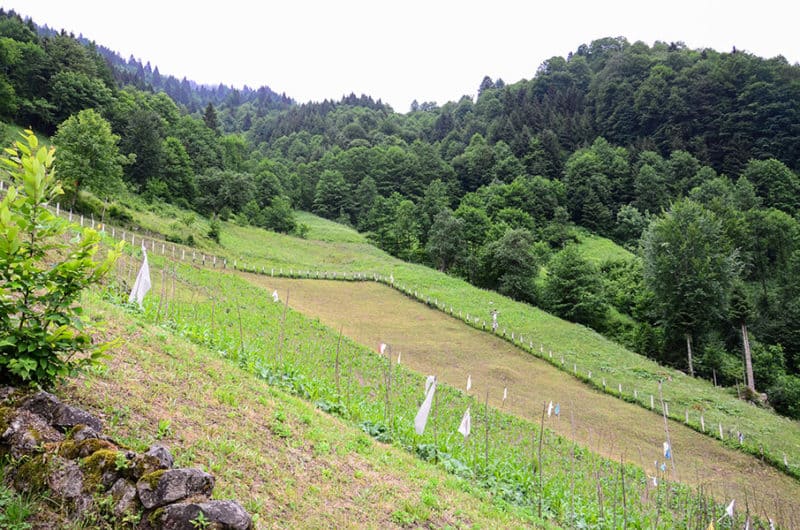
Growing on slopes is challenging but not impossible. Slopes tend to have poorer soil quality and lower soil moisture levels because the water runs off so quickly rather than staying put where they belong. You can try planting things to stop the flow or build terraces.
Depending on the direction that they’re facing, slopes can either be hotter or colder than other areas on your property. In general, you should pick deep-rooted plants or perennials for your slopes because their roots run deeper, finding more nutrients. They also can help stabilize the landscape and avoid falling over in heavy rains.
So, what type of plants grow well on slopes? Try:
Ponds, Creeks, and Boggy Areas
If you thought dealing with low spots was hard, these microclimates are even more of a challenge. They have much more moisture, and they tend to be cooler as well. That doesn’t mean it’s impossible to grow edible plants; you can. It takes a bit more work.
You’ll need to look for edible water plants that sound appealing to you. Keep in mind that if your waterways are contaminated with pollution, you might not want to put those edibles on your dinner plate.
Try:
- Asparagus
- Lettuce
- Cranberry
- Mint
- Rhubarb
- Strawberry
- Taro
- Mushrooms
Use Microclimates in the Garden to Your Advantage
When you plant your crops according to the microclimates in the garden you take advantage of these little pockets. You plant the crops that will do best in that amount of sunlight or whatever the unique situation is. Your garden will be better for it.
