Did you start a new garden this year and are now wondering what to do with your beds over the winter? The one thing you absolutely don’t want to do is leave your garden beds naked and idle over winter!
That’s a surefire way to make gardening more difficult in the future. In fact, it’s a red-carpet invitation for weeds to take over, soil to erode, and your garden to grow poorly come spring.
So, don’t leave your garden beds out in the cold, unprotected. Instead, try some of these tools to make your winter garden work for you.
1. Grow a Winter Garden
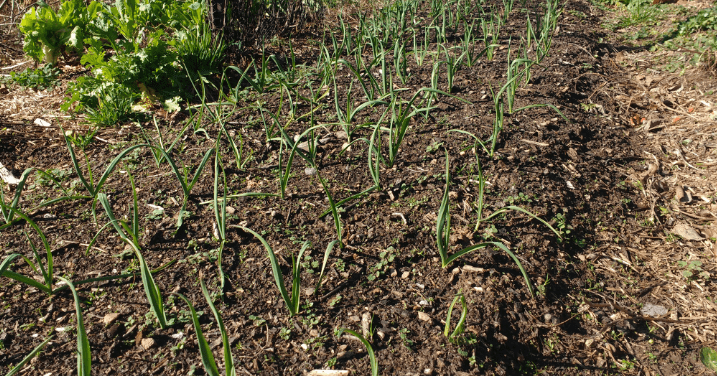
Believe it or not, you can garden outdoors – in winter – down to USDA hardiness zone 4. So, before you put your gardens to bed for the winter, consider growing cold-hardy plants instead.
The list of cold-hardy plants is a lot longer than most people think as long as you use some clever season extenders. A cold-frame over your bed, floating row covers, or an up and over hoop house are all fairly easy options to consider for growing all winter long.
Even with just that little bit of protection, cabbage, broccoli, spinach, corn salad, winter lettuce, arugula, mustard, cresses, and more will grow well for most of the cold season. You can also grow garlic and shallots all winter long without protection.
2. Use Cover Crops
Maybe you’ve got other winter projects you want to focus on and you don’t want to be actively gardening through the cold season.
There’s an easy way to protect the soil in your beds and even improve them without needing to spend a lot of time gardening. You can seed your beds with cover crops.
You will need to water your seedlings in the fall. However, once those plants are established, then they’ll prevent weeds from taking over until you are ready to garden again come spring. Plus, you can lightly till those cover crops as green manure to feed your spring plants.
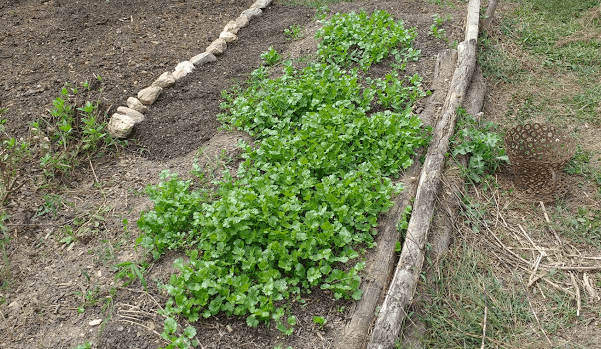
My three favorite winter cover crops are crimson clover, tillage radishes, and hard winter wheat. Cilantro also grows very well as an unusual edible cover crop in areas with mild winters.
3. Top Off with Compost
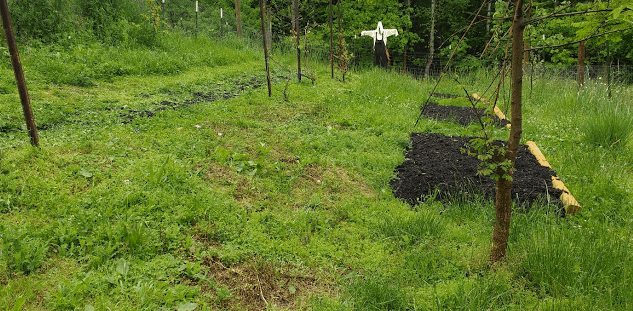
If cover crops or winter gardening sound like too much work, the next best thing is to cover your beds with a few inches of compost. The compost will protect the soil and nourish your soil life through winter.
Usually, by the end of winter, all that compost has been worked into your soil by critters. Then that organic matter and nutrients will be in place for your plant roots to access come spring.
4. Cover with Fresh Manure or Livestock Bedding
Compost making takes six months to two years, depending on your process. So, sometimes gardeners and farmers skip the composting and apply fresh livestock bedding and manure to garden beds in the fall.
If you apply these fresh materials in October, your beds will be ready to plant six months later, in April and May. That’s perfect timing for when the spring gardening season really kicks off.
– Safety Considerations
If you plan to apply fresh manure to your garden, make sure your soil is cool (under 55°F) when you do it. Apply just a few inches of coverage so you don’t trigger hot composting and kill your beneficial soil life.
Wait at least 6 months before planting to allow potential pathogens to time out. Plant long season crops rather than quick turnover crops like radish or lettuce just in case there are any lingering pathogens in the mix. Crops like drying corn, winter squash, or post-frost harvested cabbage heads are perfect options.
Also, only use materials that don’t contain pesticide, herbicide, or fungicide residues in an organic garden. Those kinds of things take a year or more to time out. Personally, I use the litter from my goat litter box for this since I know what my goats eat.
5. Layer on the Leaves
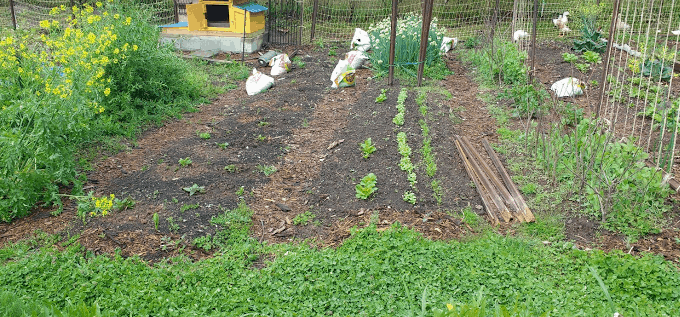
In areas with an abundance of deciduous trees, you can protect your beds with several inches of those endless leaves you rake up from the lawn.
– Whole Leaves
Whole leaves can be soaked and tamped down to keep them from blowing off in windy areas. Then just rake any undecomposed leaves off your bed into your paths in spring.
– Mulched Leaves
Better yet, if you have a leaf mulcher – use it! Or, if you have a mulching lawnmower, run it over your leaf pile with your collection bag on. Then dump those bags of mulched leaves on your bed.
Mulching reduces decomposition time. Come spring, you can likely just push aside any leaf crumbs and start seeds or insert transplants.
6. Protect with Straw
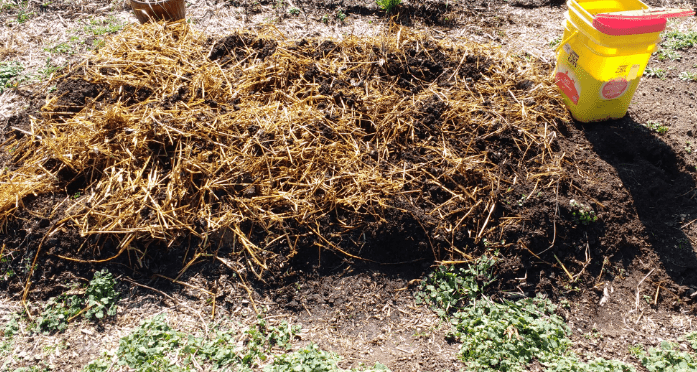
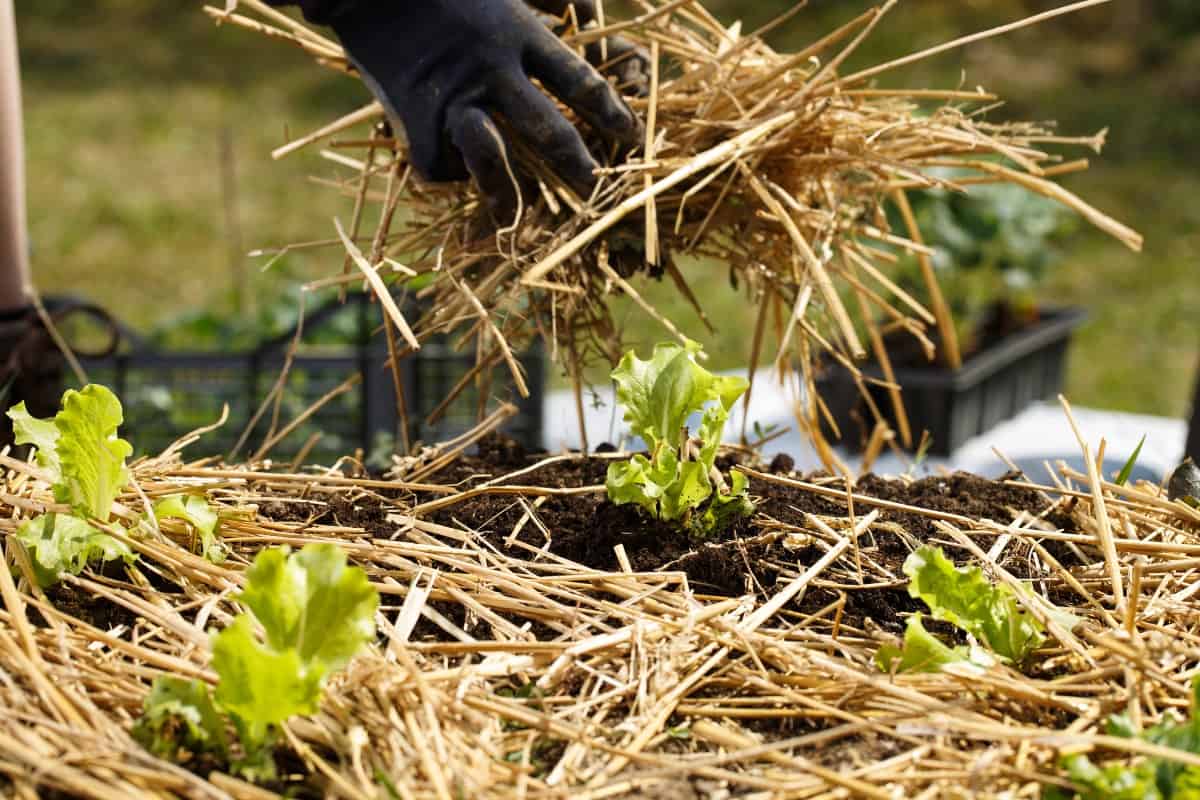
Straw is one of the cheapest, easiest ways to keep your beds covered in winter. For raised beds that are 4-feet wide by 8-feet long, you only need about a half a bale of straw per bed. Whereas if you were using bagged compost, you’d need more like 4 bags per bed for winter protection.
Prices of straw vary by location. However, generally, I find it is about half the price to apply baled straw versus bagged compost.
– Straw Plus Red Wrigglers
I like to spread a handful of worms from my vermicompost bin in the bed before I apply straw. They’ll burrow into the soil on cold days. The straw will help to insulate them from the cold when temperatures drop. Then, they’ll rise to the surface to eat the decomposing straw on warm days.
Sometimes I reapply straw mid-winter if we had a lot of warm days and the straw is looking sparse. However, it’s totally worth the work.
Winter straw-covered, worm-enhanced beds are the absolute best for planting tomatoes in late spring. All those worm castings are the perfect tomato fertilizer and also help dramatically reduce any instances of fungal pathogens.
– Chicken Control
Just before I plant my tomatoes, though, I let my chickens pick through the straw beds. They snack on some of those worms and other critters crawling in the residual straw.
That helps bring the soil life ratios back into balance. Plus, it gives chickens lots of protein as their egg-laying picks back up in spring.
7. Decorate
If you are a potager style gardener, then you want your beds to be beautiful year-round. If you don’t plan to garden in them, you can still use them to keep your landscape looking lovely.
Put down a layer of fresh hardwood mulch and then set potted evergreens or seasonal flowerpots in those beds for winter interest. Transplant in some of that decorative cabbage from the garden center as filler.
Maybe take a page of the Chateau of Villandry playbook to create a lovely fall and winter “left-over” display. Just use your extra winter squash and pumpkins, corn stalks, and whatever other natural materials you have as decorations to fill empty beds. Then in spring, put all that formerly decorative stuff in the compost pile.
8. Make Overbed Compost
Every year I have a bed or two that seem a bit depleted. Usually, yields were low or pest pressure was high.
Rather than just throwing some compost on the bed and hoping for the best, I take the bed out of commission for a year. Then, I make a compost pile right on top of the bed.
When it’s at least 4-feet tall by 4-feet wide, I turn it once by moving the bottom materials to the top. Then I let it age in place until all those compostable materials become black crumbly compost.
In my climate, the process takes about a year if I start in fall.
– Why This Works
This slow composting process will heal whatever ails your failing bed. The leachate from the compost plus all that extra microbial and fungal activity supercharge the bed.
Also, the whole composting process tends to stabilize the pH of the bed at about 6.5 when finished. This is perfect for most fruits and vegetables.
Once your compost is distinctly recognizable as compost, take most of that good stuff to use on your other beds. Just leave a few inches in place in the bed then start planting again.
9. Scrounge Spent Soil Mix
If you are using the square foot gardening method, your soil is spent after one year of growing in it. Next year, you’ll need to make more mix and start over to get the full benefits of that method. Or if you made strawbale beds, in a warm wet climate, they have probably dissolved into crumbly worm-filled goo that needs to go!
In either of those cases, scrape up that spent soil medium and use it as mulch to protect your permanent garden beds in winter. You can also use soil mix from your potted containers as a bed topper.
Keep in mind though, peat moss heavy soil mixes can sometimes be detrimental to in-ground gardens. Layer on just an inch or two per year to avoid over-peating your soil.
10. Sheet Mulch
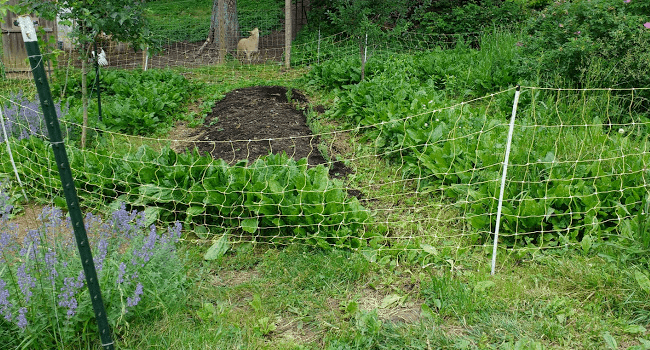
Did you dive headfirst into gardening back in spring without first amending your soil? If so, you likely discovered that your “soil” was really dirt. (Dirt is “wanna be soil” that’s short on organic matter, doesn’t drain well, and can’t nourish plants properly).
Well, worry not! Fall and winter are also the perfect time to improve your failed beds or start new ones.
My favorite method for making brand new in-ground beds over winter is to sheet mulch. There are lots of different formulas for sheet mulching. Still, the real key is to think of it as a short compost pile.
Make sure you have good airflow and drainage. Keep your ratios of browns and greens 3:1 or 4:1.
Layer to at least 12-inches, but preferably 14 or 16 since the sheets will intermingle and shrink fast. Then finish with a layer of topsoil or mulch to hold it all in place.
Like using fresh manure, for best results, let your sheet mulch meld and do its magic for six months before planting needy vegetables in that newly created soil mix.
11. Bring on the Ducks (or Chickens)
You can also let loose your chickens to fertilize your garden in winter, eat pests, and scratch up weeds. There are risks with this because chickens can be pretty tough on the soil and any plants you may wish to keep in the area. So you may have to put them to work just a couple hours a day or once in a while.
As such, I much prefer to use ducks in my winter gardens. I use them to reduce weeds in areas that got out of hand in summer and fertilize all my edible landscape areas. They are also fabulous for controlling slugs and reducing overwintering pest populations.
Ducks don’t scratch, though. So, while they will eat the tops of plants, they don’t disturb the roots of established perennials you want to keep growing.
Putting Your Garden to Bed
Gardens, like people, need regular rejuvenation after periods of hard work. This is why many plants go dormant or grow slowly in winter. It’s also why soil life cycles through nutrients much slower in cold conditions.
Nature has built-in a rest period. Yet, in the same way that you wouldn’t be rejuvenated by resting naked, idle, and bored, out in the cold – neither will your garden.
Take some time to choose the right methods for putting each garden area to bed for the winter. Also, keep in mind, it’s perfectly fine to mix and match methods. Just make sure you don’t lose ground by neglecting this important part of growing a productive, gorgeous garden long-term.
