Are you aiming to stock your cold cellar for winter? Or perhaps you’re looking for preserved food that’ll keep well while traveling or backpacking? Whether you’re a homesteader or an adventurer, add pemmican to your prepping plans. This stuff isn’t just a complete superfood: pemmican can keep for years if prepared and preserved correctly.
Read on to discover what it is, how to make it, how to store it… and what to do with it!
What is Pemmican?
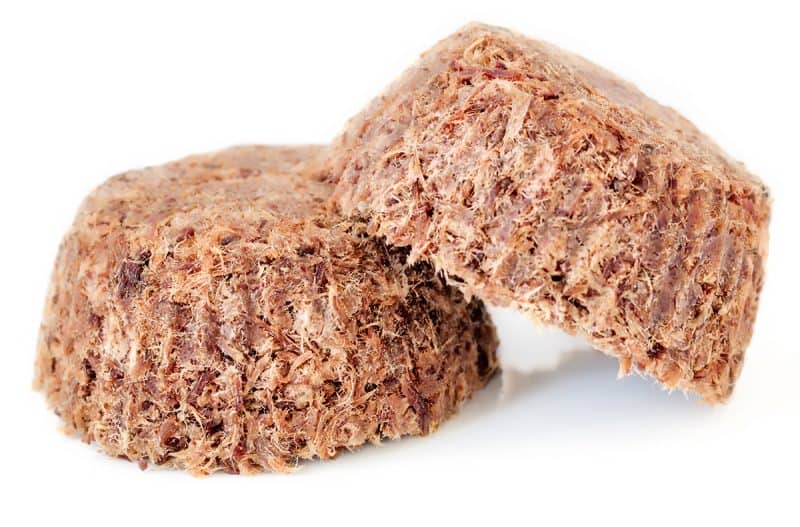
Pemmican is a survival food that was created by North America’s Indigenous Peoples. From what I’ve learned, the name comes from the Cree word pimîhkân. This is derived from pimî, (which means “fat” or “grease”), referring to the vital fat that both binds the other ingredients and nourishes the one consuming it.
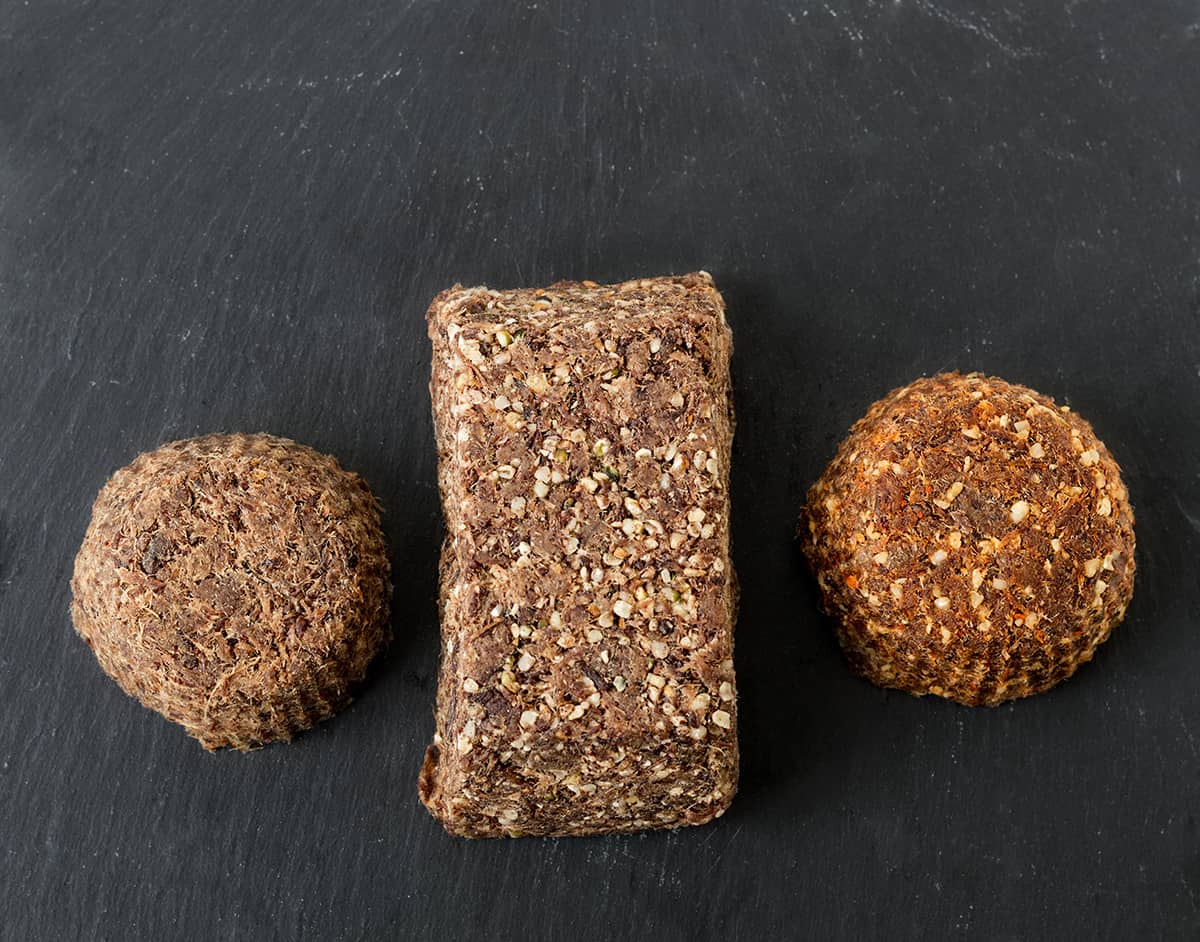
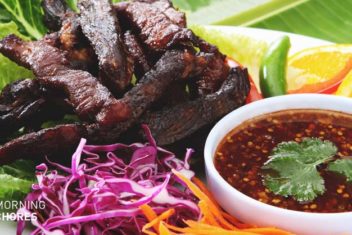
Basic pemmican consists of dried meat that has been ground into powder and mixed with fat. It can be made with a variety of different meats and added ingredients like dried fruit and nuts. Ultimately, you’re aiming to make a mixture that has the highest nutrient density possible.
Early pioneers and traders learned how to make pemmican from the Indigenous peoples. As you can imagine, it soon became a staple food for cold cellars and pantries all over the new world. Fur traders took it with them when traveling, and both Arctic and Antarctic explorers considered it vital on their journeys.
You don’t need to try making pemmican solely as emergency food! This stuff is also great for camping and backpacking trips or simply as a tasty snack. In its simplest form, pemmican is gluten-free, super low carb, keto, and paleo. It’s nourishing and healthy and can keep you going just as well as an expensive protein bar.
Ready to get started?
What You’ll Need:
- Meat: Dark game meat such as elk, bison, moose, venison, or caribou. You can also use beef, of course, but avoid chicken or pork. Fatty game fowl such as goose and duck work well, but not lean ones like pheasant, turkey, or grouse. Avoid rabbit or fish, as they don’t have enough fat or protein to sustain you.
- Dehydrator or Oven: The meat you use needs to be so dry that it basically snaps when you try to bend it.
- Food Processor or Coffee Grinder: You need to process the dry meat into powder once it’s dry.
- Tallow: Get a quantity of grass-fed beef tallow from your local butcher. You can use beef suet in a pinch, but since tallow is rendered, you can store it at room temperature for long periods of time without going rancid. Only use tallow from beef or lamb: no pork fat.
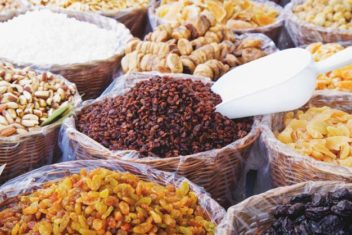
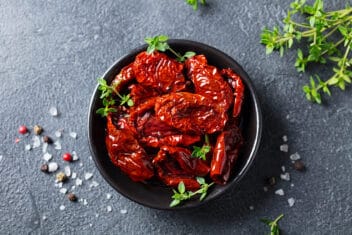
- Dried Berries or Other Fruit: Although many people make pemmican without fruit, it’s perfect for preventing scurvy. Choose tart fruits like cranberries, cherries, tart apples, or Saskatoon berries for their high Vitamin C content.
- Salt and Other Seasonings: Not only does salt help to preserve pemmican, but it also gives it added flavor. Adding other spices like garlic powder, paprika, etc., can make the difference between choking this stuff down to stay alive and actually enjoying it.
*Note: Some people like to add honey to their pemmican. Honey is a great preserving agent with antibacterial properties, but the sugars and moisture can reduce this food’s shelf life. If you want to add some sweetness, use dried, powdered honey instead.
About Ratios:
There are thousands of pemmican recipes out there, using various fat to meat ratios. The simplest form seems to be a 1:1 equal ratio of fat to meat. Others have far less fat, especially if they’re for travel snacks rather than survival food.
I like to add dried fruit into the mix, and my preferred ratio is 3:5:1 of fat:meat:fruit. This ratio creates the nutrient density we’re aiming for, while also providing enough binding and preservation to help the pemmican last a long time.
I recommend playing around with a few small batches to see which you like best. If you find that a 1:1 or 1:3 ratio has you gagging because it’s too fatty, reduce that ratio to 1:5 or 1:8.
Instructions:
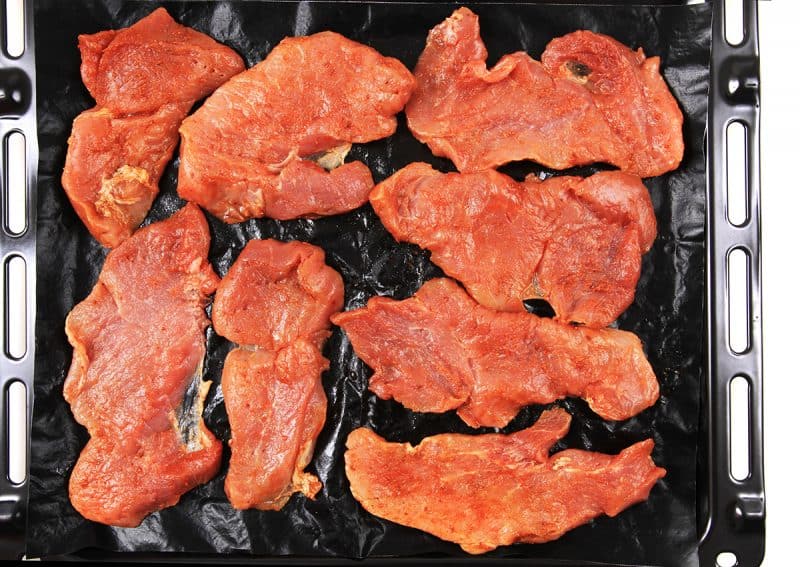
The first thing you need to do is slice the meat pretty much paper-thin. Sharpen your best knives for this so they’ll cut through the flesh easily. Once that’s done, dry it in a dehydrator or an oven until it’s so dry, it snaps. Seriously, the meat has to be brittle dry. I put it in my electric dehydrator at 115°F for at least 8 hours, give or take. If it’s still bendy after that time, throw it back in until it’s desiccated.
At that point, put it through a food processor or old coffee grinder and pulverize it. Weigh this meaty powder and then pour it into a large mixing bowl while you prep the other ingredients.
Chop the dried berries (or other fruit) finely and weigh them. Remember that we’re aiming for a 3:5:1 ratio of fat:meat:fruit. So, if you’re working with 5kg of meat powder, you’ll want to add in 3kg of fat and 1kg of fruit. If you’re skipping the fruit, then aim for a 1:3 fat to meat ratio for this recipe.
Mix it Up!
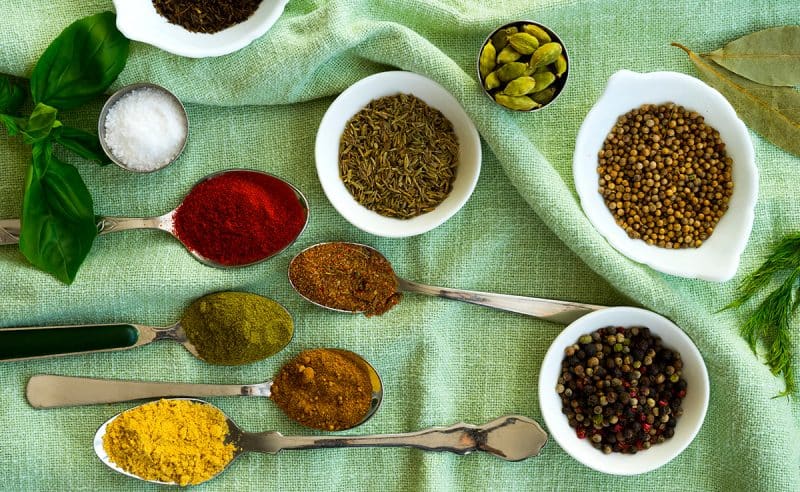
Mix these ingredients together, then add seasonings. As far as your herbs and spices and such go, you really can’t go wrong with salt and garlic powder. Everything else is a matter of personal preferences, and what ingredients you’re playing with.
For example, venison and elk are delicious with dried blueberries, a bit of powdered sage, salt, and onion powder. Bison is amazing with dried apple pieces, salt, garlic, and cracked pepper. For spicy pemmican, try mixing beef with some minced dried mango and chipotle pepper powder. I suggest starting with a basic recipe and then getting creative for future batches.
Finally, melt the tallow or suet until it’s liquefied, and pour that melted fat into the dry ingredients. Mix it well with a spoon until it clumps together well. Then, form it into bars, balls, or patties.
Storage
Indigenous peoples used to store their pemmican in leather bags, hung high off the ground. This kept the contents dry and well away from vermin.
Since we live in the country, we also have to deal with mice getting into pantry goods. As such, our go-to method is to wrap pemmican in waxed paper. Then, we move those wrapped pieces into paper bags and then pop THOSE into airtight glass containers. Then we put them in the cold cellar until we want to snack on them.
This is for snacks we plan on eating within a couple of months, of course. For long-term storage, we recommend vacuum sealing portions and storing them in a cool, dry place, away from direct sunlight.
Alternatively, you can also freeze those vacuum-sealed bits of deliciousness and they’ll keep for years. If you choose to freeze this stuff, you can keep it in standard freezer bags too. No need to fuss with a vacuum sealer or other fancy equipment. Ultimately, you want to keep oxygen and damp away from your pemmican, so airtight storage + cold temperatures = golden.
How to Eat Pemmican
The simplest way to eat pemmican is like you would any other energy bar. Once it’s cured, it has a rather chewy consistency, so try biting off a small piece first. In fact, if you plan on eating your pemmican in this form, make smaller, thinner bars. They’ll be a lot easier to break pieces off, or bite into.
Alternatively, you can add pemmican to water to make a stew or thick soup out of it. This is warming, nourishing comfort food on a chilly autumn or winter evening. You can also use this as a base soup and add whatever else you have on hand to it. Make it a whole meal by adding some fresh chopped greens, if you can find them, and a side of cornbread.
As a final option, one of the best ways to eat pemmican is what the voyageurs called “rechaud” (reheated). Cut the pemmican bars into thin slices. Then, heat some fat in a skillet, and fry the slices in that until they’re crispy. Serve alongside fried potatoes and onions, or bannock.
Tips and Final Notes
The First nations elders I spoke to about making pemmican advised against adding nuts, seeds, grains, or honey to the recipe if you want to keep it long term. If you’re just making pemmican snacks to take camping with you immediately, then go right ahead. In contrast, if you’re stocking your pantry with survival foods, these additives will make your pemmican go rancid really quickly.
Remember that pemmican is nutrient-dense survival food. Supplement it with fresh foods whenever possible, and be sure to drink plenty of water along with it.
Additionally, if you’re living on animal protein and fat, you’ll need a source of Vitamin C to balance you out. This is the main reason why many people choose to add tart berries to their pemmican. If you’re really not keen on fruit or any sweetness, be sure to incorporate other Vitamin C into your winter diet.
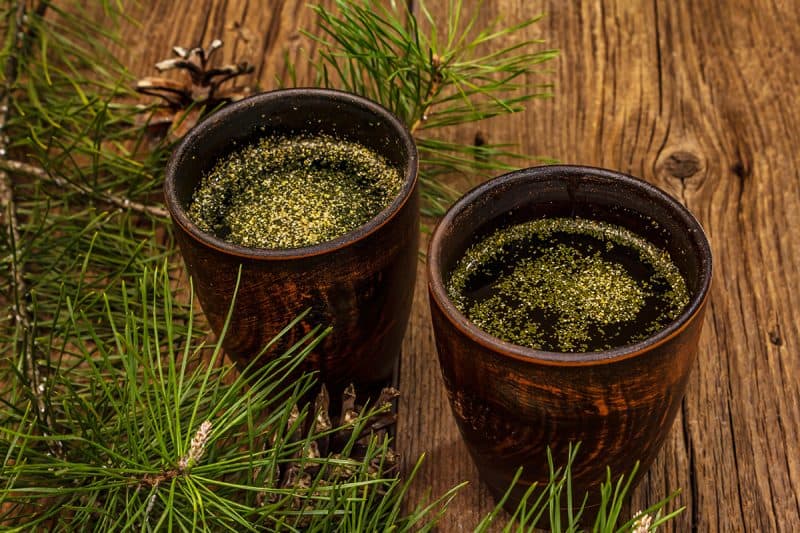
One great way to do this is to make infusions with conifer (evergreen) needles, like spruce, pine, or cedar. Just do your research to find out how much of this stuff is safe for you to drink (usually just a few cups a week), and only taste a bit at first to see if you’ll have an allergic reaction to it.
When it comes to prepping survival food, the key is survival, right? Try not to sabotage that with funky pemmican additives or overdosing on spruce tea.
