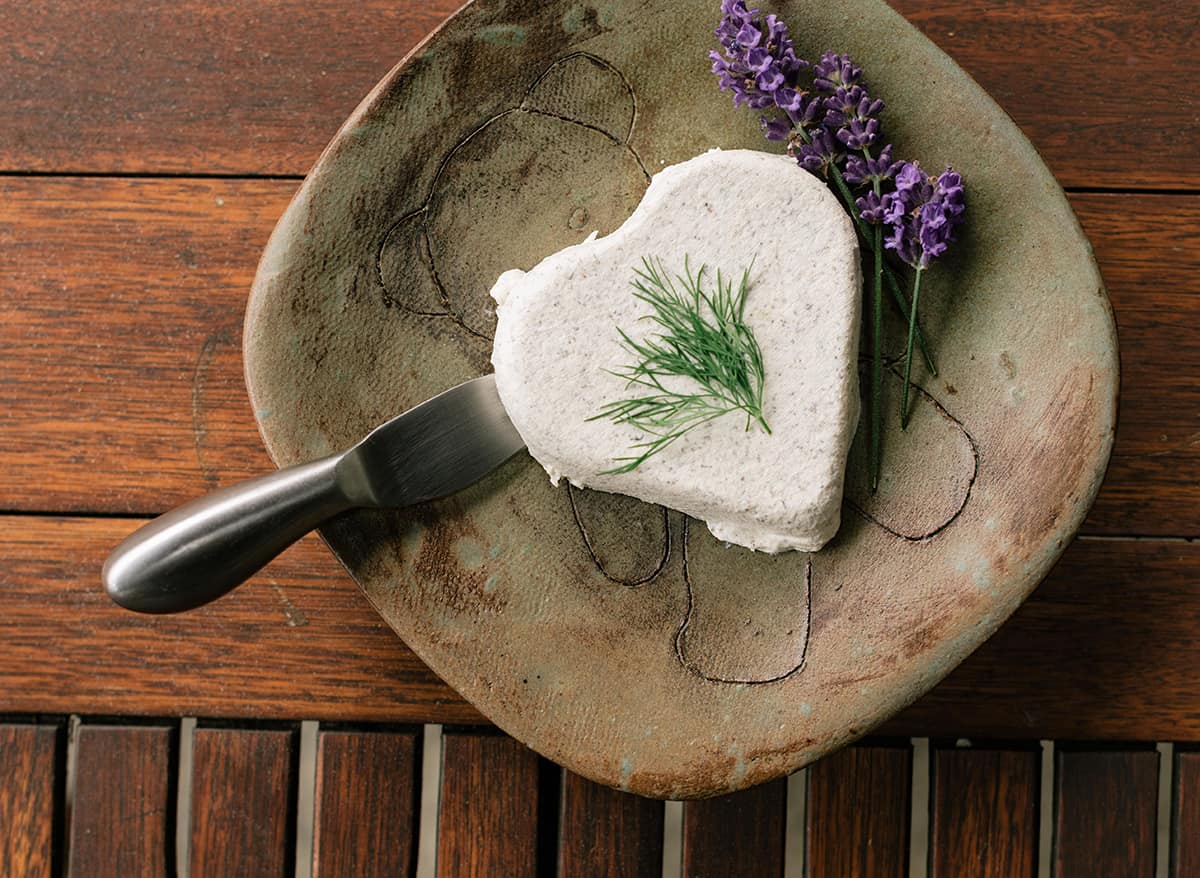
There’s an easy way to indulge your lactose love, and that’s by making various types of cheeses at home. In fact, not only is making homemade cheese cost-effective, it happens to be a lot of fun as well.
If you’re as much of a cheese fiend as I am, chances are you buy quite a bit of it on a regular basis. This can get rather expensive, especially if you have several family members with similar cheese-o-philic tendencies.
The Foundations of Homemade Cheesemaking
I know there are a plethora of lovely vegan cheeses out there, and that’s wonderful. That said, my focus is on dairy cheese, so that’s the direction we’re heading in with our cheesy endeavors here.
Be sure to work with the highest-quality ingredients you can afford. If at all possible, try to source organic milk and cream from a local farm. Similarly, buy your cheesemaking supplies from a reputable source.
Many cheese supply shops online have high ratings, so be sure to research before ordering anything to make sure you’re ordering high-quality supplies.
When you’re making homemade cheese, you need to make sure you’re using nonreactive equipment. This means that the material won’t react with acidic ingredients. Examples of nonreactive pots and pans include stainless steel, ceramic, coated enamel pots (like Le Creuset), and glass.
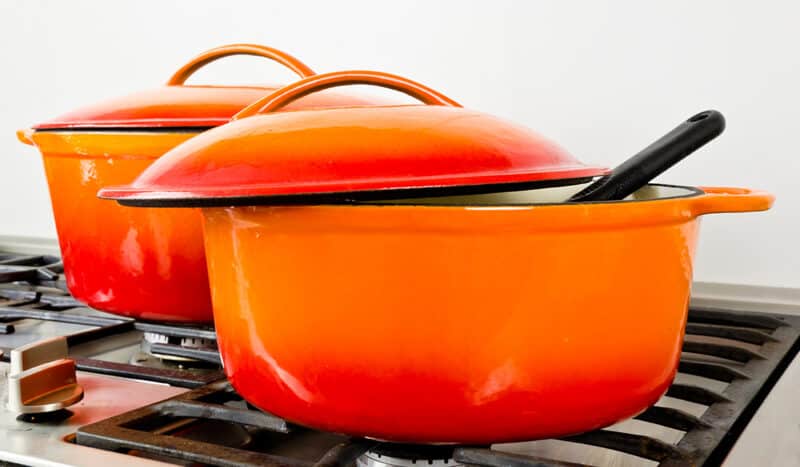
In contrast, copper, aluminum, and cast iron all fall under the reactive category. Preparing anything acidic in these pots or pans will alter the food’s chemical composition, as well as its flavor and appearance.
Cheesemaking is basically a magical alchemy of chemical reactions that result in sublime tastiness. The last thing most people want is for a weird reaction to occur with the pots they’re cooking in, resulting in oddly colored or textured foodstuffs.
For more tips on setting up your cheesemaking routine, check out our handy guide.
What You’ll Need
Ingredients for making homemade cheese vary depending on the type(s) of cheese you’re making. For example, there are dozens of different bacterial starter cultures out there for making countless types of cheeses.
The Thermo B culture you’ll use for mozzarella or provolone isn’t interchangeable with the MM100 you’ll need for brie or camembert.
For the sake of ease, we’re going to make one of the easiest cheeses out there: cream cheese.
Honestly, it’s really hard to muck this up, so don’t panic. This is a great entry into the wild world of homemade cheesemaking. Before you know it, you’ll be getting your own secret club ring and giving knowing nods to bikers wearing cheese-emblazoned leather jackets.
This is the best recipe I’ve found so far, adapted from the book Artisan Cheese Making at Home, by Mary Karlin.
Ingredients:
- 4 cups whole cow’s milk
- 4 cups heavy cream
- 2 drops calcium chloride (diluted in 2 tablespoons cool water)
- 1/4 teaspoon MA 4001 mesophilic starter powder
- 3 drops liquid rennet (diluted in 2 tablespoons cool water)
- 1 teaspoon Kosher salt
- Other herbs and/or spices (optional)
Equipment:
- Double boiler with a lid: it should hold at least 16 cups of liquid
- Thermometer
- Whisk
- Spoons
- Fine mesh strainer
- Cheesecloth or muslin fabric
Directions:
Set up your (nonreactive!) double boiler, and fill up the larger pot with enough water to cover the smaller, inner one about halfway.
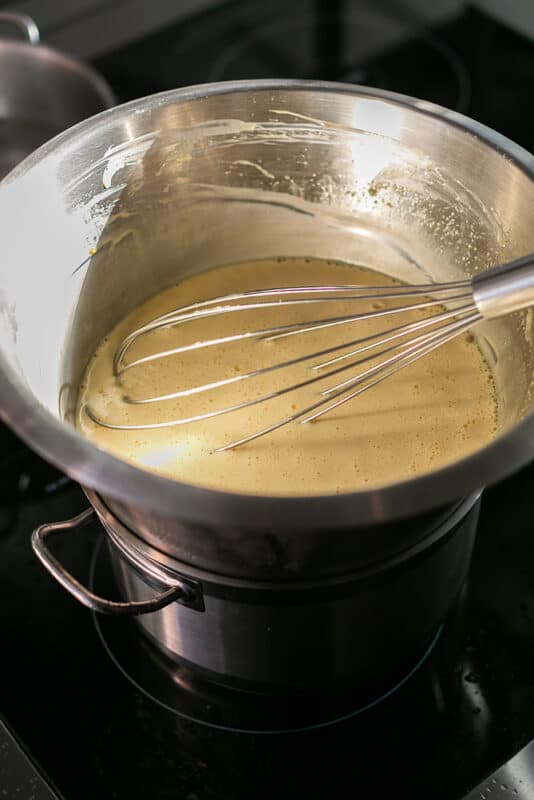
Remove that smaller pot temporarily, and heat the water-filled one on low heat until a thermometer dipped into it reaches 85°F. Then, pop that smaller pot back in until it warms up a bit, at which point you pour in the milk and cream.
Stir this gently with a whisk for about a minute to homogenize the mixture, then cover the lot and warm it to 75°F. Warm it slowly for about 15 to 20 minutes to get it to this temperature rather than heating it up all at once.
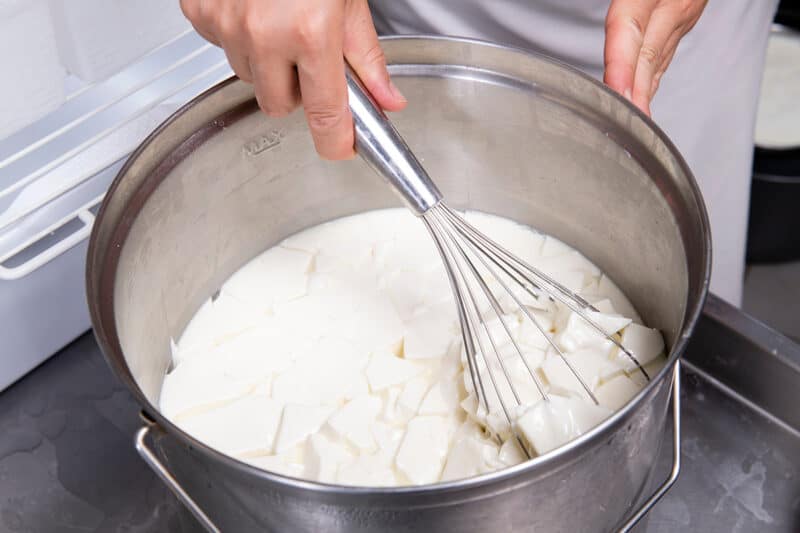
You may need to lift the pot out of the water bath or add some ice to it if the milky creamy mixture is heating up too quickly. This should be a slow build. Once the mixture reaches the right temperature, turn off the heat under it.
Next, sprinkle the starter culture over the mixture and let it sit for 5 to 8 minutes. Use your whisk to gently stir it in, along with the calcium chloride and rennet. Keep whisking this gently for another minute or so.
Then, cover the pot, remove it from its water bath, and set it on the counter. Let that cure for at least 12 hours: you should see clear-ish, light-green whey rising to the surface, with the lumpy curds formed below.
Strain It!
The next step in making homemase cheese is to take your cheesecloth or muslin and use it to line your nonreactive fine mesh strainer. Place that over a similarly nonreactive bowl (like one of those nice big enamel ones), and use a ladle to pour the mixture into it.
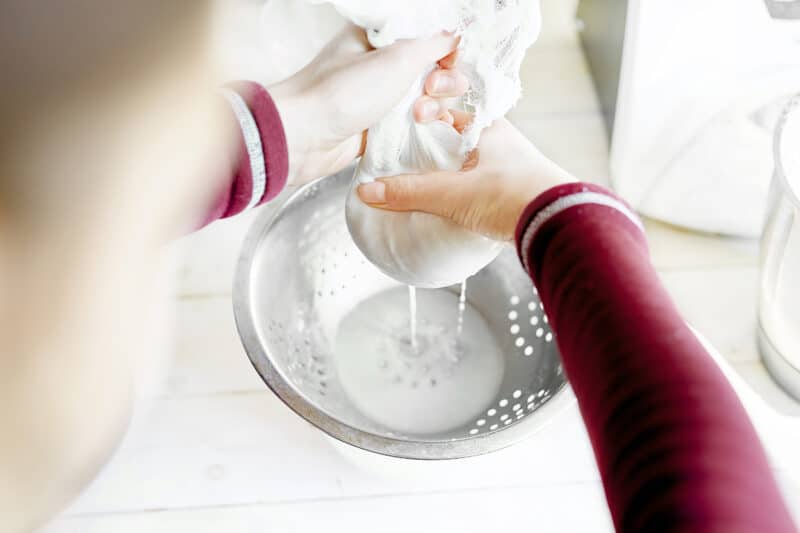
Tie the fabric ends together to make a festive-looking parcel, and let it drain for about 8 hours. Move the drained mixture to the bowl once it’s fairly firm, and reserve the whey for other recipes.
You can use it to lacto-ferment various vegetables, or in soups, smoothies, sauces, etc. I like to use it in polenta or rice, but it has countless different uses.
As for the firmed-up curd mixture, now that it’s in the bowl, use that Kosher salt to season it to taste. This is all the flavoring you need to create plain cream cheese. Just reduce the amount of salt if you’re going to use this cream cheese to make cakes or other desserts.
Once you’ve dabbled with this kind of homemade cheese a few times, try some different flavor combinations. You can mix in many herbs or spices to suit your palate. For example, try adding in some chopped dill and capers. This makes a perfect accompaniment to smoked salmon lox for bagels.
Form this cheese into a log, brick, or ball. Then, store it in an airtight container (or plastic wrap) in the fridge. It should keep for up to two weeks, though we all know it’s not going to last that long.
This stuff is so gouda, I camembert it.
And You’re Done!
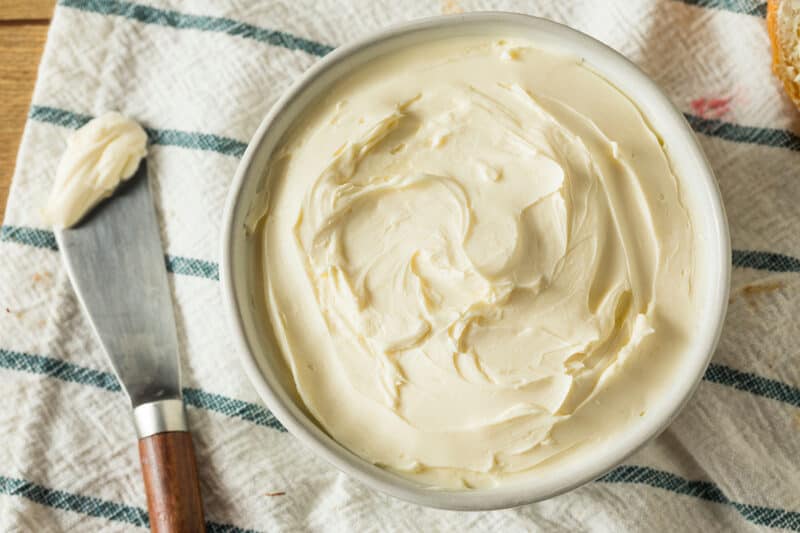
And there you have it: the basics you’ll need for homemade cheese. With just a bit of practice, you’ll be making amazing cheeses in your own kitchen in no time.
As a side note, these cheeses are also great for trading. If you have neighbors who tend bees or livestock that you don’t, try setting up an exchange! Maybe a dozen eggs in exchange for a container of the best cream cheese they’ve ever had.
