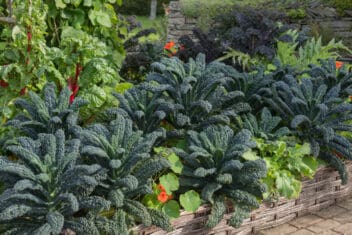
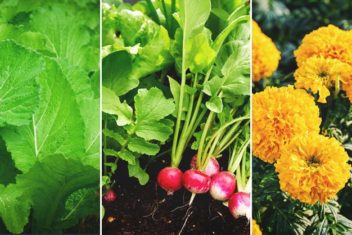
Do you love those potager pictures of lovely lettuce and cabbage heads surrounded by beautiful herb border hedges or along pathways? Me too!
It’s just amazing how a simple herb border hedge can transform an otherwise dull planting bed into something stunning. It’s also amazingly simple to do at home with a little bit of planning and patience to make your own herb borders.
If you want to grow your own herb border hedge at home, read on to find out how to choose the right herbs and save money propagating your own plants. Plus, see a quick example using rosemary as a guide.
How to Select the Herbs You Can Use for Hedges
Lots of herbs will work great as hedge borders in your garden or around your beds. Lavender, rosemary, hyssop, thyme, oregano, lemon balm, basil, and chives are some of my personal favorites for this purpose.
These are all easy to grow even when planted in close groupings. They can be kept compact with regular pruning. Plus, their leaf structure and shape add that sense of formality to an herb border. However, there are lots of other herbs that will work well too.
You just need to keep in mind some key criteria for making smart plant selection. Here are some things to consider when choosing your herbs.
1. Fully Grown Size
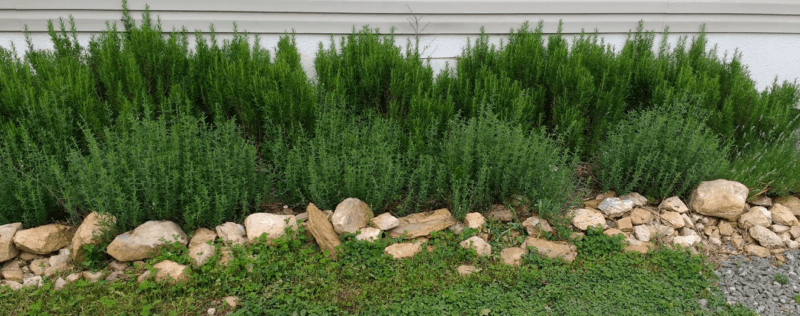
Ideally, you want border herbs to be compact so they don’t take too much of your valuable garden space. Also, since you will need to lean or step over the herb border hedge to weed inside the bed behind, choose plants that can be kept to a manageable size. Finally, opt for low growing plants that won’t cast much shade plants inside the bed.
2. Water Needs
You will be planting these plants on the edge of your garden beds. So, they will dry out more frequently than the interior of your bed. That means you’ll either need to water often or choose plants that tolerate some dry conditions.
3. Fertility Needs
Herbs typically don’t need a lot of nitrogen to grow well. So, if you are planning to add something like a 10-10-10 synthetic vegetable fertilizer to your planting bed, you may run into some challenges with certain herbs.
For example, chives simply don’t taste good if you grow them in a bed with that much nitrogen. They’ll do better as a border for an organically fertilized bed that uses mainly compost and mild fertilizers like compost tea for nutrition.
Basil, by contrast, can handle some extra nitrogen. You may need to harvest it more often because the excess nitrogen will produce lots of leafy top growth. But most gardeners don’t mind an abundance of basil to harvest.
The real key is to match your chosen herb to the level of fertility in your bed and make sure it’s compatible with whatever else you’ll be growing in the bed.
4. Pruning Needs
You’ll need to prune your herb border hedge to maintain shape and size throughout the season. Leafier herbs and annuals need more constant pruning. Slow growing herbs, those with smaller leaves, and evergreens won’t typically need to be pruned as often.
– Leaf Size
Also, small-leaved plants such as thyme can be cut quickly by cutting many stems at the same time. Large-leaved plants like basil need to be pruned with more precision to keep them pretty in appearance and to encourage a bushy growth habit.
– Growth Rates
Another thing to consider relating to pruning is plant growth rates. For example, lemon balm has to be pruned often to keep it from flowering and spreading. I have to heavy prune my lemon balm hedges about 4-5 times during the growing season.
Rosemary only needs to be pruned 2-3 times per year. Thyme only takes two cuttings per year to keep it tidy as a border. Oregano may need to be pruned up to six times per year to keep it in check.
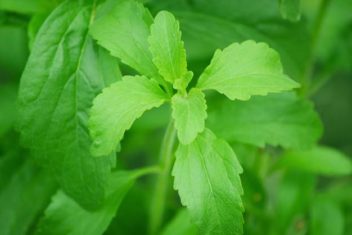
The upside of using plants that need constant pruning as an herb border is that what you prune is also your harvest. So, if you want to harvest often for continuous use, then choose faster growing herbs like Tulsi (Holy Basil), Stevia, or Lemon Balm instead of slower growing thyme or the candy-scented sweet mace.
5. Spacing
Another critical consideration when planning your herb border hedge plantings is spacing. Since you want the cohesive appearance of one long plant, you will have to group your herbs more closely together than is usually recommended for ideal airflow and disease resistance.
The closer spacing ensures that the plants grow into each other to form a border. However, you’ll still need to allow ample space for plant roots and leave a little room in front of and behind your herb border hedge to allow for good airflow.
My rule of thumb is that I reduce plant spacing to about 1/3 or 1/2 the recommended spacing. But, I then leave extra room for roots either in front of or behind the plant. Typically, I use herb borders along mulched paths, so the roots can grow into the soil under the mulch as well as in the bed.
6. Disease and Pest Resistance
Since you will plant close together, there will be greater risks for pathogens and pests infestations unless you choose plants that are disease resistant and have limited pest pressure.
7. Climate and Soil
Of course, just like choosing any plant for your garden, you need to make sure your herb hedge choices are suitable for your climate and soil conditions. Look for plants that grow well in your weather, humidity, and heat or cold extremes.
8. Growing Season
Also, make sure the plants you choose will remain beautiful for the period of time you want the herb border hedge in place.
For example, annuals, like basil, only grow well from May to November where I live. So, they make a nice warm season hedge around hot weather plants like squash, tomatoes, or eggplant. For year-round interest though, other choices like perennial rosemary and lavender make more sense in my climate (USDA zone 7a).
How to Make a Rosemary Herb Border Hedge
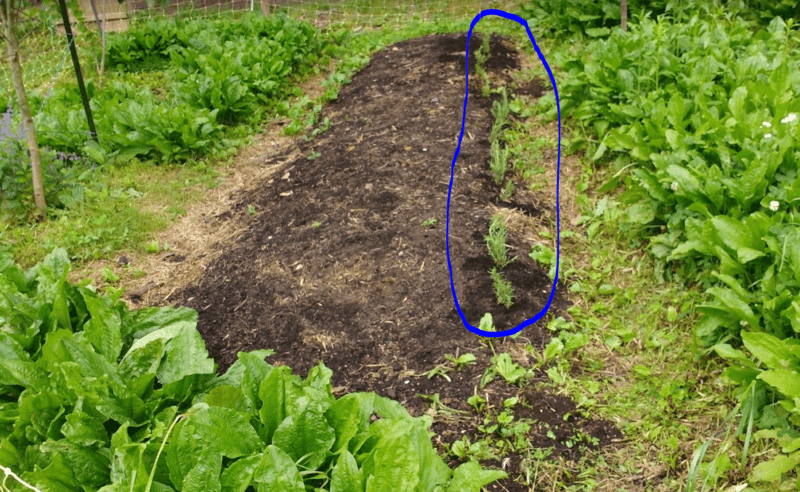
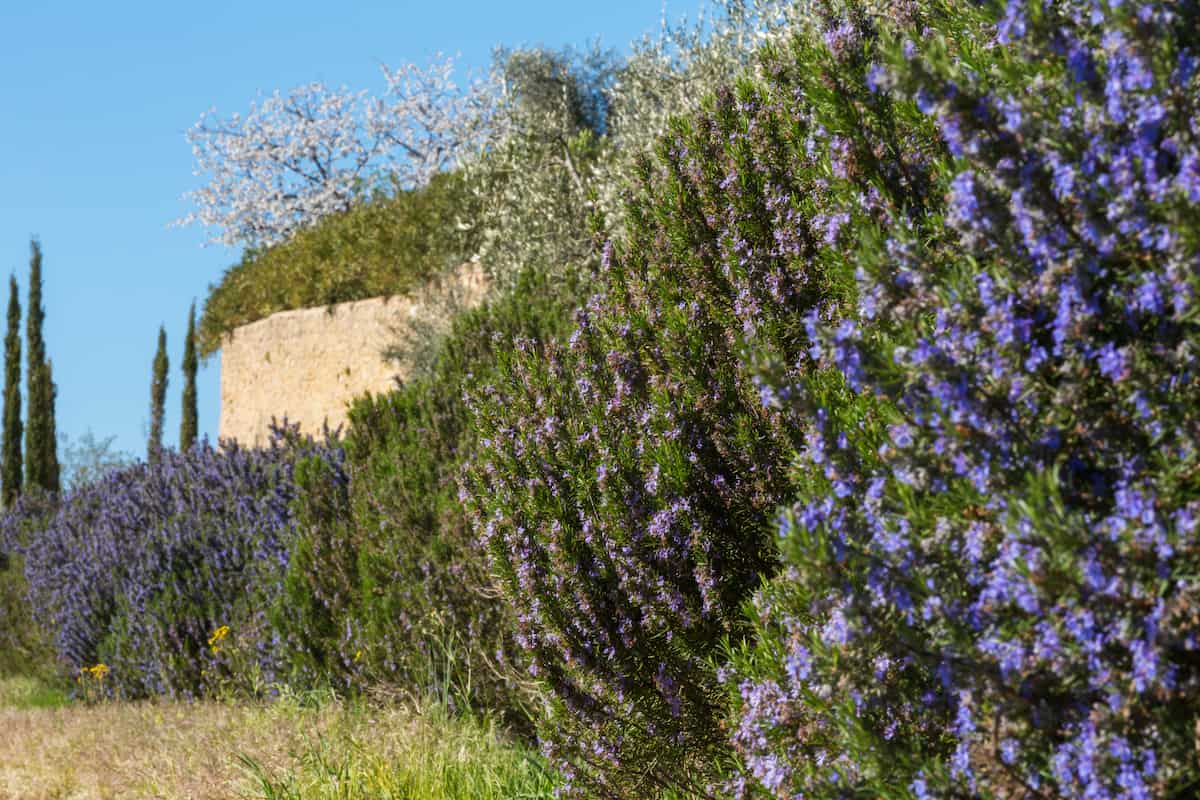
Now, that you know how to select plants for herb border hedges, let’s go through a quick example of how to plant one using rosemary. These basic steps can be used for any herb border. You’ll just need to adjust your plant spacing as needed to ensure your plants grow into each other to make a cohesive hedge border.
Step 1: Choose and Source Plants
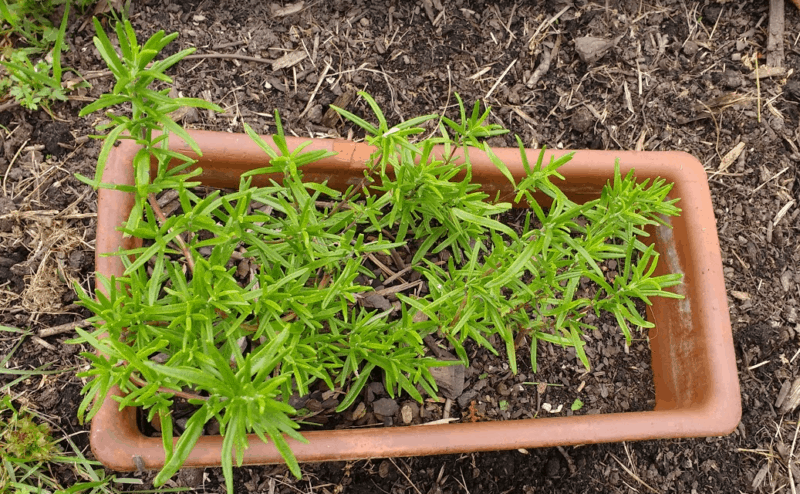
Mature plants can be expensive and are often only seasonably available. So, before you commit to a particular kind of herb border, make sure you can find plants at a price that is reasonable for you. Or, consider starting early so you can grow your own plants to use.
– Propagate Your Plants
Personally, I like to propagate my own plants to keep costs low. For rosemary, I harvest the hardwood cuttings from my existing plants in late winter or early spring.
My late winter cuttings take about 10-12 weeks to root, while early spring cuttings only take about 6-8 weeks. I start them in regular potting soil in my greenhouse and water them daily.
You can also start plants using seeds. This takes longer. But for the cost of a bag of potting soil and pack of seeds, you can easily make all the plants you need for a 30-foot herb border.
– Find Local Suppliers
Alternatively, you may want to check with herb sellers at your farmers’ market. Their plants are often less expensive than big-box garden centers. Also, if you are buying in large quantities to make lots of herb border hedges, you may be able to get a multi-plant discount.
Step 2: Calculate Plant Count
Once you know which plants you want to use and are sure you can buy or propagate them, then you need to determine exactly how many plants are needed. For rosemary, for an informal hedge, I install plants at about 2 feet apart. For a tight formal hedge, I plant about 1.5 feet apart.
Actual plant spacing though will depend on how long you need your hedge to be. For example, to plant a formal rosemary hedge along an 8-foot bed, 1.5 feet divided into 8 linear feet equals 5.33 plants.
Since I clearly can’t plant 5.33 plants, I’ll either have to round down to 5 plants or up to 6 plants. Then, I’ll have to figure out my actual spacing based on that number of plants.
Step 3: Lay It Out
Once you know the number of plants you’ll be using, you need to plan your plantings to be symmetrical. For example, if I decide to plant 5 plants over an 8-foot span, they’ll need to be 1.6 feet apart ( 8 feet / 5 plants = 1.6 feet).
So, I’ll put the first plant .8 feet in from the start of the border. Then subsequent plants will be 1.6 feet from the center of that first plant. The final plant should then be .8 feet from the end of the border.
Personally, I like to lay everything out on paper first just to make sure my math works out. Then, I go to my garden area and place stakes where my plants will go.
You may also want to run a string line just to make sure you keep everything in a straight line. That also helps me visualize and make sure I like my plan before I break ground.
Step 4: Plant
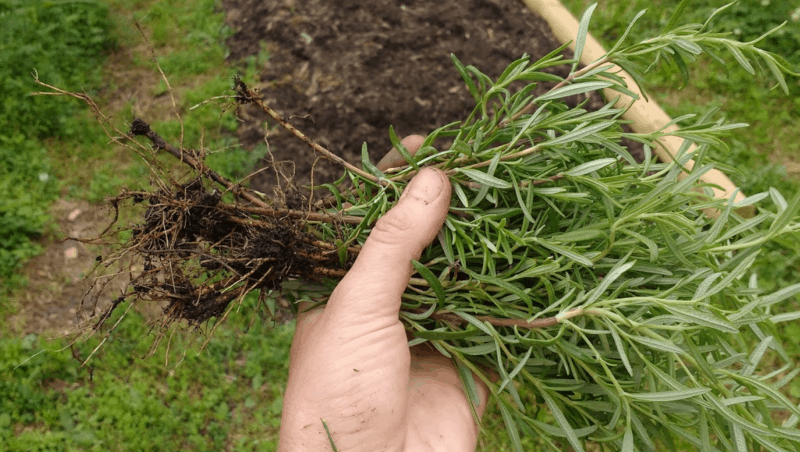
Once you are happy with your layout, then you need to dig your holes and plant. If you aren’t planting in an existing garden bed, make sure to check out our other posts on how to prepare garden beds. Personally, I have the best results with sheet mulching or no-till bed preparation techniques.
Step 5: Maintain Your Herb Border Hedge
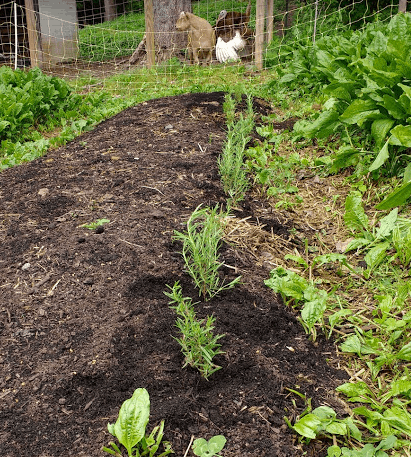
Once you have your hedge planted, you must give it regular watering, weeding, and occasional fertilizing with compost tea or fish emulsion until it has a deep, healthy root system.
Pinch plant tops while young to encourage bushier growth. Then prune as needed to keep plants to the size you planned. Don’t forget to use those prunings fresh or dried as part of your herb harvest.
Finally, gaps in a hedge ruin the appearance. So, just to hedge my bets, I start a few extra rosemary plants from cuttings each year. That way if any of my hedge plants begin to show signs of age or poor health, I can replace them with a new plant early on to keep my hedge whole.
If I don’t end up needing the plants, I give them away as gifts or put them in pots and train them as topiaries for tabletop decorations.
