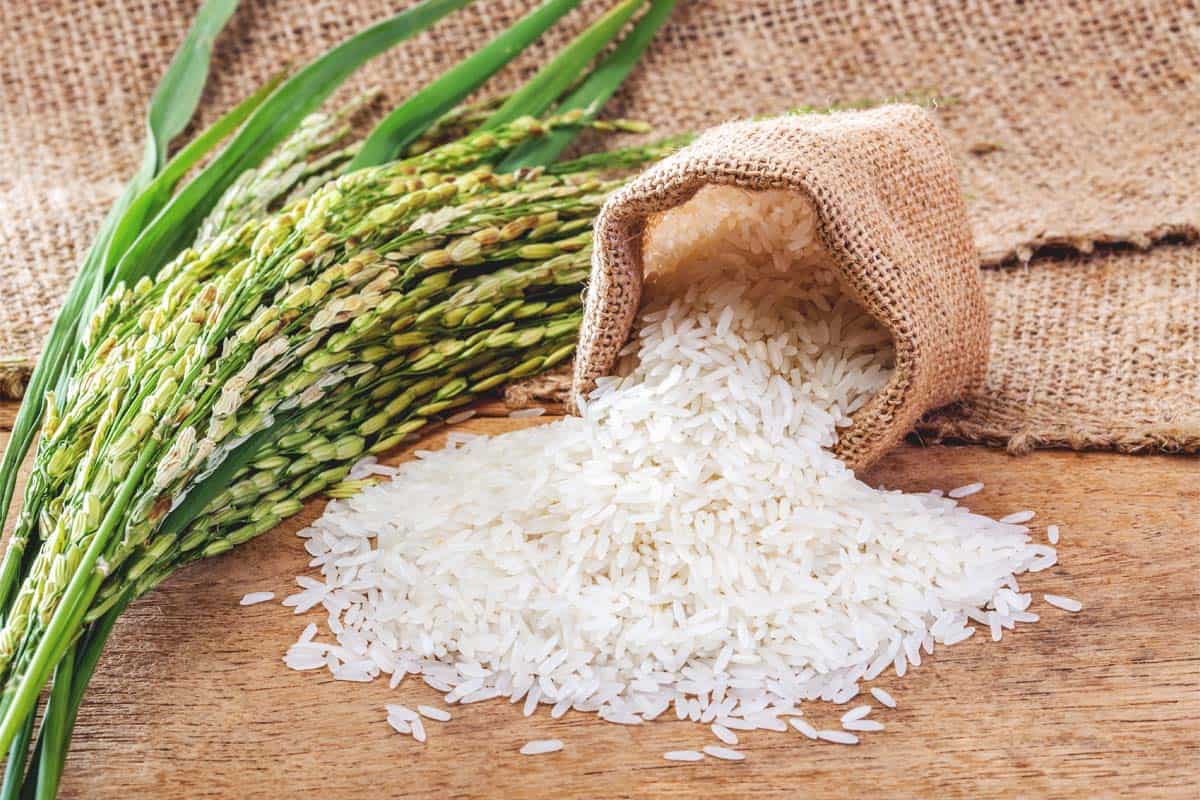
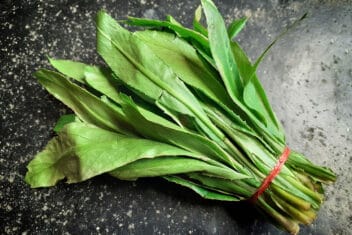
When you think of rice you probably think of Japan or China, and iconic pictures of people wading in rice paddies to harvest the grains. This is one way of growing rice. Another way is in your backyard garden.
There are two types of rice – upland and lowland. Lowland rice is the type that grows in patties or flooded areas. Upland rice is adapted to drier conditions and grows in drier soil.
A tropical crop, rice likes warm-weather and a long growing season. However, it grows as far north as Maine if you start it indoors to give it a jump on the growing season.
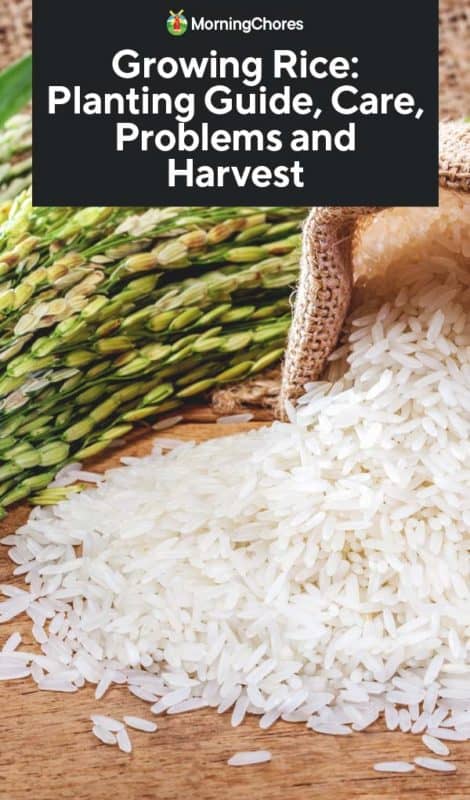
Rice Anatomy
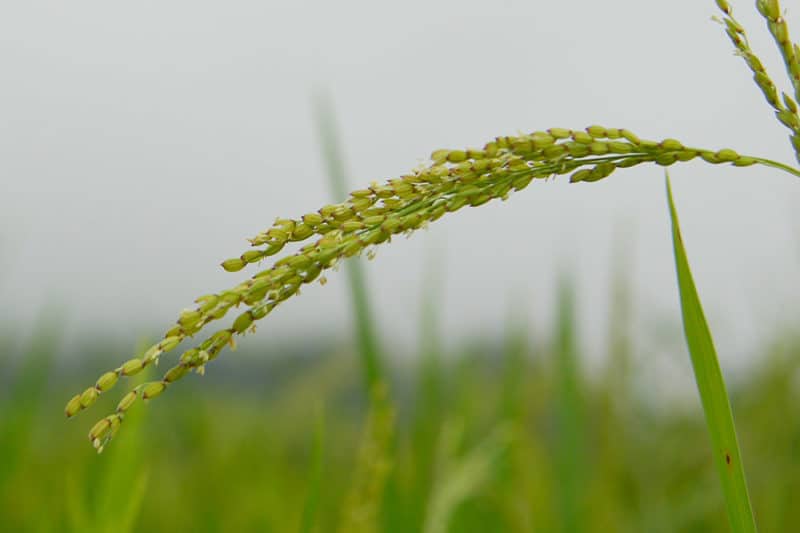
The anatomy of rice has some different terms than your typical garden plant, so I’ll start off with a few terms you need to know to understand the rice plant.
Rice seedlings start and grow like many other plants. However, at the end of the seedling stage, a new stage called tillering starts. This stage starts at about 18 days after sowing and lasts until about 45 days.
Tillers are basically the stems of the grass plants. One seed can produce several stems or tillers. This is important because each tiller can then produce grains.
The next stage is when the panicle forms. The panicle is the multi-spiked branches that form and where the rice seed will eventually develop at the end of the tillers.
As the plant grows, the stiff tillers are surrounded by the flag leaves, which gather nutrients and sun to feed the developing grains.
As the rice matures, it develops a hull, or husk, that protects the edible interior.
Best Varieties of Rice
Rice is in the large family of grasses called Poaceae and is related to other important food crops like wheat, barley, and maize. It’s also related to bamboo and the grass you mow in your yard.
In addition to rice that grows in paddies or garden beds, there are several different types of rice, including long, medium or short grain. You may have noticed these labels on bags of rice at the grocery store.
Types of Rice
Long-grain rice is long and slender and remains light and fluffy when cooked. It’s also a little drier than the other types. This type works well with chicken dishes, and in soups and curries.
Medium-grain rice is short and fat and tends to cook up moist and slightly sticky. It has a creamy consistency and is best for puddings and stuffed peppers.
Short-grain is round and becomes soft and sticky when cooked. It has a sweet flavor and is popular in sushi.
Akamuro Rice
This heirloom variety was developed in Japan to meet their cool, dry growing conditions. It’s a small red rice variety that smells particularly good.
The hulls turn a burnt orange color at maturity. It’s cold-weather hardy and can be planted north up to zone 4b. This plant needs 105 days from transplant to mature.
Blue Bonnet
This heirloom that was originally grown by the Mayan people and collected by Mennonite missionaries. It’s a long-grain variety of rice with a mild flavor and dry texture.
Duborskian
This upland variety is well suited for the family garden or small patches for grain production. Produces sturdy plants upright plants that grow about two feet tall.
Duborskian produces 12 to 18 tillers per plant. Each tiller will bear a rice panicle, and you can get up to 100 grains of rice per panicle.
This type is good for northern areas and can withstand a light frost. It takes 115 days to mature from transplanting.
Hayayuki
This tall variety gets three feet and is known for its wonderful flavor. The hulls fill out well and are easy to harvest. Hayayuki’s fast to mature but needs consistent moisture. It matures 105 days from transplant.
Titanio Rose
This open-pollinated variety was developed in Italy for drier higher elevations. Great flavor. It’s a short brown gran that is often used in risotto due to its creamy texture. This type produces dense heads.
Planting Rice
Rice has a long growing season and needs warm weather to germinate. It’s best started in flats and then transplanted, especially if you live in zone 6 or higher.
In the United States, farmers are growing rice commercially in the southern states, where the weather is warm and wet.
Starting Seeds
Start rice indoors at about the same time you would tomatoes – around six weeks before the last frost in your area. Soak the seeds in water for 36 hours and then dry for 24 hours before planting. Start under lights or on a sunny windowsill.
Upland rice, also known as dryland rice, needs warm temperatures to germinate. Use a heat mat to keep rice seeds warm. Seeds germinate in about one week.
Transplant at the same time you would your tomatoes and peppers – after the last frost in your area and after the soil has warmed to at least 55°F.
You can direct seed rice in regions that have 5 months of frost-free days. Plant after all risk of frost has passed.
Transplanting
Your rice plants should be between five and seven inches tall before you transplant them outdoors. Harden seedlings off for about a week by gradually moving them into a sunny spot outdoors. Each day, plants should get an additional hour of sun, so on the first day, give them one hour, the second day two hours, etc.
Soak the planting area thoroughly before putting the plants in the ground. You want a muddy consistency when you plant out to help the roots get established.
Soil and Sun Requirments
Rice needs rich soil, so add plenty of well-rotted compost to the soil before planting. The plants also need full sun.
Spacing and Planting Techniques
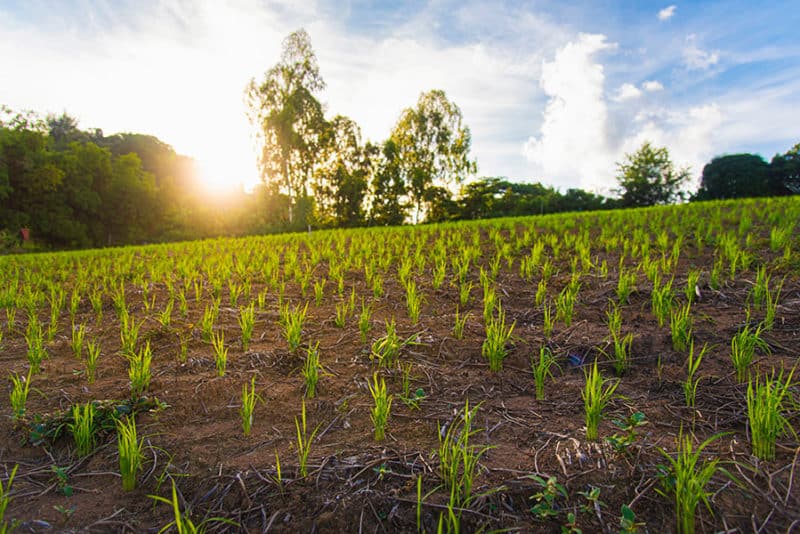
Plant seedlings six inches apart in both directions if you’re using raised beds. In a row garden, place plants three inches apart with two feet between the rows.
Upland varieties of rice are pollinated by the wind, much like corn, so needs they need plenty of good air circulation.
Another way to plant rice is by using permaculture techniques of a trough and a swale. Plant the rice in the berm and a drier crop such as barley on the hill.
Caring for Rice
Water Needs
While upland varieties don’t need a flooded area, they do still like to be kept moist. An inch to an inch and a half of water is needed weekly. Drip irrigation works well if you have a large planting.
Fertilizer
Rice is a heavy feeder. Fertilize every other week following the manufacturer’s recommendations to keep rice growing. Use a good organic foliar spray such as Maxicrop or Alaska Fish solution.
Mulch
Mulch plants with two inches of covering to help conserve moisture in the soil. Organic mulches such as straw or composted leaves work best.
Problems and Solutions to Growing Rice
Surprisingly, rice is a fairly low maintenance crop. After all, it’s a grass – and we all know how well grass can grow when it has the right conditions.
Weeds
The biggest issue with growing rice is that it has a low tolerance for competition. Keep your rice crop weed-free to get the best production.
Birds
Birds can be a problem when the rice begins to ripen. Cover your beds with netting to keep them from stealing your rice.
Harvesting and Storing
Typically, it takes between 90 and 120 days after transplanting until harvest. Rice typically heads the first week of August and finishes by late September, depending on which variety you planted.
You can expect to average ten pounds of rice per 100 square feet in a home garden.
Rice has a tight hull and the interior must be separated so that you can eat it. Typically in commercial operations, this is done with a thresher. You can do this at home by rolling or using abrasion.
This video shows the process in action:
Steps to Harvesting Rice
- You know the rice is ready when the plant has turned golden brown and the seeds feel hard.
- Cut the rice plants off at the stem just above the soil level.
- Gather the plants in bundles and hang them in a shady area with good air circulation.
- After about three weeks, you can remove the seeds. You can save the stem to use as a straw. It can be used as animal bedding or mulch.
- Thresh the seeds by putting the grains on a wooden surface and pounding them using a wooden mallet. You can also roll them with a rolling pin. The objective is to remove the hard outer layer and free up the rice grain.
- Use a fan or hair dryer to blow away the hulls. You can also transfer from one basket to another and let the wind take the chaff and leave you with the heavier seeds.
- Store your rice in glass jars in a cool shady location such as a pantry or root cellar.
If you plan on growing a larger amount of rice, you can also purchase a small commercial rice dehuller or even make one.
Recipes and Advice for Cooking Rice
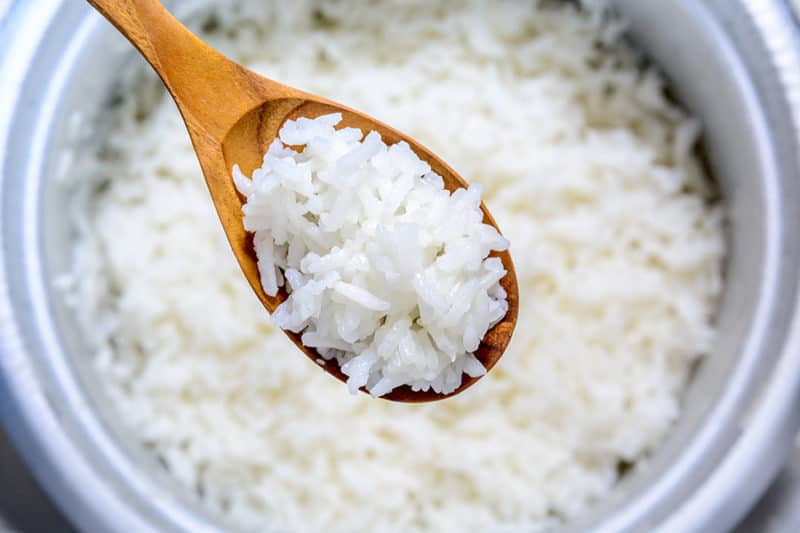
Remember that white rice in the store has been processed. This makes it cook faster. Your homegrown rice is more natural and takes longer to cook – much like brown rice.
Follow these guidelines from Cooking Light to cook your rice properly.
Find the Right Ratio
It’s important to have the exact rice to water ratio. Here’s the secret to cooking perfect rice:
- To cook one cup of rice, a two-quart, medium-sized saucepan works well.
- On medium heat, add vegetable oil to the bottom of the pan to cover the surface. Add rice and stir for a couple of minutes.
- Add 2 1/2 half cups liquid and a pinch of salt, or 2 1/2 cups broth into the pan.
- Bring to a boil and then reduce heat to a simmer. You want to simmer the rice because boiling it causes it to clump.
- Cook for 45 minutes.
- Don’t lift the lid as the rice cooks, because it interferes with the cooking process.
- Let the rice cool for several minutes with the lid on. This gives it a firmer texture and it will mix in better with other ingredients.
- Fluff rice with a fork, mix in any spices, meats or vegetables and serve.
You Need to Try Fresh Rice
Like many homegrown crops, rice tastes much better fresh. Don’t be intimidated by its reputation. You’ll enjoy growing it, and trust me, there’s nothing more fulfilling than cooking your home-grown rice.
