
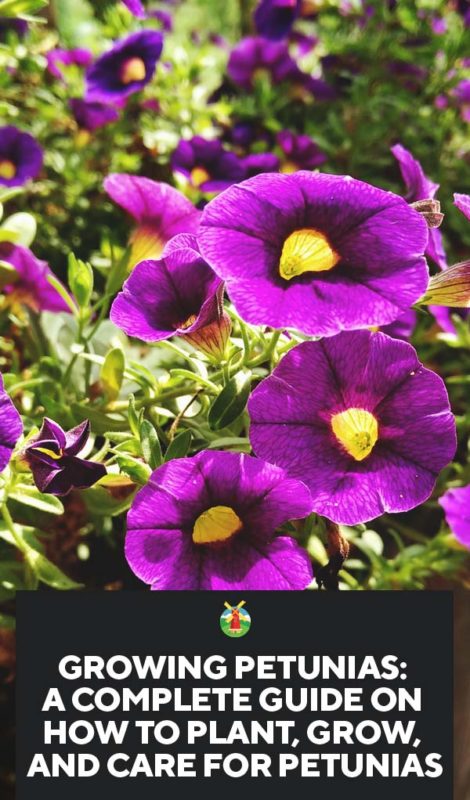
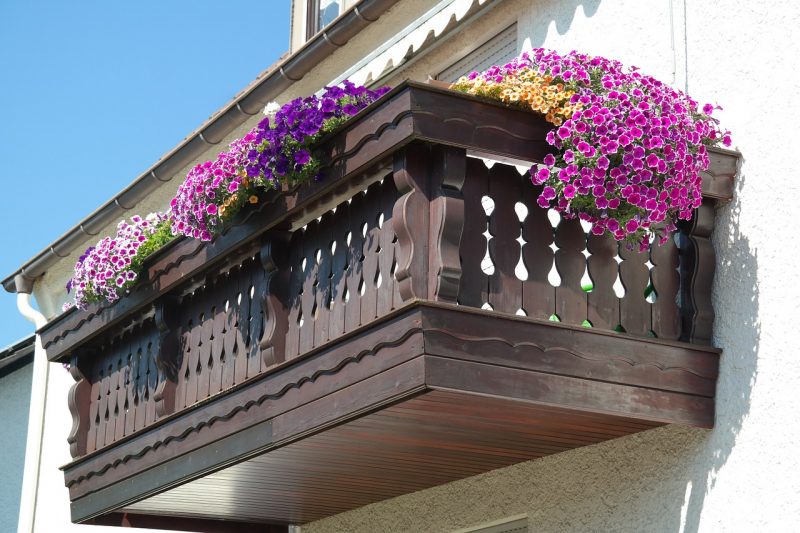
One thing I love about the warmer months of the year is the flowers in bloom. They are gorgeous.
But one thing about ‘the gardening bug’ is that it doesn’t always come with an instant green thumb. If this is you, meaning you love flowers but struggle to grow them, I want to inform you of a wonderful option to try: petunias.
I’ve grown petunias for years. They’re simple to grow and gorgeous to look at. Here is all you need to know to grow petunias successfully year after year:
Petunia Varieties
Petunias are annuals in most locations. If you live in planting zones nine through eleven, you could potentially grow them as perennials.
Either way, your petunia varieties fall into two categories:
- Grandiflora
- Multiflora
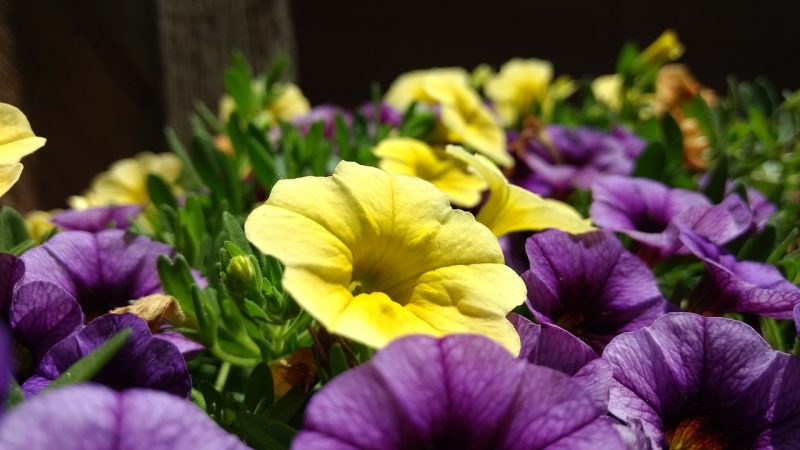
Grandiflora varieties have larger flowers. These are great to go in hanging baskets or containers because of how big they are and their ability to flow.
Multiflora varieties produce smaller flowers, though they come in thicker. These are a good option for flower beds because they handle wet weather better than the other variety.
Starting Petunias from Seed
Petunias are easy flowers to grow once they’re transplanted. It is recommended to purchase petunias from a local nursery and transplant them. This should help you find success when growing them.
However, if you prefer to start petunias from seed and grow them yourself be advised they can be tricky. Here is how you grow petunias from seed:
1. Start Early
Petunias need to be started from seed around 10-12 weeks before you want to plant them outdoors. You should wait until after the last spring frost to move them outdoors.
Knowing your frost dates can help you decide when to start your seeds indoors.
2. Give Them Plenty of Light
Place your seeds in grow cells. Be careful to sprinkle the seeds on top of the dirt, but don’t cover them up.
From here, be sure to place the trays under a grow light to give them ample amount of sunlight. If you cover the seeds you’ll block the sunlight and could hinder germination.
Petunia seeds need warmth and light. You could place the trays on top of a seed starting mat to help them germinate quicker.
Depending upon the heat and light given, it could take the seeds anywhere from five to fifteen days to germinate.
3. Water Accordingly
When starting your petunia seeds, you should place a tray of water beneath the seed starting tray. This allows the seeds to absorb water from the bottom of the tray without being disturbed.
4. Count to Three
Finally, when you see three leaves on each seedling, you’ll know it’s time to move your petunias outdoors.
Planting Petunias Outdoors
When you’ve moved your seedlings outdoors or purchased your transplants, you should be sure it’s after your last spring frost.
Also, you’ll need to make sure the area you’re planting the petunias in has fluffy, well-drained soil; is in full sun (or at least partial sun); and has a soil pH of 6.0-7.0.
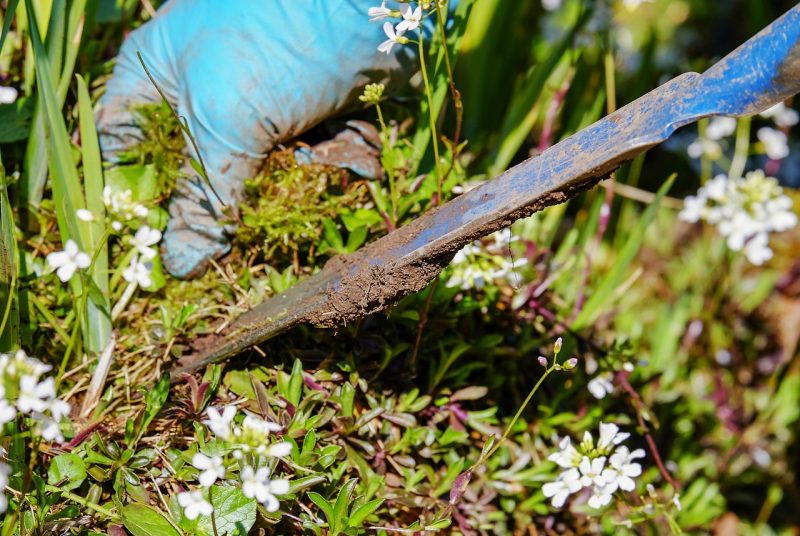
Next, be sure to dig a six to eight-inch hole for your petunias to be planted in. Each flower will need its own planting hole.
Keep in mind, it’s recommended to plant petunias 12 inches apart if they’re going in a bed and 10 inches apart if they’re going in a container. Be sure to add organic matter to each hole to give the petunias their necessary nutrients from the start.
Finally, you’ll place the flower into the hole, put the dirt around the base of the flower, and push down gently. From there, water the plants thoroughly.
How to Care for Petunias
Petunias are easy plants to grow. They don’t require much care, but the few things they do need from the gardener are important. Here is what you need to know:
1. Water Matters
Like any living thing, petunias need water to survive. If you plant petunias in a bed, and you aren’t in the midst of a drought, you should be able to get by with watering them one time per week because they’re heat tolerant.
However, if you plant petunias in containers they’ll need to be watered almost daily. Their shallow root systems make it difficult for them to obtain the necessary moisture when placed in environments with limited soil.
2. Fertilizing is Necessary
Petunias like to be fed regularly. It’s recommended to feed them with a water-soluble fertilizer on a bi-weekly to monthly basis.
Many times we give too much fertilizer, making our plants spindly or having great foliage but poor fruit. There will be a time each growing season where the blooms of a petunia weaken, and they turn spindly anyway. I’ll share with you how to handle this a little further down in this post.
3. Deadheading is Your Friend
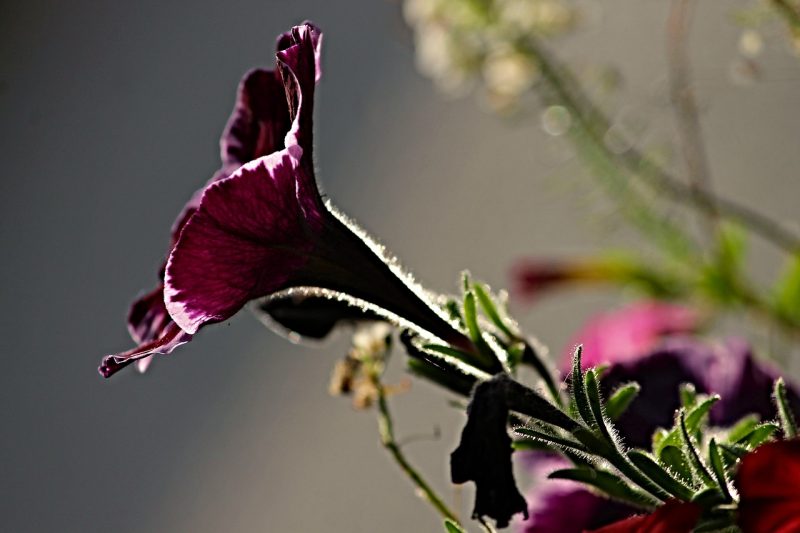
Petunias will produce blooms, and they’ll begin to fade at a certain point. When this begins to happen, you need to deadhead.
Deadheading is the process where you pinch off old blooms to make room for new blooms to come out and give the flower a fresh look.
4. Mulch Helps
It’s a good idea to place a two to three-inch layer of mulch around the base of petunias. You can apply this to plants growing in containers or those growing in flower beds.
Mulching will help suppress weeds and keep soil moist and cool which helps the plants to thrive.
5. Give Petunias a Trim
Petunias will produce from spring to mid-fall. Around mid-summer, the plants will begin to get exhausted. You’ll notice the stems becoming spindly and the flowers fading.
When this occurs, cut the stem back to half of its original size. This allows the plant to regrow and produce healthier stems and flowers for the remainder of their growing period.
6. Sunlight Can Make a Difference
Petunias can grow in full sunlight or partial shade. Keep in mind, if you grow your petunias in partial shade they may not produce as many flowers as they would in full sunlight.
If your plants aren’t producing, look at where they’re located to see if lack of sunlight could have something to do with it.
Problems with Petunias
Petunias have very few problems. This is what makes them ideal for those who have a difficult time gardening, or those who are new to gardening. Here is what you should look out for when growing petunias:
1. Aphids
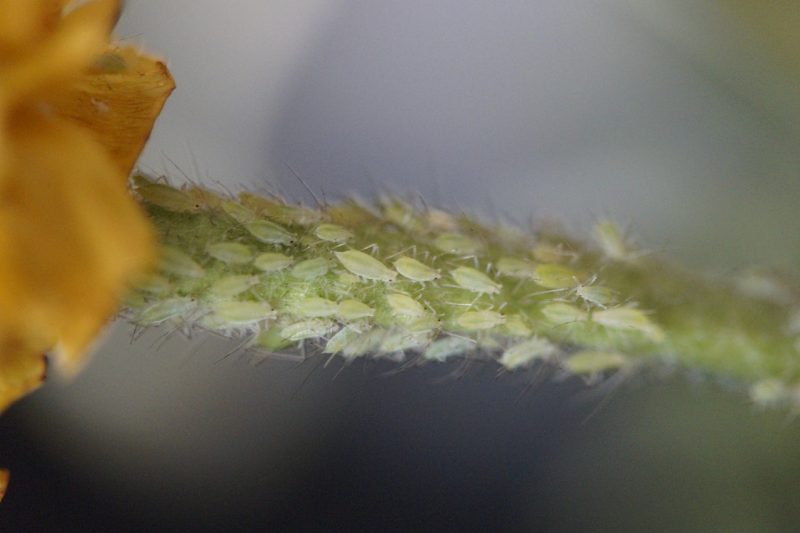
Aphids are tiny bugs which can be found in most gardens. They suck juices from the stems and leaves of plants.
When you spot these pests on your plants, either use an insecticide or spray the plant with cold water. Finally, remove any damaged part of the plant.
2. Caterpillars
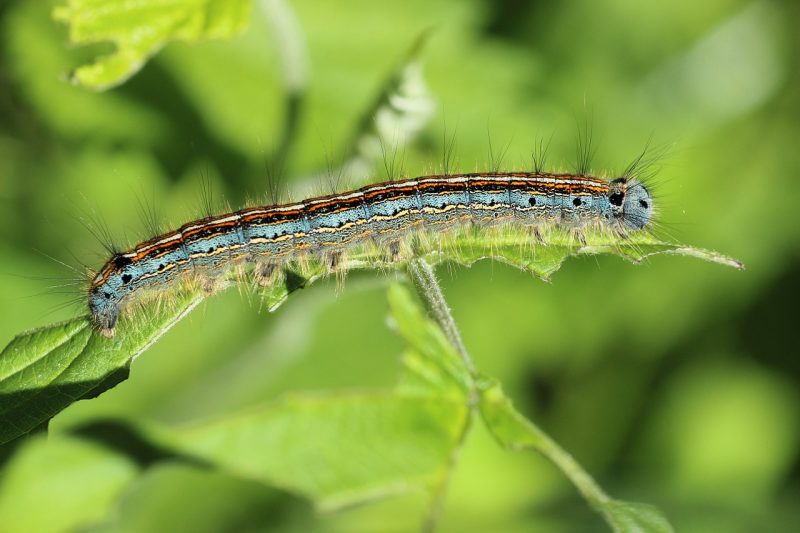
It’s very common to see caterpillars hanging out around your plants. They like to munch on them. You should handpick them from the plant and remove any damaged part of the plant.
3. Gray Mold and Bacterial Soft Rot
Both of these diseases will form on your petunias if they are in areas with too much moisture. You’ll begin seeing your plants becoming soft and discolored. You should choose varieties which are resistant to moist weather.
4. Viruses
Petunias are prone to different viruses such as mosaic virus. You’ll recognize signs of a virus because the plants will become discolored and begin to wilt. When this happens, you should clean any tool which has come in contact with an infected plant to stop from spreading the virus.
Also, any plants showing sign of infection from a virus should be immediately removed and discarded. Be sure you don’t compost these plants as the virus could spread throughout the compost and infect any area it’s applied to.
5. Wild Life
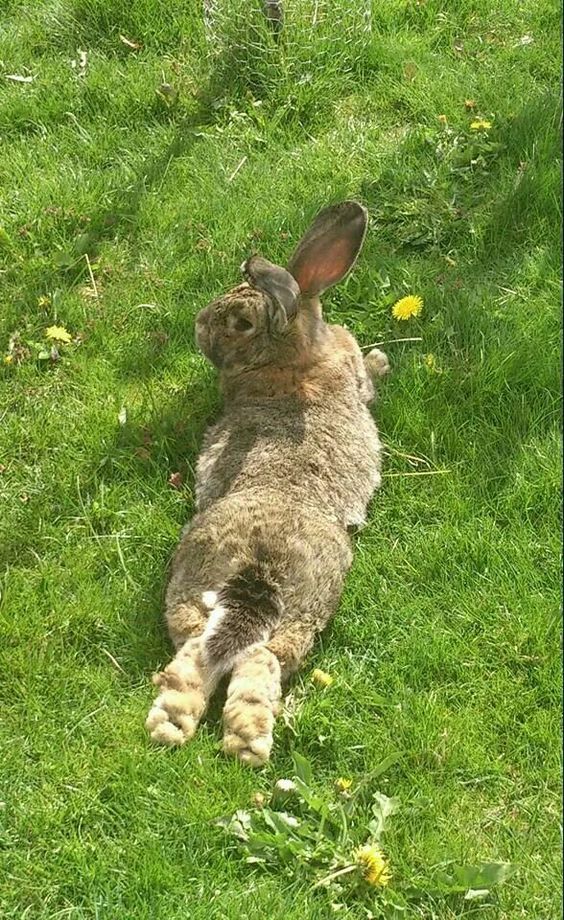
Animals such as deer and rabbits could potentially make a snack out of your petunias. There are multiple ways to deter deer from hanging out in your yard.
If you have rabbits in your yard, it’s a good idea to keep your dog or cat outside for a few days as a deterrent.
Best and Worst Companion Plants
Every plant has certain plants they grow better around and other plants they don’t grow well with. When looking for good companion plants for petunias you should consider other flowers who have similar water and sunlight requirements.
Good companion plants for petunias are:
- Geraniums
- Marigolds
- Zinnias
- Lavender
Each of these plants enjoys full sunlight and have similar water requirements as petunias do.
However, you should avoid planting petunias with cacti as they have drastically different water requirements.
How to Save Petunia Seeds
You should allow petunias to grow until they are finished producing. They aren’t the type of plant you would cut for indoor flower arrangements.
However, you can harvest their seeds to grow them for free year after year. Here is what you need to do to harvest petunia seeds:
1. Stop Deadheading
When you’re ready to begin saving seeds for the next season, you should stop the deadheading process. You should wait until early fall to begin this process.
2. Look for the Seed Pod
After you’ve begun letting flowers live out their life, fade, and die, you should begin to look for a seed pod. This is under the old bloom at the base of the flower. The scientific term for its location is the calyx.
When the flower begins to die, let it do this naturally. Don’t remove the flowers to speed up the process of getting to the seed pod.
After the last bloom has fallen, let the seed pod dry until you begin to see it crack. Check the seed pod daily.
When it’s cracked, remove it from the plant by cutting it off.
3. Dry Your Seeds
You should bring your seed pod indoors to finish drying. You’ll crack the pod open and remove smaller petunia seeds from the pod.
4. Crack Them Open and Store
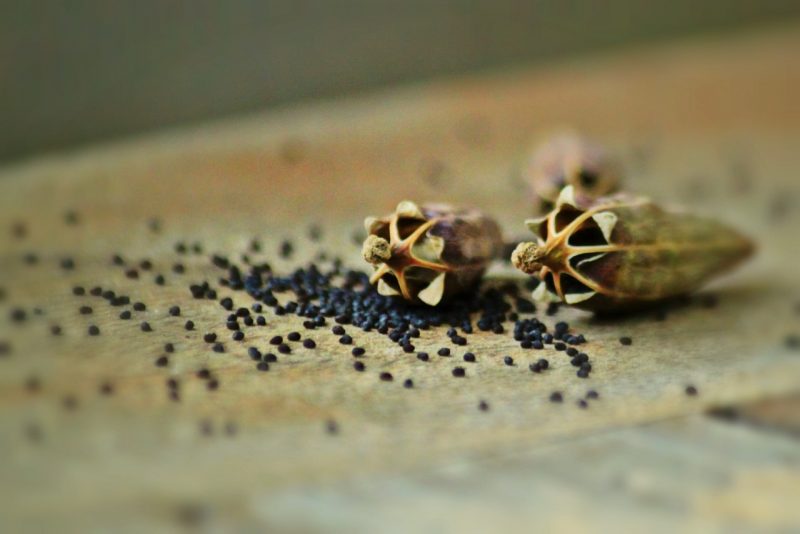
When the pod has been cracked open and the seeds removed, place the seeds in an envelope. Store them in a cool, dry location until you’re ready to start new petunias the next season.
Well, you now know how to start your own petunias from seeds, how to grow them, care for them, protect them from pests and diseases, who to plant them with and who to avoid, and how to harvest your own petunia seeds.
Now, I want to hear from you. Do you have any secrets for growing petunias? Do you have a particular flower you love to grow every year?
We’d love to hear from you. Leave us your thoughts in the comment section below.


