Cheese is the one food I could not imagine living without. I love it so much, that when I started my homestead, a herd of dairy goats were high on my priority list. Now, for most of the year, I hand milk 8 Nigerian Dwarf dairy goats for the explicit purpose of making all the cheeses we love.
Having the most amazing milk possible, though, isn’t the only ingredient you need to make decadent, delicious cheese. You also need proper cultures, patience, and knowledge. Plus, if you plan to make aged cheeses, you’ll also need a cheese cave.
Along with my dairy herd, I also imagined having an underground cheese cave with wooden shelves to age all different shapes and sizes of cheese from soft-ripened Camembert to nutty Roquefort, and beyond. Unfortunately, I just haven’t had the budget or time for that yet.
In a way though, I am glad. In the meantime, I’ve had the opportunity to explore multiple ways of aging cheese with various DIY cheese cave ideas.
Easy DIY Cheese Cave Ideas
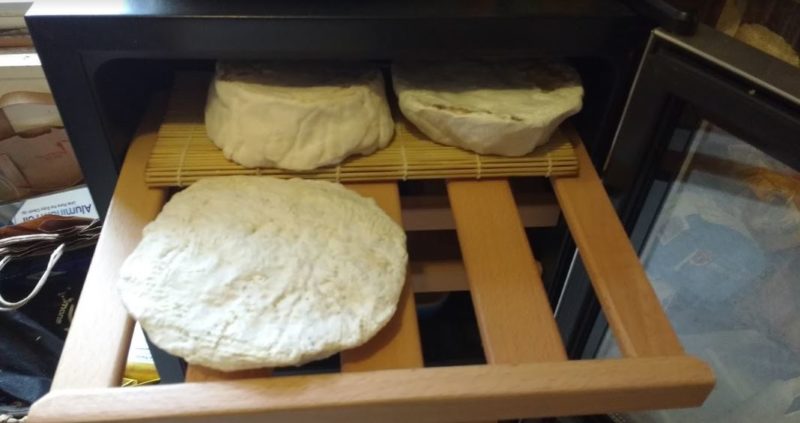
In case you are like me and can’t quite pull off a fabulous underground cheese cave yet, here’s a look at some of the options I have tried or researched. Also, I’ve included some of the challenges of each choice and possible ways to overcome them.
1. The Fridge Crisper Drawer
Believe it or not, you can age some cheeses in the crisper drawer of your refrigerator. I’ve had good luck aging Camembert-style, blue cheese, and farm cheddar in those humid, cool spaces.
Because the drawers are small, you can only fit a couple of cheeses at a time. Also, those cultures will mingle, so for the best results, you will want to stick to aging one kind of cheese at a time. Then sanitize the drawer before trying another.
Finally, the air in the drawer is a bit stagnant. To avoid excessive ammonia smells, I recommend turning your cheeses twice a day. By letting your cheese “breath” twice a day, you will improve the aroma.
2. The Converted Dorm-style Fridge
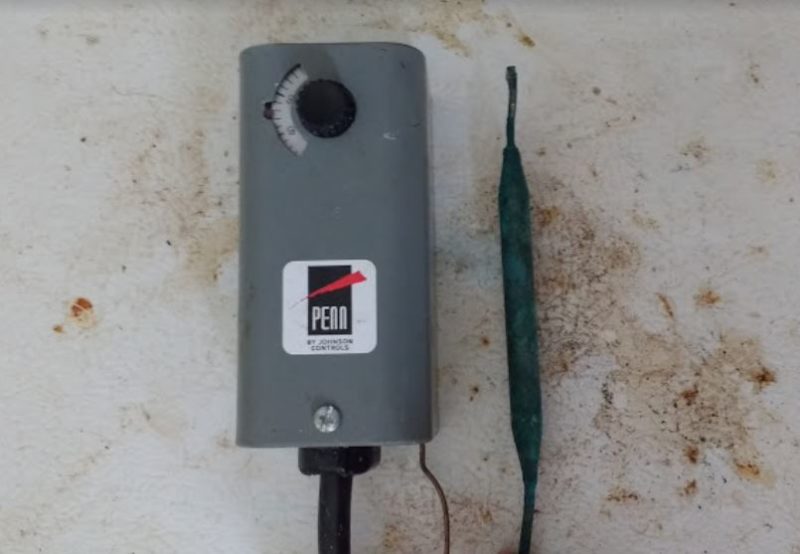
It is extremely easy to turn a small fridge into a DIY cheese cave. You need a working fridge and a temperature override controller. You simply plug the fridge into the temperature controller and the controller into the wall. Then put the copper temperature reader that comes with your controller in a glass of water in your fridge.
By putting the copper reader into the water, you get a more accurate reading than just having it read the air temperature. You will have to change that water every few days as it will take on some of the cheese aromas, including off smells that you don’t want to taint your finished products.
– To Humidify or Dehumidify
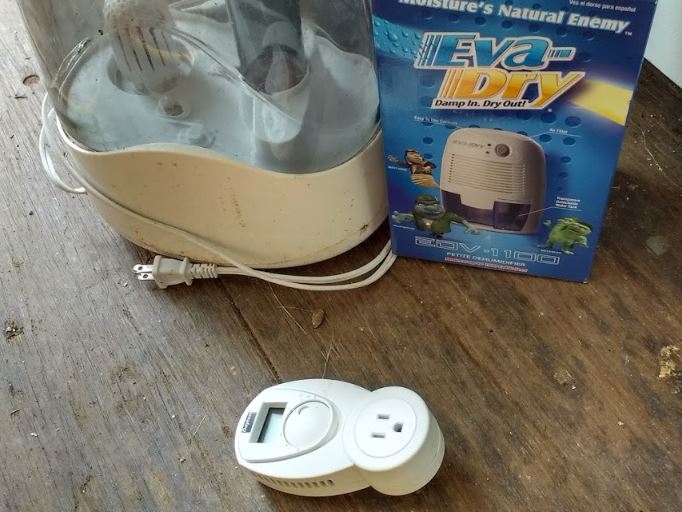
Depending on the air conditions where you live and how often you open the door, you may also need to increase or decrease the humidity using a humidifier or dehumidifier. The easiest way to do this is to buy a humidity controller. Then you plug your humidifier or dehumidifier into the controller and the controller into the wall.
For many models, the controller is also the reader. That means you’ll have to put the controller in the fridge and use a heavy-duty extension cord to pass through the door and out to the wall.
When I used a converted fridge, I needed some added humidity for most of the year. However, there were 2 months in summer when I had to swap my humidifier for a dehumidifier.
With both devices, you will need to check them regularly to add or remove water from the devices. However, since you generally turn your cheeses daily, you can inspect them each time you visit your cheese.
3. The Converted Fridge/Freezer Combo
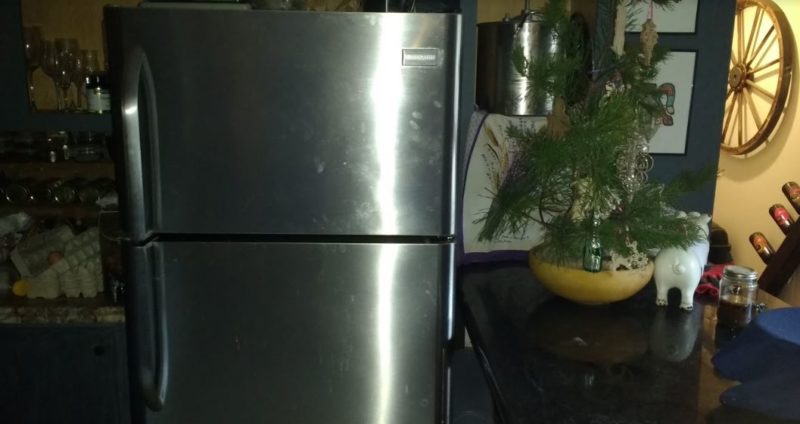
I tried the above method for a fridge with a fridge/freezer combo. This time, the freezer was on top and the fridge at the bottom. I had severe challenges controlling the temperature and the humidity in the fridge section. Also, the appliance failed after only a few months from having the temperature changed so often.
I talked with an appliance repair expert and did some additional research to find out what I did wrong. Generally, those units work differently than a refrigerator only. The freezer is cooled, and then the air from the freezer is pushed into the fridge. So, it’s nearly impossible to regulate the fridge portion using a temperature controller.
Instead, you regulate the freezer section. The easiest way to do this is to make the freezer section your cheese cave and put the temperature reader in the freezer and store cheese up there. That limits the space you have for aging cheese. Still, it will extend the life of your appliance and get you better results on temperature control.
4. The Converted Freezer
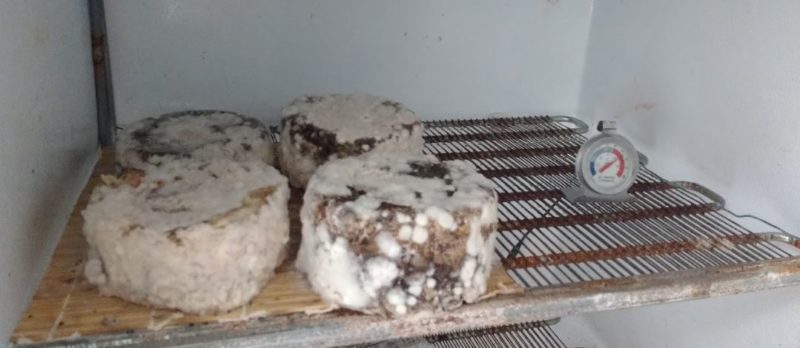
Using the same equipment as you would to convert a fridge or fridge/freezer combo, you can also turn a freezer into a cheese cave. A friend gave us a stand-up freezer, so I tried this.
The condensation was insane. Water kept dripping down from the shelf to shelf and soaking my cheeses. That meant the molds on my cheeses wouldn’t come out uniform (as shown above). The freezer was also drawing so much power that it kept tripping the circuit on our solar panel system.
After some research, I found an explanation from Gianaclis Caldwell, author of several books on cheese-making and goat care. The stand-up freezers cool using coils in the shelf. The condensation on the coils freezes and cools the space.
When not frozen, condensation will always stay in the water form and will continuously drip. Also, those stand-up freezers have powerful compressors and draw more energy than chest-style freezers.
– The Stand-up Freezer versus Chest Freezer
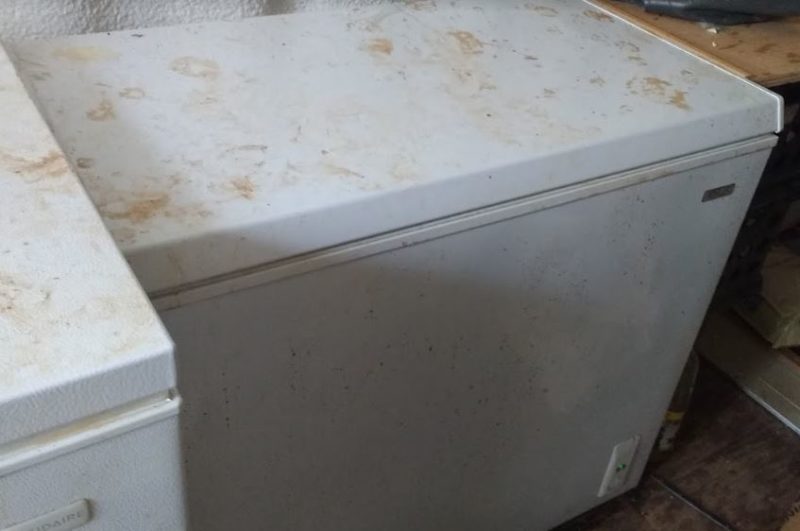
Her recommendation was to use a chest freezer, not stand-up styles as a DIY cheese cave. I haven’t yet aged cheese in a chest freezer. However, I did test the theory and found that the temperature control worked well and the humidity was almost perfect.
You’d have to get smart with your shelving design to age a lot of cheeses in a chest freezer. I imagined something like a 3-tiered dessert tray, except built for cheese rounds. That way I could lift out the shelves and cheeses in one go to flip them.
I almost did that for my chest freezer. However, some of my family pitched in and got me the next option on the list.
5. The Wine Fridge
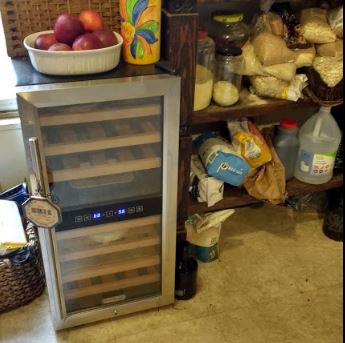
Wine fridges make a great DIY cheese cave. They are already designed to run close to the same temperatures as you need to age fine cheese. They also tend to be close to the humidity level you need.
Plus, even new, you can get a decent model for a few dollars. Larger models cost more, but a 24-36 bottle wine fridge can handle enough cheese for your average homestead needs. Wine fridges are either cooled by a compressor or thermoelectric cooling.
– Compressor Models
Compressor models tend to maintain temperatures better and last longer. They have a bit more native humidity. Plus, they can work well even in only somewhat insulated outbuildings or garages.
– Thermoelectric Models
Thermoelectric models are more energy-efficient and less expensive. However, temperatures oscillate a bit more than with compressors. They also need to be used only in spaces with controlled heating and cooling, such as inside your house.
– Pre-Set versus Thermostat Control
Some wine fridges have pre-set temperatures (e.g. 50-55°F) that are ideal for wine. Others allow you to adjust the temperatures within a certain range.
If you get a pre-set model, you may still need to install a temperature override controller as with a converted fridge to gain more control over your temperatures. If you get an adjustable model, you’ll have more control built-in. Though, sometimes the internal thermostats are not always wholly accurate unless you have a high-end model.
– Easy Ways to Add Humidity
You will generally have to increase the humidity in your wine fridge to be ideal for cheese. Soaked sponges or lightly wrung out wash clothes under your drying racks can usually add enough moisture in smaller models. A small humidifier may be needed in larger models.
6. The DIY Basement Cheese Cave
If you have a basement, you can make a reasonably decent cheese cave with a little effort. In my old house, I had a mostly underground cellar with just a few small windows. The temperatures ranged from about 50°F in the coldest part of winter and 70°F in the worst heat of summer.
– Insulate
I used some framing studs and plywood to section off a part of my basement as cheese, wine, and food storage cellar. I lined the walls with foil-covered bubble insulation. I added a door which I also insulated with the same material.
I covered the windows with insulation. I also closed off all the vents from my house heating unit, so I didn’t heat the basement in winter.
– Cool (if necessary)
I bought a used walk-in fridge cooler from a restaurant closing sale and used that to cool the room for the few days it got about 60°F. It had a built-in thermostat, so I just set it to run as you do your house air conditioning.
I only ended up needing the cooler a few times. I probably could have gotten by without it. I didn’t know better at the time. Whether or not you need a cooler depends on the temperatures inside your basement after insulation.
– Humidify
To add humidity, I kept baking sheet trays full of water underneath the shelves. Every so often the air would get a bit stagnant, particularly in summer. So, I’d put a wet kitchen towel over a box fan and blow it on low from the doorway for a few minutes every couple of days. Just make sure not to aim it at your cheeses, or they will dry out!
– Worth the Investment?
All in, this cost me. However, it worked about as well as a custom root cellar and was conveniently located right in my basement which made access easy. In fact, the space turned out so nice, that I added some decorative details like pretty wine racks, lights, and a wine barrel table with stools so I could hang out there and sample cheeses and drink wine.
This was undoubtedly a luxurious way to go. Still, when you factor in the costs of electricity over the years for these other solutions, that one-time investment in making my basement a cellar was money well-spent.
Other DIY Cheese Cave Considerations
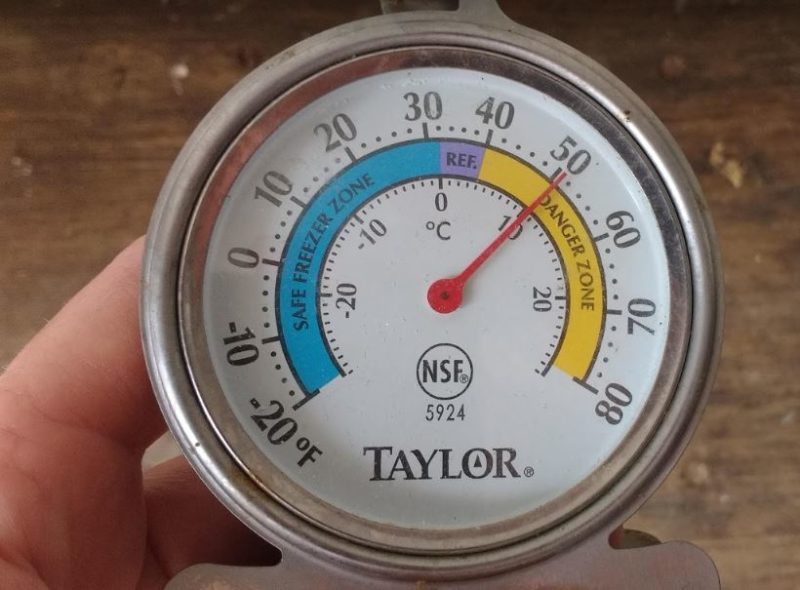
Regardless of which DIY cheese cave format you use, you probably want to keep a temperature and humidity gauge in the cave. You’ll need to make adjustments occasionally to make sure you maintain the conditions that are ideal for your preferred cheeses.
Additionally, replacing metal shelving with wood and adding decorative details can make your cheese cave feel more authentic and less industrial. You need to visit your cheeses and flip them over daily. Adding a little charm to the experience is worth it!
