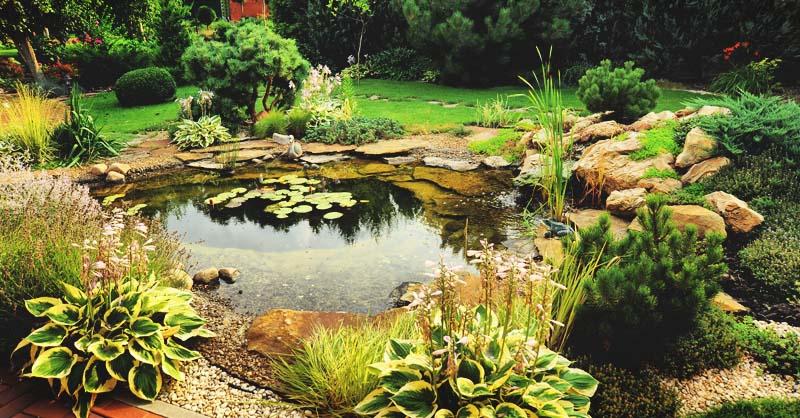
Have you ever considered building your own pond? It hadn’t crossed my mind until we moved to our new homestead. We already had a pond on the property, but it had stopped holding water and looked like a small hole in the earth.
I’ve looked at it for a year now and have decided to do something about it. We’re going to add a liner and increase the size of the pond.
If you’re interested, I’d love to share with you how to build a pond. I’m going to start from the beginning.

How to Build a Pond
Even if you’re like me and have a partial pond already formed, you can jump in where you need to. We will explain how to build a pond with a liner.
Why Use a Liner?
You can build a pond where you use the clay content in your soil to keep the pond from leaking. I’m reasonably certain this is what was originally done on our property.
The issues arise when you don’t have enough clay content in your soil. You’ll have to apply a liner or purchase clay to be added to the bottom of the pond.
Personally, the liner seems easier and a better option. I don’t want to put in the work to create a pond only to figure out it still won’t hold water long term.
Applying a liner is a good option to for creating a pond and having more of a guarantee it will function as needed.
Steps to Build a Pond
When my husband first mentioned building a pond, I imagined a ton of expense and hard work ahead of us. I thought I’d need to rent large machinery and much more.
Once I began the researching process, I realized we only need a few items and few days to complete the project.
Here are the materials you’ll need:
- Pond Liner
- Shovel
- Shallow water plants
- Rocks for edging
- Fish (optional)
- Pump
1. Remove the Sod
You’ll need to pick a location for your pond. Choosing a spot where the ground is either flat or slightly on a hill is best.
If you don’t mind runoff filling your pond, a slanted location might be okay. If you’d prefer to keep your pond cleaner, you’ll probably want to go with a flat location.
When you’ve found the perfect spot, it’s time to remove the sod from the area. Be sure to go around a half of a foot to a foot beyond the perimeter you’re planning for your pond to remove the grass.
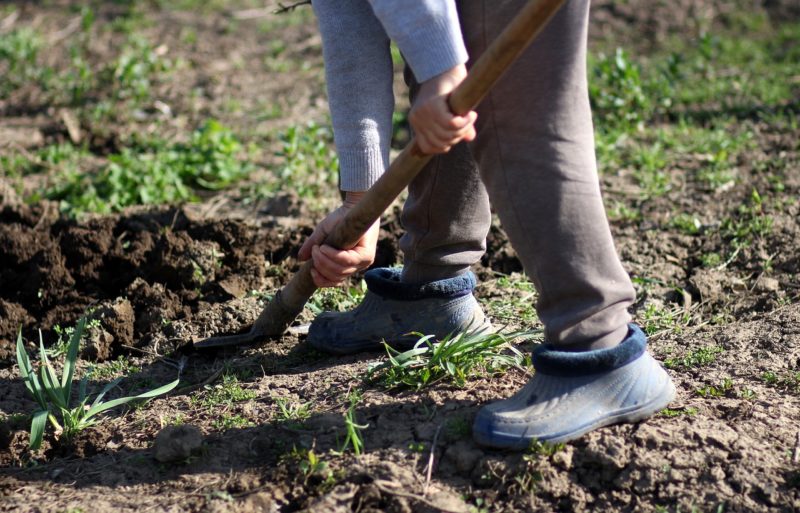
2. Dig a Trench
Next, it’s time to dig a trench. The trench should be a foot deep all the way around the pond. When you’ve completed the trench, it’s time to dig the pond itself out.
You should start in the center of the pond and dig out to the edge. Don’t dig as deep as you want the pond to be all at once.
Instead, dig the pond out in multiple layers. This will make your work easier and help in keeping the design and also keeping the pond level.
I realize this step may be more labor intensive for some. If your pond is going to be large or you aren’t up for this amount of physical work, it might be a good idea to rent heavy machinery for the day to do this part of the job.
However, be sure you are well versed in operating the machinery before you use it.
3. Create Your Overwinter Zone
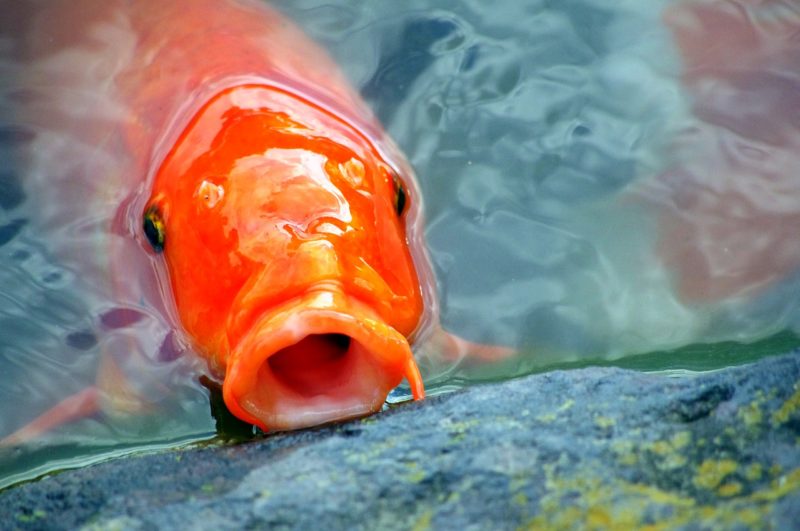
This step is optional. If you’re going to include fish in your pond, you need an area where they can go in the winter, and the water won’t freeze.
You’ll need to dig an area which is three feet deep by three feet wide. If you plan on installing a water fountain or pump, this area should be as far away from the fountain or pump as possible.
The idea is to dig a spot where the water won’t freeze beneath even when winter temperatures hit.
4. Make a Shelf
Next, you’re going to create a shelf for the plants you’ll include in your pond. Some plants prefer shallow waters.
These plants need a spot where they can sit and grow without drowning. Your shelf should be about a foot deep to meet the needs of your plants.
5. Create a Ledge
When your shelf is in place, you need to create a ledge for your edging. The edging will be rocks used to surround the pond to make its boundaries distinct.
Your ledge will need to be an inch shallower than the edging rocks themselves. You’ll want it to be slightly more narrow as well.
If you want to keep runoff from entering your pond, you should choose edging rocks which are greater in height than the terrain surrounding your pond. This should create a barrier for your pond.
6. Make the Pond Level
Creating a level pond is a necessity. Roll this around in your mind for a minute, who wants to look at a lopsided pond when they’re trying to relax? Not to mention, it won’t function as well either.
For this reason, this step is essential. You’ll need to use a level or a leveling method to make sure each side of the pond is equal.
Not only will this help the aesthetics of the pond, but it will keep the pond liner from being shown as well.
7. Give Stones and Roots the Boot
Now your backyard pond is dug, it’s level, your shelf is ready, and your trench is ready for edging. You’re almost ready to add the liner.
But we have one final step. You need to go through the pond and make sure to remove any large stones and roots.
These can tear holes in your liner, which will ruin your investment. It’s a good idea to add a cushion layer between your liner and the ground as well.
You can add a layer of sand or newspaper to serve as a barrier. It ensures you don’t have to place your liner directly on the hard ground where there’s potential for sharp items to puncture it.
Also, this is a good time to use sand to fill any holes which may have been left behind by large rocks you had to remove.
8. Install the Liner
This is where the fun begins and the pond begins to come together. You’ll begin by leaving the liner in the sun for 30 minutes. The warmth from the sun will help to make the liner more pliable.
When it’s time to move the liner to the pool, you’ll need a buddy to help you. Be sure you don’t drag the liner on the ground as this can cause holes.
You’ll place the liner in the backyard pond making sure it’s loosely draped and overlapping the edge of the pond. Place flat stones on the edge of the liner to hold it in place.
9. Fill It Up
When your liner is in place, it’s time to add water to your pond. You’ll probably want to hire a service to haul in the water for you to keep your water bill low or your well from being drained.
It’s important to make sure as the water fills the pond, you move the liner to make sure it stays even on both sides of the pond. You should also smooth out any wrinkles forming while the water is added.
As the water level rises, begin removing the stones one by one. This will help keep the liner from being stretched too thin.
When the pond is full, use a box cutter, sharp knife, or scissors to cut away any excess liner. Keep in mind; the liner should still be able to stretch under your edging and two to three inches past the first layer of edging stones.
Be careful with this part, because once you cut the pond liner too short, you can’t add it back.
10. Add the Edging
Finally, you’re ready to add the edging to your pond. Place the stones around the perimeter in the style you desire.
You can use flat stones at the first layer of edging to hold the pond liner in place. Check how you place the first layer of edging because you don’t want them to slip into the backyard pond.
Also, as you’re adding the edging, it’s a good idea to drive nails in the edge of the pond liner every 12 inches or so.
As you add the rocks, you can remove the nails since the rocks should hold the pond liner in place from this point forward.
11. Install Fountains and Pump

The last step is another optional step. Some people want their backyard pond to stay clear, and they also like fountains for aesthetics.
If you don’t care if your water gets murky, you can skip over this step.
However, if you want clear water, you should consider adding a pump or a fountain as this will keep your water moving, or install a skimmer to minimize the maintenance of the pond. You could also purchase a pond vacuum, to ensure your backyard pond remains as beautiful as the day you installed it.
Purchase the pump and fountain desired for your size pond and follow the instructions given for your brand to correctly install it. This will complete your pond.
You now know why choosing a liner could be a benefit to your backyard pond and how to install a pond properly. It is labor intensive but could be worth it because you could have a beautiful place to relax, a place to swim, and a place to fish.


