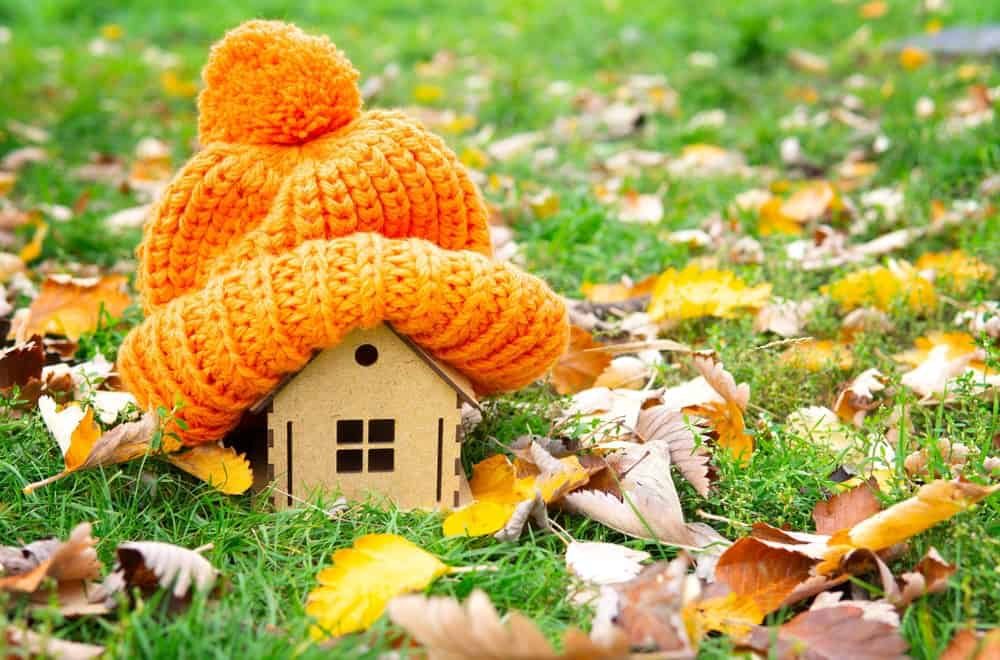
Every season brings a new set of chores for the homestead. The garden doesn’t need as much work as it did in the spring, but that doesn’t mean you can finally sit back and work on your knitting.
As the year turns and the cold season approaches, preparing for inclement weather is essential. One of the most important parts of this process is to winterize your home.
The specific ways you’ll need to winterize will depend on where you’re located, but the tips listed below can apply pretty much everywhere.
1. Hire a Professional to Find Weak Spots
Having lived in rural Quebec for over a decade, I cannot recommend this highly enough.
No matter how well-versed you are in home care, a qualified home inspector can see problems you might not even know existed. Furthermore, once they’ve evaluated the property, they can point out the areas needing extra TLC.
You don’t need to do this every year, but getting an assessment every five years or so is smart. Inspectors can see minute foundational cracks that may let in drafts, roof instability that could potentially cause a leak or collapse,
2. Ensure Proper Insulation and Water Seals
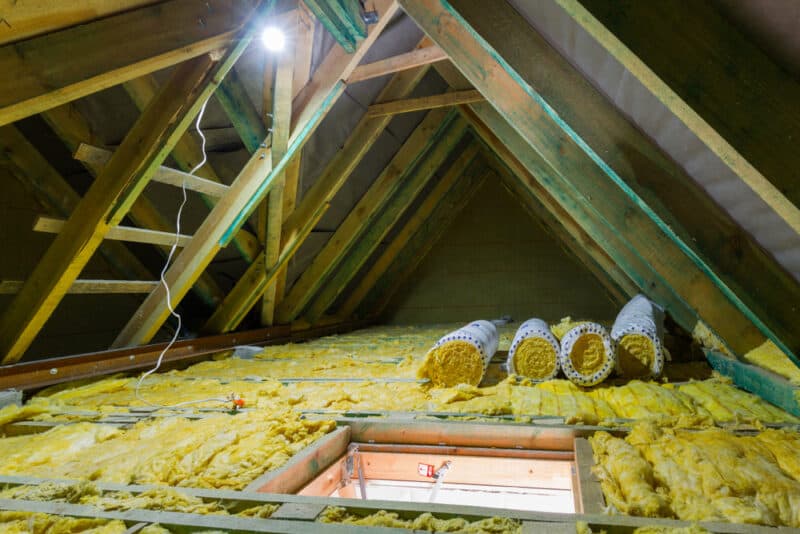
Not only does a lot of heat escape through a house’s roof and walls, but they’re also prone to damage in winter by critters looking for shelter.
Have your insulation checked to see if it has compacted or degraded or if critters have made happy little nests. Many small animals seek warm, cozy spots to nestle into for the winter.
If there are cracks in your home’s siding or roof, you may have mice, chipmunks, squirrels, opossums, or raccoons getting comfy in your walls or roof.
While getting the insulation checked, ensure the water seals are intact. These keep moisture from seeping in and wearing down your home’s foundation or gyprock.
3. Insulate Your Pipes
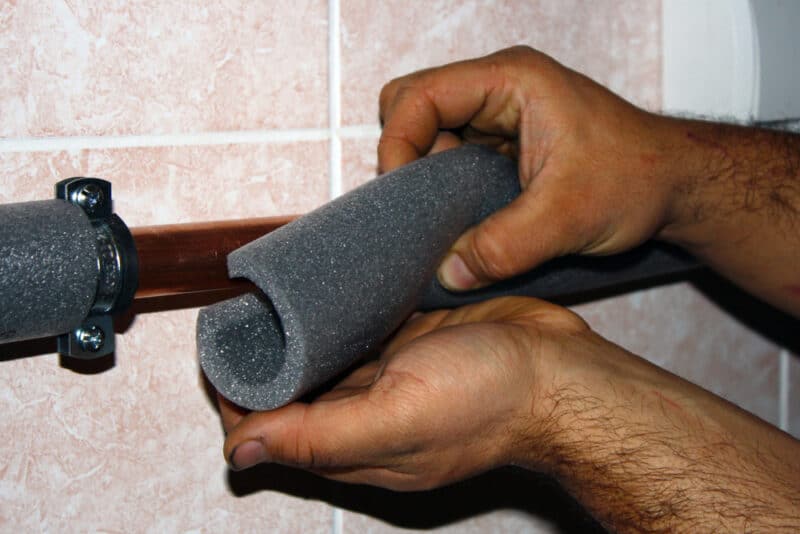
If you live in a location that gets frigid in wintertime, there’s a risk that your pipes may freeze. This is especially common if you have exposed pipes in an unfinished basement. When you winterize your home, protecting the pipes is part of it.
The easiest way to insulate these is to get some foam “pool noodles” from a dollar store or similar. Then slit them lengthwise with a utility knife, wrap them around the exposed pipes, and then duct tape them in place.
The best thing about this approach is that you can cut those foam noodles to any length you like. This makes it easy to insulate shorter pipes or those in hard-to-reach areas.
Additionally, if any pipes are close to exposed cement walls, insulate between them with styrofoam or pink insulation foam slices.
4. Get Your Chimney Cleaned
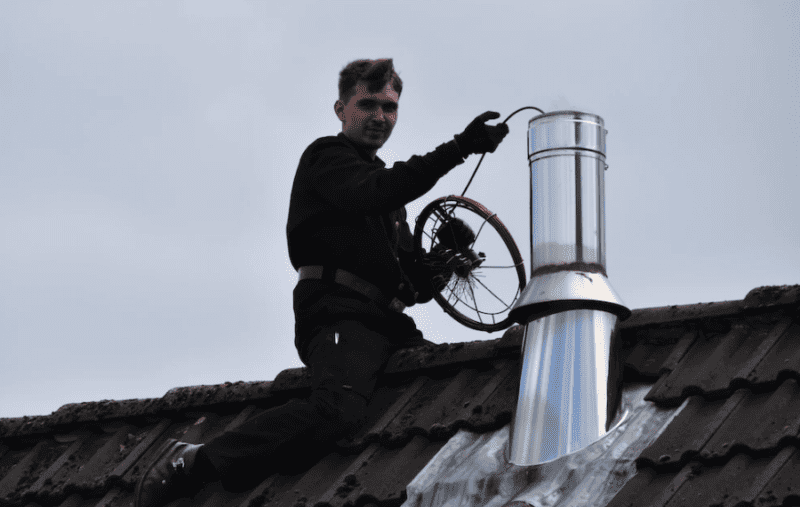
If you have a wood stove or fireplace, make sure you get it cleaned out thoroughly. This isn’t just important for when you winterize your home but should be done every year.
Creosote accumulation can result in some nasty carbon monoxide poisoning if it isn’t scoured out regularly. Check out your local listings for people who offer chimney sweeping services, and get this sorted out well before the first frost is expected.
5. Consider Installing Roof De-Icing Cables
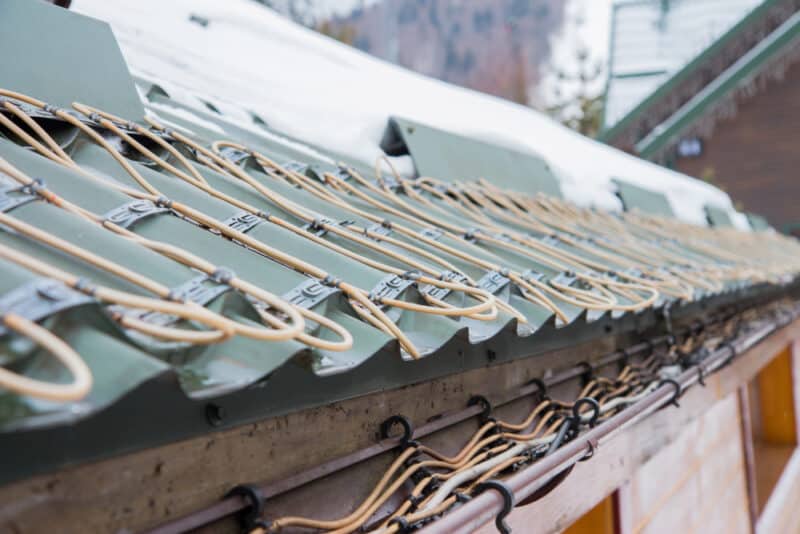
If you live where you get significant snow, consider installing some de-icing cables. These reduce the amount of snow accumulating on the roof and prevent ice dams from forming.
As someone who has had to spend thousands on roof replacement after years of five-foot-deep snowfalls every winter, I cannot recommend this highly enough.
6. Snowblowers and Plows
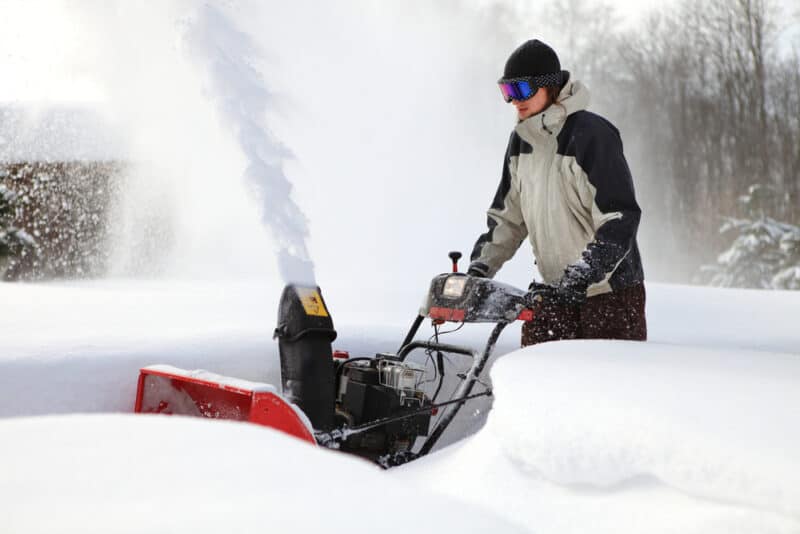
The only thing worse than not being able to find tools and equipment when you need them is having them at hand but discovering that they’re inoperable. Your future self will thank you for getting all of this in order ahead of time. In fact, make it a priority.
Clean and oil these well and ensure that they’re rust-free. Tighten bolts and screws as needed, and ensure that rodents haven’t chewed through cords while in storage.
If your plow is a piece that gets attached to the front of your ATV, tractor, or similar, ensure the attachments are in good working order.
7. Shovels
Even the best shovels deteriorate over time. Plastic ones can get brittle, metal shovel heads rust, and handles snap or splinter. Examine your snow shovels well for stress fractures, and remove rust as needed. Should you find that they’re breaking down to the point where they may fall apart by late February, consider replacing them.
8. Axes and Chainsaws
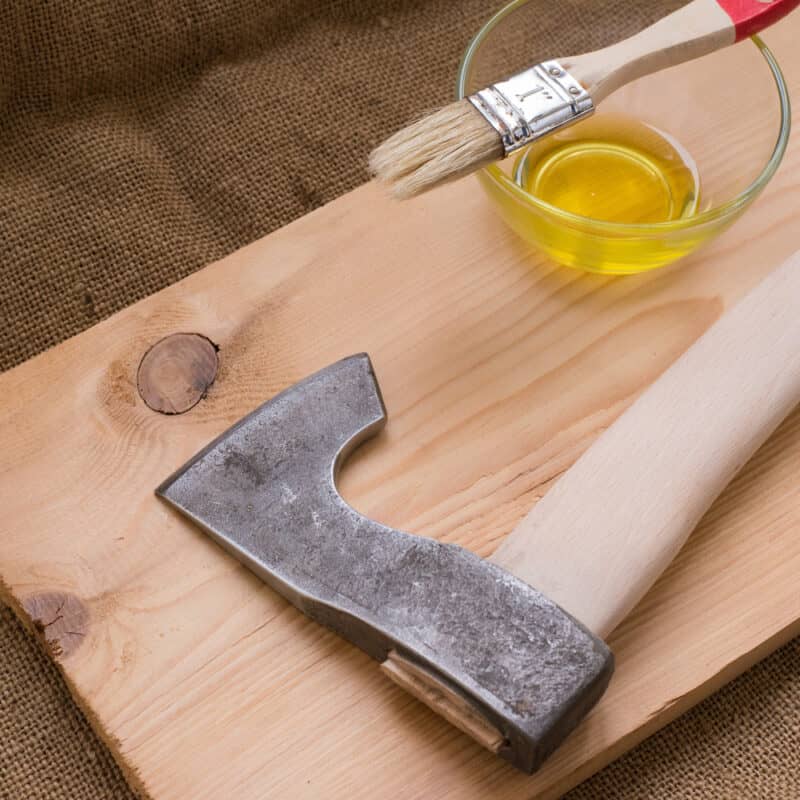
Approach these the same way you would your shovels and snowblowers.
Examine your axes for potential stress fractures in the handles and see whether the heads may be loose. If they’re wiggly, you’ll need to either get new handles for the heads or wedge a new piece of wood into the kerf to tighten things up.
As for your chainsaws, clean them out thoroughly with brushes, give them a good vacuuming, then oil them well with bar oil. Ensure that the chain is sharp, replace it if needed, and get yourself at least two replacement chains in case you need them over the winter.
9. Stock Up on Salt, Sand, or Cat Litter
When you think about the different ways you need to winterize your home, be sure also to consider the different ways you may need to keep yourself and your family safe.
If you’ve ever slid down an icy set of stairs, chances are you still have coccyx aches to remind you of that experience.
As such, it’s crucial to ensure that you have a supply of something that’ll either help to melt icy outdoor surfaces or create grip so you don’t end up on a Fails of the Week YouTube video.
Store some of this outside in a plastic bin either on or beside the porch and some more in your hallway closet or mudroom. If your outdoor supply gets wet or otherwise becomes unusable, you’ll have a backup supply within easy reach.
10. Don’t Stack Wood Right Against Your Home
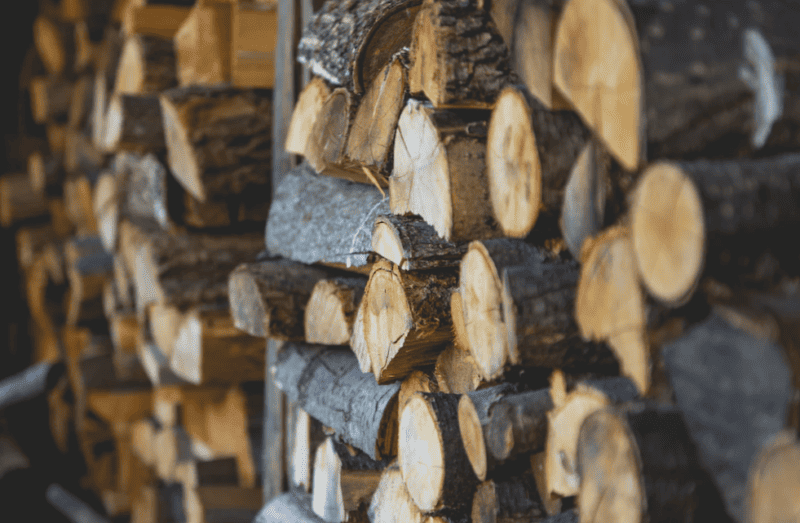
While it may be convenient to keep your wood store piled up against the side of your house, it’s unwise to do so.
Not only will the stack encourage mice, rats, spiders, snakes, and ants to your home, but it can also be a massive fire hazard. If a spark of some kind caused that wood pile to catch fire, it’s a conveniently placed fuel source to help your house erupt into flames.
Keep a few night’s worth of firewood stacked by your stove or hearth and the rest outside at least six feet away from your home’s foundation. Be sure to stack it off the ground, such as on raised pallets, and keep it covered.
11. Stop Drafts Wherever Possible
Although most of this article centers around what to do structurally to winterize your home, it’s essential to take action indoors as well.
Cover drafty windows with clear plastic sealant, and hang heavy drapes to further reduce chills and drafts.
If you find cracks around window panes and door thresholds, use elastomeric caulking. It adheres to just about any surface, fills cracks effectively, and it won’t chip, crack, peel, or crumble in severe weather conditions.
In addition to sealing up cracks and crevices where drafts can happen, you can also take extra steps to reduce the chill. For example, either buy or make draft stoppers that you can plop against the bottoms of interior doors to stop cold air from seeping in at floor level.
12. Put Heavy Rugs Down if Needed
We have hardwood floors throughout the house, which are easy to keep clean and cool in summertime. That said, they’re freezing in the winter, and drafts can seep up through cracks between floorboards.
As a result, we put down woolen rugs shortly after Halloween and roll them back up again around Easter. This doesn’t just help to winterize interior spaces: it also keeps your feet happy and makes the entire space significantly cozier.
13. Stock Up on Blankets
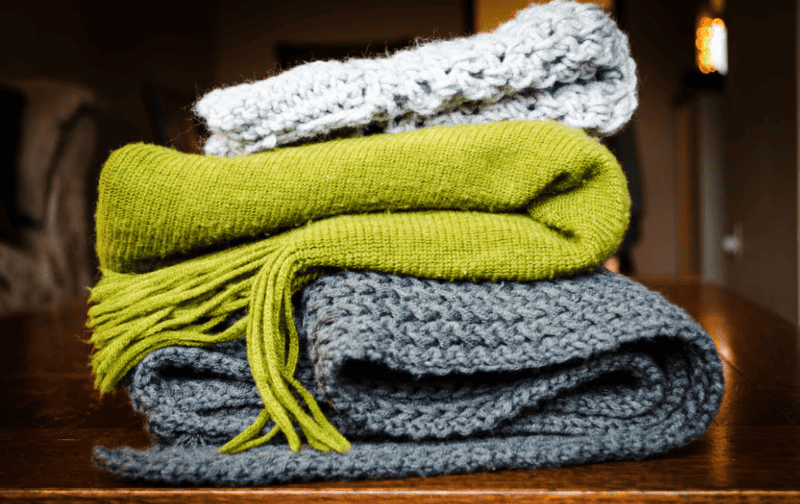
You can never—ever—have too many blankets in the house. Aim for a variety of different fabrics and weights so you can layer as needed in textures that aren’t irritating to anyone in the family.
Winterize your home by stocking it with the things inhabitants will need to be happy.
This may include:
- Flannel sheets
- Fleece throw blankets
- Woolen blankets
- Quilts
- Duvets
- Weighted blankets
14. Protect Your Plants
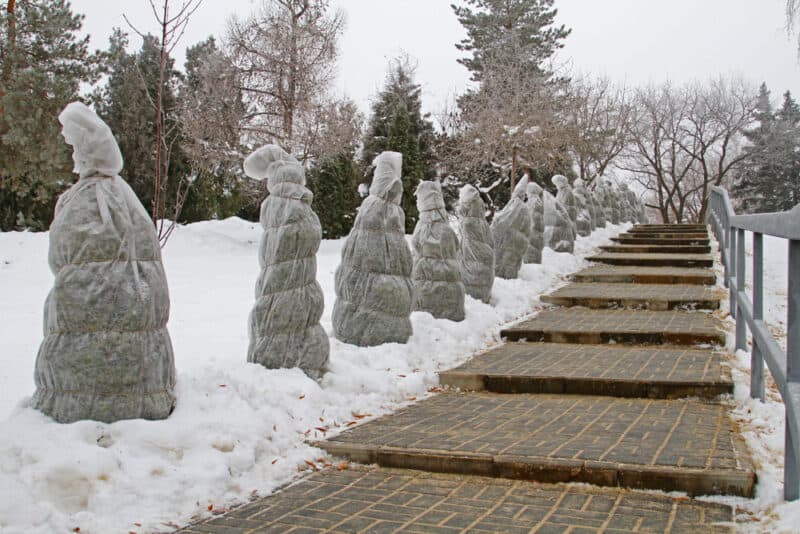
Remember to winterize your plant friends before cold snaps hit as well! (This goes for exterior plants as well as interior ones.)
Wrap young trees in burlap to prevent deer and other herbivores from chewing on them. This can also prevent snow from accumulating on tender young branches and potentially snapping them.
Once you’ve cut down plants like rose and berry bushes, mulch them well to protect their roots from the cold. You can also cover them with cloches, cold frames, or overturned plastic bins as extra protection.
Keep indoor plants away from cold windows so they don’t catch a chill, and consider moving them to places where they’ll get more light. Lightfall is different in January than in July, so take note of the sunniest spots that can offer the most light to your babies.
When you winterize your home, you need to take into account our green friends and not just livestock and pets.
15. Stock the Pantry

This likely goes without saying, but one of the best things you can do to winterize your home is to ensure that you have at least two weeks’ worth of food in the pantry.
The weather has been getting more severe worldwide, and you may find yourself in a situation where you can’t make it to the grocery store easily. As such, keep different foods in storage that are tasty, nourishing, and easy to prepare.
Staples such as rice and beans are great, but also ensure that you have ready-to-eat meals or instant fare. These can easily be prepared with hot water or by cooking on a wood or “rocket” stove.
Instant oatmeal, canned soups, stews, and camping food packets are great options as they’re shelf-stable and can be prepared in minutes.
In addition to these, have plenty of quick snacks like crackers, nut butter, granola bars, and bottled drinks on hand. You never know when they’ll be needed, but you’ll be immensely grateful to have them when they are.
16. Maintain the HVAC System or Heat Source
At the minimum, you should replace your furnace filter in the fall, but even better, have your system serviced so that it will be ready to go when the temperatures drop.
Maintaining your heat system is a key part of the process to winterize your home.
If you use a wood or pellet stove for heat, clean it out and check all the parts to make sure it’s in good shape. There’s nothing worse than going to light up the wood stove on the first chilly night of winter, only to find that the body is cracked and you can’t light a fire.
17. Clean the Gutters
The gutters of your house are just as important in the winter, if not more so, than in the spring rain. As snow melts off the roof, the gutters shuttle the water away from the foundation, preventing sinking and severe damage.
Keep your gutters clean so they can do their job. Fall leaves fill up gutters quickly and suddenly you’re seeing water pour down the side of your house, into basement windows, and down into the foundation.
As you can see, it doesn’t take too much time or effort to winterize your home ahead of time, but the effort is worthwhile. Start these efforts between the end of summer and mid-autumn, and you won’t be caught by surprise when the wind blusters and snow begins to fall.
