
I’ll admit it. I’m the world’s worst at keeping my jewelry clean. Every time I go to my mom’s house for Christmas, one of the first things she does is ask for my wedding rings to clean them.
She uses a store-bought cleaner which does a fantastic job, but if I’m honest, I’m not dedicated enough to cleaning my rings to remember to buy the product when I’m at the store.
However, I noticed the other day my rings were becoming quite dingy. I began looking over the internet to see if there were any DIY ideas. There were some scary ideas with horrifying pictures to go along with the amount of dirt a wedding ring can hold.
I was nervous about damaging my rings when I realized a common ingredient in many of the recipes was baking soda. I decided to use what I had to try my hand at a DIY solution for cleaning my rings. Here’s how I did it:
You’ll need:
- 2 tablespoons of baking soda
- 1 cup of hot water
- A toothbrush
1. Look at Your Rings
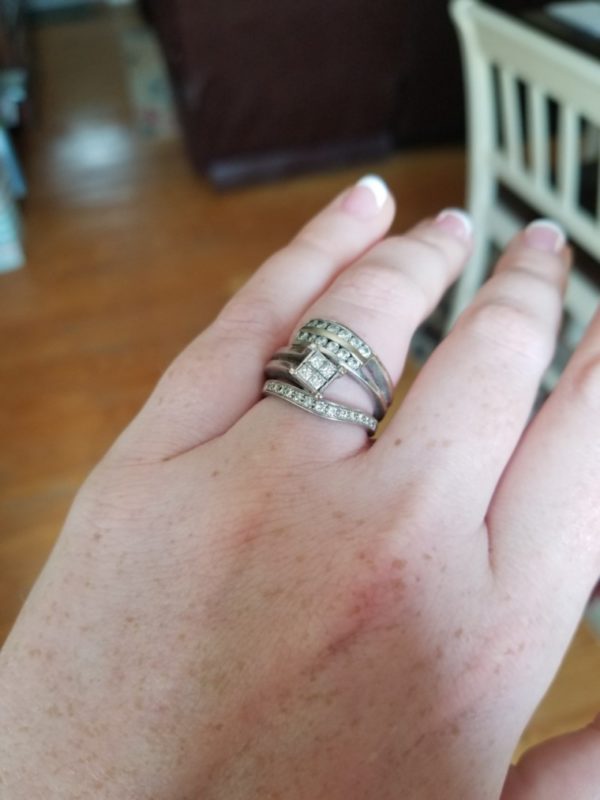
The rings I cleaned were not a costume jewelry. They were real gold with real diamonds. This makes a difference when you clean jewelry.
Baking soda shouldn’t be used on costume jewelry because it can be too abrasive and damage your jewelry, but there are other easy ways to clean costume jewelry.
Before trying this DIY jewelry cleaning method, make sure you’re working with jewelry which is solid gold through and through to make sure you don’t tarnish it.
Also, before moving forward, I’m sharing my experience with cleaning jewelry. It worked for me. However, we take no responsibility if you don’t get the same results using this method nor do we take responsibility for any damage which may or may not be caused to your jewelry.
With this out of the way, let’s go through the process of how I cleaned my wedding bands on the cheap and in less than 10 minutes.
2. Heat the Water

The first step of the process is to heat one cup of water in a saucepan on the stove.
You could also heat a cup of water in a tea kettle if you prefer. Whatever you have on hand to boil water on a stove should do the trick.
I prefer to heat water via the stove because it seems to be faster.
3. Get the Fizz Rolling
When the water has begun to boil, pour it into a glass bowl. It should be glass to make sure the container won’t melt under the heat.
Add two tablespoons of baking soda to the water. Be sure to stir the baking soda until it has fully dissolved in the water.
It’s normal for a reaction to occur which will cause the water to bubble and fizz. Stir while the reaction is taking place to make sure it doesn’t bubble over.
Allow the reaction to die down before continuing.
4. Wait Patiently
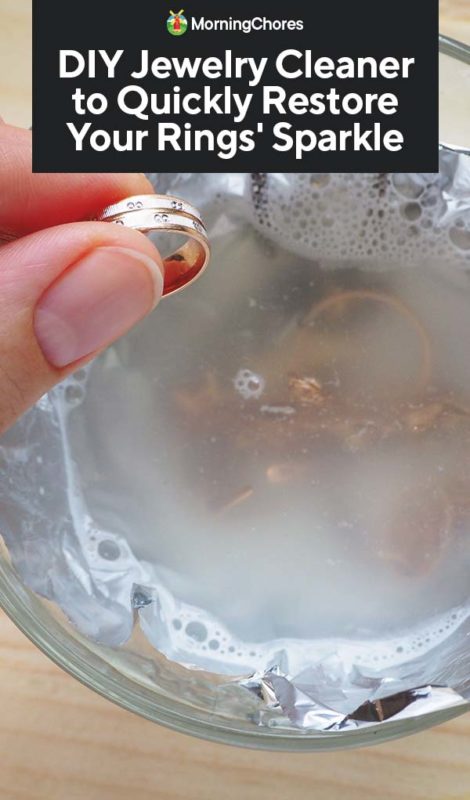
When the water and baking soda have quit bubbling, and the baking soda is fully dissolved, drop the rings into the bowl.
I noticed when I dropped my rings into the baking soda solution, the extremely dirty areas of my ring began to bubble and fizz. If you see this happen, don’t be alarmed.
When the rings are in the bowl, set a timer for approximately five minutes. I became a little impatient and shaved a few seconds off of my time, but it’s up to you how long you wait. Four to five minutes did the trick in my experience.
5. Scrub Them Down

When you remove the rings from the baking soda solution, use an old toothbrush to scrub them. I use an electric toothbrush. I found it did a fantastic job at safely and gently cleaning my rings.
Again, if you have an electric toothbrush, I highly recommend using it because they give you a warning when brushing too hard which should help you to apply even pressure to the rings without damaging them.
Also, the vibrating motion seemed to knock the dirt loose better than a manual toothbrush would. If you don’t have an electric toothbrush, use a manual toothbrush to remove any dirt the baking soda solution would’ve loosened on the ring.
Gently brush your rings until you see all signs of dirt removed, and you’re satisfied with how shiny the diamonds are (if you have any on the rings you’re cleaning.)
6. Rinse Well
This step is important to make sure your rings shine as brightly as you’d hoped. Turn your hot water faucet on and let it run as hot as it possibly can.
When the water is sufficiently hot, adjust the temperature back to where you can safely slide the rings under the water without burning your hands.
Place the rings under the hot running water, and allow it to run over every part of the rings.
At this stage, you should be astonished at how brightly your rings shine. Keep on rinsing until you feel confident you’ve rinsed the rings thoroughly and see no remaining signs of baking soda on the rings.
7. Dry Fully

This last step is simple but necessary. Don’t use a hand towel which can easily snag on your ring or any other towel which will attach lint to the rings.
Instead, use a towel which will only absorb the moisture. I used a paper towel to let the water drain from the rings.
It’s a good idea to fold the paper towel over multiple times to make sure no moisture seeps through the towel which would only prolong the rings drying.
After most of the moisture has drained fully, begin to pat the rings dry with the paper towel. When you think they are dry, hold them under the light and make sure you’ve removed all smudges, moisture, and dirt.
8. For Extra Dirt
My rings were dirtier than expected but not as dirty as some pictures I’ve seen on the internet. In case your rings have been through something drastic, and baking soda didn’t remove the dirt for you, there is one remaining option.
Boil another cup of water, add a splash of dish soap to the mixture, and allow the rings to soak for approximately 30 minutes.
When the rings have soaked, use a toothbrush (I recommend an electric toothbrush for the added vibration) to scrub your rings and diamonds. Be sure to be gentle during this process.
After you’ve completed the scrubbing, rinse the rings under warm water and pat dry. Repeat either of the cleaning processes until you feel confident your rings are clean.
If you see any signs of the ring becoming tarnished, stop the cleaning process. It might be your jewelry is gold plated instead of solid gold. These methods will destroy gold plated jewelry because they’re too harsh for them.
Continue to clean your jewelry a few times a month with our DIY jewelry cleaner, to make sure they stay sparkling and clean without requiring as much scrubbing.
This habit should keep your jewelry looking great while on a budget and not take up a great deal of your time.


