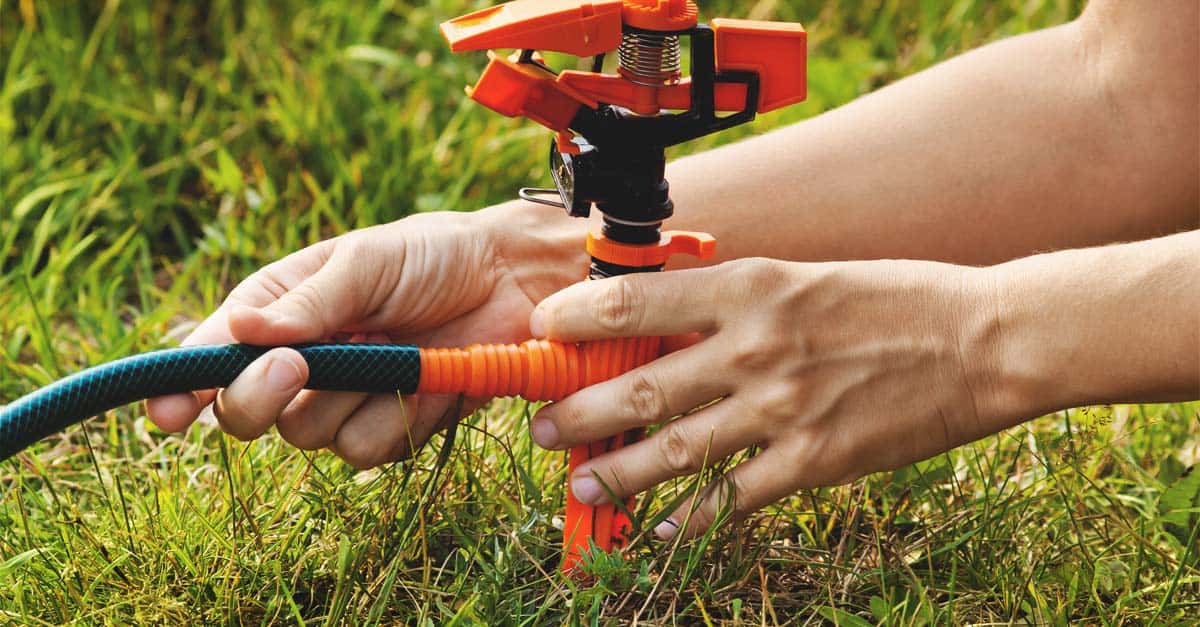
Without proper preparation, the sprinkler system that kept your plants alive all year could be damaged by freezing temperatures. Sprinkler systems aren’t designed to withstand a deep freeze, so you should learn how to winterize a sprinkler system.
Your spray irrigation spent the warmer months keeping your lawn green and your vegetables well-watered. These systems must be put to rest if you live in an area with temperatures that drop below 32°F. Winterizing should be completed before the first frost appears, in order to prevent ice buildup, which could burst your pipes and damage valves and fittings.

Preparing for winter involves more than just draining the water out of your irrigation system. Some water always remains, and that water can freeze, expand, and crack PVC piping. Yes, that rigid white piping can break under the expansion of freezing and unfreezing water.
So, let’s take a look at everything you need to know about how to winterize sprinkler systems.

The Steps to Winterize Sprinkler System
Here are the steps that you need to complete in order to winterize your sprinkler system. You can contact a handyman or irrigation company if you aren’t sure about the appropriate steps.
1. Shut off the Water Supply
All sprinkler systems have a main shut-off point. It might be located in your basement, a crawlspace, or underground in a valve box. Valve boxes can be buried up to 5 feet underground.
No, you don’t have to dig them up! These boxes require a long key to shut off. If you don’t have the key, you need to find the contractor that installed the system or contact the company that manufactured the system to get a replacement.
Shut off valves should turn quickly, so don’t force it. Just turn the valve to the indicated off position. This step is the easiest!
2. Drain the Pipes
You need to remove all of the water from the pipes and sprinklers that you can. Make sure that you shut off the water supply to the irrigation system before doing this step.
Doing so helps to prevent the freezing and expanding cycle that breaks the pipes. There are several ways to drain pipes:
1. Manual Draining Method
If you don’t feel comfortable using compressed air, the manual drain method is an easy way to winterize your sprinkler system. You can use this method when the manual valves are connected to your house water source. There will be a backflow preventer that stops sprinkler water from flowing into your house.
All you have to do is shut off the irrigation water supply and open all of the manual drain valves. Shut off the backflow valve before you open the manual drain. Opening the manual drain valve lets any water trapped inside to flow out with the help of gravity. It can take time for the water to drain out.
Once all of the water is drained out of the mainline, you can open the boiler drain valve or the drain cap on the stop and waste valve. This is when you need to drain all of the remaining water that is between the irrigation water shut off valve and backflow device.
It’s essential to pay attention to make sure all of the water has drained out of the backflow, piping, and sprinklers. Once you are sure all of the water has been drained out, you can close all of the manual drain valves. The gravity approach isn’t foolproof because low spots can collect water, so be cautious if you opt for this method.
2. Automatic Sprinkler Draining Method
The easiest of all is if you have a high-end sprinkler system with integrated pumps for automatic draining. While the upfront cost of these systems is much higher, it means all you have to do is follow the instructions for your system to prepare it for winter. Typically, the process is initiated from the control panel.
3. Compressed Air Blow Out Method
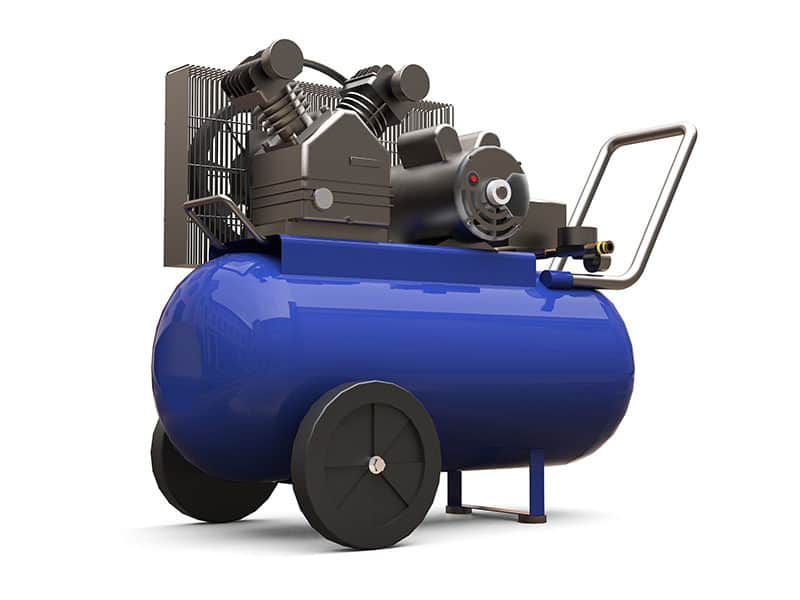
One of the most common methods to winterize your sprinkler system is the compressor air blow-out. This method uses an air compressor to clear water from your sprinkler system. Even if you use the largest home compressor that you find, chances are it’s not powerful enough to blow out the entire irrigation system at once. You might need to do it zone by zone.
If you have rigid PVC piping, use a maximum of 80 psi and 50 psi for flexible black polyethylene pipe. You need to make sure you use the right amount of pressure. Make sure you turn off the water supply and open the manual drain valve at the end of the zone if the timer opens just one area.
Pay close attention to the process. You don’t want to overdo the blow-out because the plastic gears can melt in minutes. Once the hose blows dry, move to the next zone.
Here are a few things that you should remember.
- Remove flow sensors first and seal the pipe to prevent any damage to the sensors.
- Don’t stand over the parts if the system is full of pressurized air.
- Don’t leave the air compressor unattended!
- Blow out the system and then drain the backflow or pump. Never blow out the system through backflow or pump!
- After the blow out, make sure to close the manual drain. Never leave it open!
3. Insulate Your System

You shut off the main valve whenever you drained the pipes, but this valve needs to be protected against freezing as well. The best way to do this is to wrap the main valve with insulation, typically foam insulation tape and a plastic bag.
Insulation is an essential step to winterization. It protects the valve from the freezing, damaging winter temperatures. Not everyone has a main shut off valve, but you can get one installed as a preventative investment.
Remember that any above-ground piping needs to be insulated during the winter. Self-sticking foam-insulating tape or tubes can be found at almost any home supply store.
4. Control Your Sprinkler System
Do you have an automatic system? If so, then you will need to shut down the controller, or the timer. Many controllers have a rain mode that shuts off the signals to the valves. Depending on your system, the controller for your automatic system might keep time, programming information, and a clock that runs throughout the winter.
You will need to make sure that your valves don’t activate during the winter. If the controller activates the pump, you can remove the wires connected to the master valve and any standard terminals. Doing so prevents the signals from being sent, so you never have to worry that it will accidentally activate.
The other option, instead of using the rain mode, is just to shut off the power to the controller. The only issue with doing this is that you will need to reprogram the time and all of your settings in the spring. That can be a pain in the butt, depending on the system that you have.
5. Protect Valves and Stop Backflow
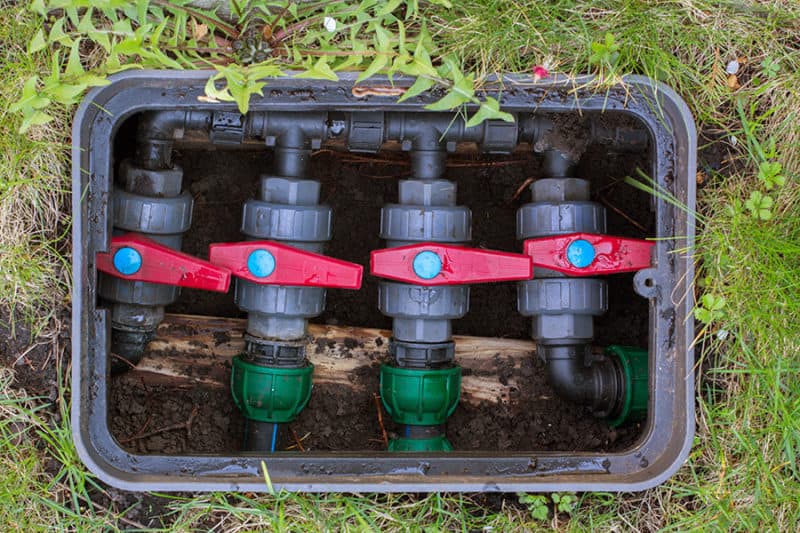
The next step is to insulate backflow preventers and valves if they are located above the ground. These systems run from community water, and they might have two kinds of backflow devices. If you don’t have a backflow device, you don’t need to do this step.
Depending on the type of backflow you have, you might need to do nothing because they’re purged with the system. A pressure vacuum breaker should be tested cocked back and forth several times. You need to leave it half-open to stop moisture from building up. You can use insulation tape for this step. Just make sure you don’t block any air vents and drain outlets.
6. Consider Your Pump
Do you have a system that is equipped with a removable pump, you should disconnect the pump and bring it inside for the winter. The pump might be located under a cover in your yard. Fully integrated pumps need to be protected with a plastic bag or an insulation blanket.
Consider a Professional
If you don’t feel comfortable doing this on your own, your local extension office should have suggestions to help you contact a local irrigation specialist. If you utilize sprinkler or lawn services, these companies typically offer winterization services.
While winterization is typically an easy DIY job, it does require working knowledge of your specific sprinkler system, including each irrigation zone. So, if you don’t understand your system well, having a trained professional ensures nothing goes wrong.
Also, the blow-out method can cause damage to the system if it’s not performed correctly. Also, not everyone has access to a strong air compressor. You can rent them, but that’s an expense you might want to spend on a professional instead.
Review the Owner’s Guide
Before you get started with the winterization of your sprinkler system, always review your owner’s guide for detailed instructions. Most contractors provide owners with guides to help you prepare your irrigation system for the winter months. Prevention is key to ensuring no damages are done to your sprinkler system.
Learning how to winterize your sprinkler system ensures that it will start and operate next spring without any headaches or worries. While it might be a bit complicated at first, properly winterizing your irrigation system will save you money. Broken pipes are an extra expense that no one wants to spend, so save yourself a few bucks and follow these steps.
