As the weather gets a bit warmer and signs of spring show up, sap starts to flow and move in trees, making it the perfect time to start tapping maple trees in your neck of the woods.
The first time we tapped our maple trees was in the spring of 2013. My husband plotted and planned for weeks, selecting the trees and gathering supplies. I doubted him at first, but by the end of the season, we had over three gallons of maple syrup for our family and pints available for sale for our friends and family.
Whether you have maples in your own yard or you are eager to try it out on some wild trees, this guide will get you going.
Gathering Maple Tree Tapping Supplies
The first thing that you need to do when you decide you want to start tapping maple trees is to gather the right supplies. Here are a few things you will want to get.
- Maple sap spouts – often called splies
- Maple tapping tubes
- Sap collecting bags or buckets
- Sap bag holder -if you use the collecting bags
- Filters
- Thermometer
- Hydrometer
- Containers
- Hooks
- Drill and drill bits
- Hammer
- Heat Sources – such as an outdoor drill, a stove, an indoor wood stove, an outdoor fryer, or an open fire.
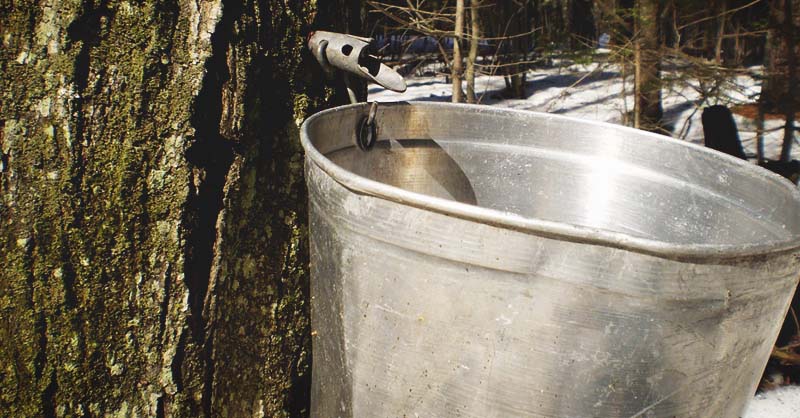
You have a range of options with the types of supplies you choose. For example, you can collect your sap in buckets that hang from the splies attached to the tree. This is the method that my husband and I chose the first year. The second option is to use tubing that connects to the splies, leading all of the sap to one large collection pot.
Pick the Right Trees
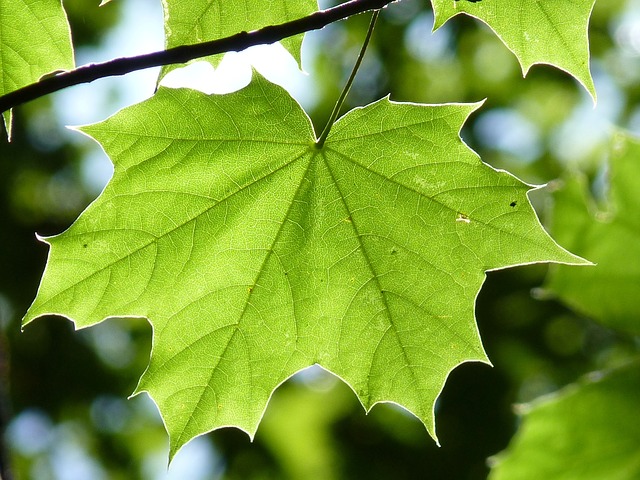
If you have maple trees that you are planning to tap already, you can skip this section. If you don’t know how to identify a maple tree now is the time to learn. Maple trees are easy to identify based on their leaves, but getting a field guide is a good investment. Who wants to take time tapping the wrong tree?
Depending on your area, there are a variety of maple trees you can tap. The most common types are sugar, black, and red maple trees.
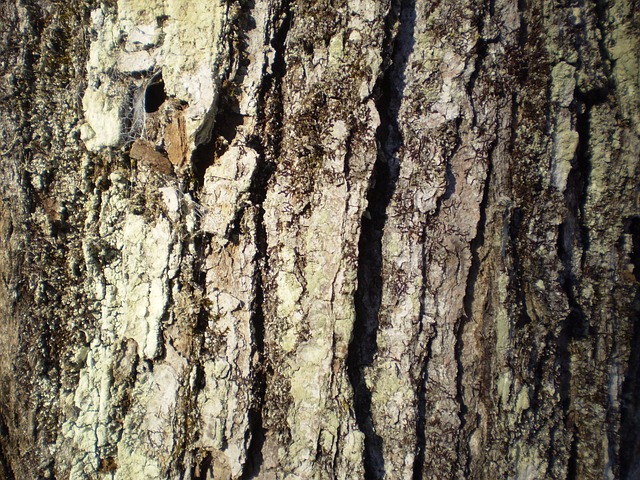
Look for mature trees, at least 12 inches in diameter. Make sure the tree is healthy and located in an area that receives plenty of sunlight each day.
It’s All in The Timing
When it comes to tapping your maple trees, timing is the most important thing. The temperature needs to rise above 32℉ throughout the day and then dip below freezing at night. When these two things occur, you’ve reached perfect tapping time.
You need at least a week of these temperatures for sap to start flowing. You want to make sure the weather will stay that way for a while. Don’t be tricked by a warm spell in January; Mother Nature likes to play games.
In general, maple syrup flowers for 4-6 weeks. Don’t wait until the end of the season to start tapping! Some of the best sap is produced early in the season.
Get Started Tapping Maple Trees
If you’re ready to get started, here are the steps to start tapping
Tapping The Trees
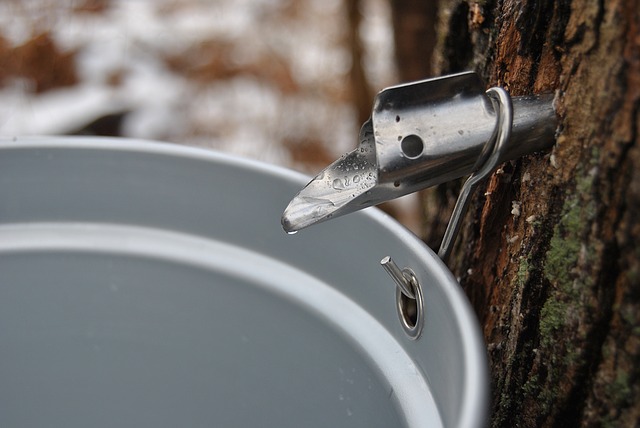
The first thing that you have to do is tap the tree, providing an outlet for all of that sap to run out. How many taps that you put into a tree is based on the tree’s diameter. The general guidelines are:
- 12-20 inches: 1 Tap
- 21-27 inches: 2 Taps
- More than 27 inches: 3 Taps
Now it’s time to get to tapping! The south-facing side of the tree is typically the best side because it gets the most sun and it’s the warmest. Here are the general steps to follow.
- Drill Holes: Make sure you have the right size drill bit for your spile. When you purchase the taps, they’ll either be 7/16 or 5/16, so get the right drill bit. The holes should be at least 2 inches deep, drilled at a slight upward angle. This angle lets the sap flow out.
- Insert the Spout: Now that the hole is ready, try to get out any wood shavings left behind by the drill bit. Before you put in the spout, make sure you put on the hook first by putting the end of the spout into the loop of the hook. Then, put the spout in the hole, gently tapping with a hammer.
- Hang the Bucket, Bag, or Tubes: Now that the spout is in place, attach the bucket, bags, or tubing, depending on your preference.
That’s it. Now it’s time to wait for the sap to start running. Sap isn’t the caramel color of syrup; it’s clear. It flows at different rates on each day, depending on the temperature. Some days, you’ll get a lot, and other will produce small amounts.
TIP: If you’ve tapped a tree before, make sure you don’t put the next tap within 6 inches of that hole. Make sure you space multiple taps around the tree evenly.
Once the sap stops flowing on its own, you can pull the taps. You don’t have to plug the tap holes. Trees are incredible, and they will scar over quickly without intervention from you.
Collecting the Sap
Did you know that it takes 10 gallons of sap to make one quart of syrup? The first time I learned that I thought we were insane for trying to make our own maple syrup. You’ll be surprised to see how much sap comes out of each tree!
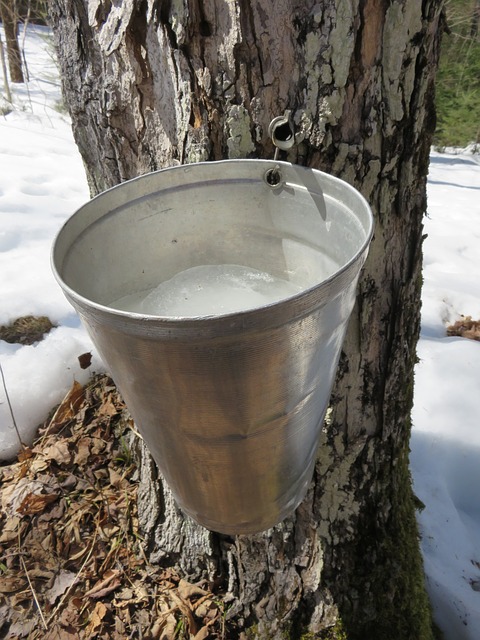
You need to collect the sap daily until you get as much as you want before boiling it down to syrup. Sap needs to be stored in food-grade containers, such as buckets or jugs. Be sure to clean those containers to prevent contamination.
Stored sap should be kept in a cold place, ideally 38℉ or colder. You can only store sap for a few days because it will start to spoil and go bad quickly.
Sap Becomes Syrup
Making maple syrup at home takes work and planning, but the rewards are delicious. My husband and I tap an average of 10 maple trees on our property, and we create around 3 gallons or more of syrup each year. The flow and quality changes each year.
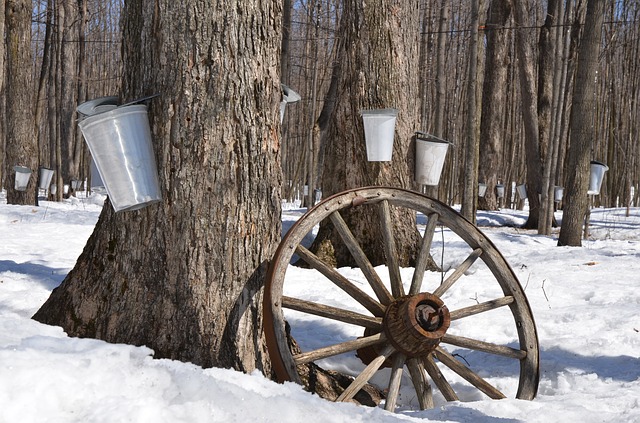
Now the magic begins! You have all that sap, and it’s time to create the
We tried to boil the sap indoors, but it turned our house into a sauna. Boiling sap creates a lot of steam. N
The steps to boil down sap into maple syrup are:
- Fill a large pot 3/4 full of sap.
- Put the pot over your selected heat source and start boiling it down.
- As the sap boils and evaporates, add more sap, but try to keep it at a boil. The boiling temperature starts around 212℉. Make sure that you keep the boiling temperature between 212℉ and 218℉.
- After several hours, it will start to near the end of the boiling process and will turn a caramel color. This is when it’s time to transfer it to a smaller pot and bring it inside.
- Boil the reduced sap on the stove. Watch it closely because you can easily burn the syrup, ruining an entire batch. Don’t ask me how I know!
- When you have the consistency of syrup, it’s done. You’ll know the process is complete when the temperature reaches the boiling point plus 7.1 degrees. Take it off the heat and let it start to cool down.
- Filter the syrup in small batches into a clean container. Filtering syrup removes a gritty material called sugar sand. Ideally, you’ll filter syrup through a clean filter material such as wool or Orlon.
- Sterilize your storage containers and fill the bottles with syrup.
The process is lengthy but it doesn’t involve tons of hands-on time. That’s a bonus for you. The more often you boil sap, the easier the process will become.
Here are some tips for boiling sap.
- You need 1/2 cord per 50 taps.
- Resist the urge and don’t stir the sap.
- To reduce the foam that may develop during the boiling process, add 1 or 2 drops of vegetable or canola oil.
Properly Storing Maple Syrup
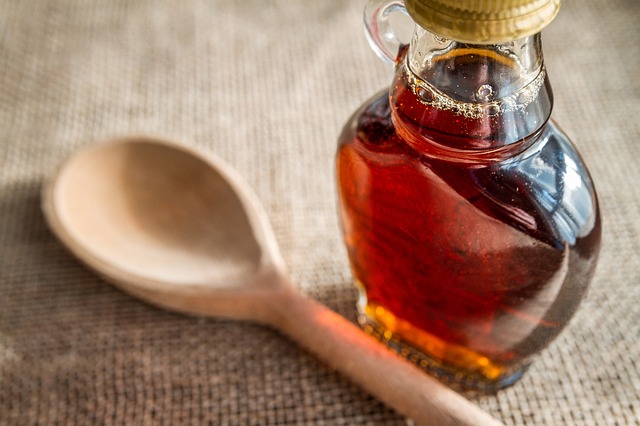
Once the syrup is ready, it has to be packed and stored. Syrup must be packed hot, between 185℉ and 190℉, in clean containers.
Homemade maple syrup needs to be stored in a cool, dry place, or in the refrigerator. You can freeze syrup for extended storage, but canned syrup is the preferred choice. It can last for over a year.
Once you open a jar of maple syrup, it needs to be refrigerated. Sometimes, mold can form on the top of the syrup if it’s been stored for several months. If so, just bring the syrup back up to a near boiling – 190℉ – remove the mold by skimming it off the top. Then, put it back into a new, clean container.
Now, you’re ready to get started tapping maple trees. Let us know how it goes in the comments!

