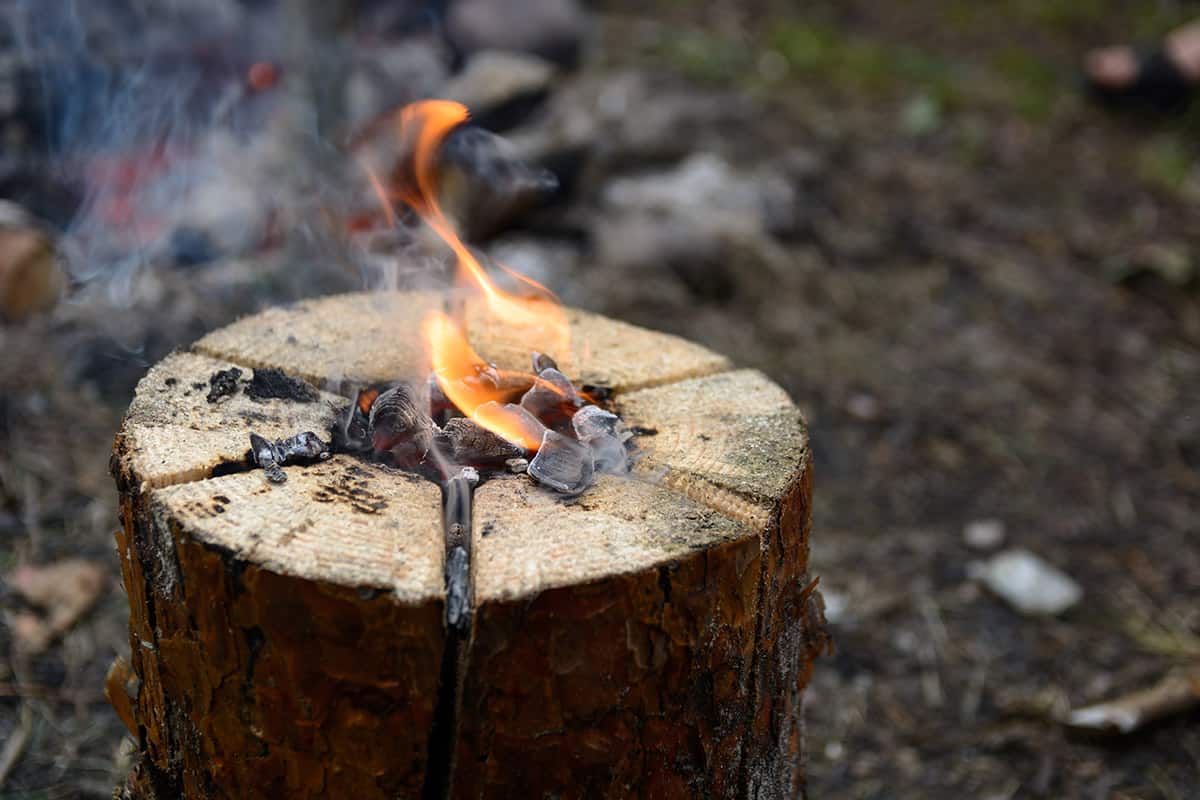
Have you ever seen a Swedish fire log before? No, they’re not some specialty ceramic piece you can find at IKEA. It’s an item that’s easy to make quickly with a few basic supplies and can be used to cook on within minutes. Read on to learn two different methods for putting one of these together.
A Swedish Fire Log, Two Different Ways
You may already be familiar with one of these fire logs—also known as Canadian candles—but weren’t sure how to go about making them. That, dearest darlings, depends entirely on what tools you have available to you.
If you’re using an ax or hatchet, you’ll use method A. This consists of splitting a small log completely into four pieces. In contrast, method B uses a chainsaw to make six cuts about halfway down the log. Rather than splitting it completely, you’re just cutting channels for flames to lick upwards.
When it comes to selecting wood, my go-to recommendation is “whatever you have available to you.” If you have a wealth of different woods available, then definitely go for a softwood conifer. Pine, spruce, and cedar are ideal for this: they split easily, and their resins allow the fires to burn hotter.
That said, hardwoods will burn longer, and you’ll often get large logs from them. An oak or maple trunk can get huge, and lighting one of those can give you heat and light all night.
Instructions for Method A:
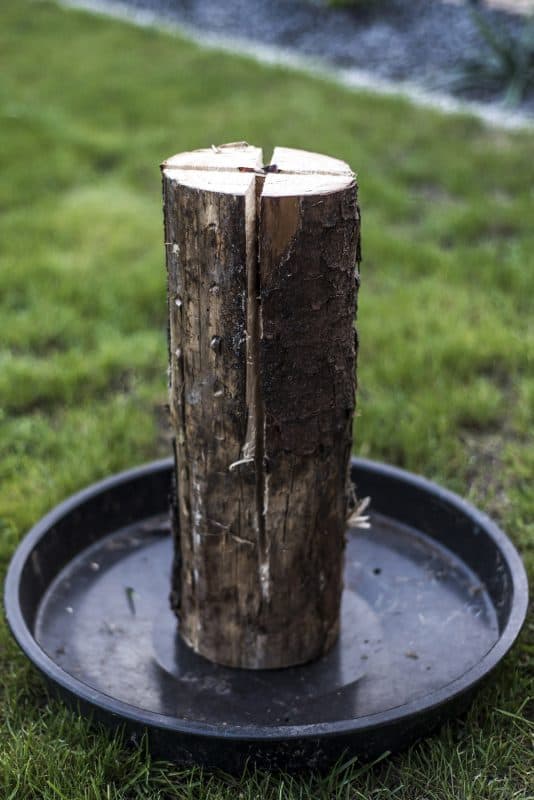
As mentioned, for this method you’re going to be chopping a piece of log into four pieces, so you can light a fire between them. This is a hand-cutting method, so it’s ideal when you’re on a trip, or in a survival situation.
What You’ll Need:
- A sharp ax or large hatchet
- A chunk of log that’s flat on both ends: try to choose one that’s about a foot high
- Wire
- Kindling, such as very dry twigs or split dry branches
- Tinder for lighting the fire, such as birch bark, very dry moss, or paper
- Lighter, matches, or flint striker to light the fire
Check to see whether your ax is nice and sharp before beginning. If it isn’t grab your whetstone and work on it a bit first.
Next, place that piece of log on a nice, flat surface that won’t catch flame easily. A prepared fire pit or sandy area atop clay is ideal, but you can also use rock, metal, etc. Use that beautifully sharpened ax of yours to split the wood into quarters, and remove the sharp “V” tips from their ends.
Arrange these quarters vertically so they look like their original intact log form. Then pull them apart gently so there’s about a two-inch gap between all the sections. The “V” bits you removed will create a good gap down the middle. Then create a loop of wire that’ll fit around these quarters, and secure that into place. This will prevent the logs from falling in various directions when you try to cook atop them.
Grab some kindling and start placing it crosswise into the gaps you left between log quarters. Leave some space for airflow, and alternate the kindling as you arrange it. You’ll want to work from the bottom upward and fill the log about 3/4 full, including those air gaps.
Once that’s done, it’s tinder time. No, not your phone app. Take some of the flammable fluff you gathered and tuck it vertically into the top of your log arrangement. The technique I like best is to wrap some very dry twigs in birch bark and tuck those in like birthday candles into cake.
Light this tinder, and watch as the fire eats downwards, catches the kindling, and sets the insides of the log ablaze
Instructions for Method B
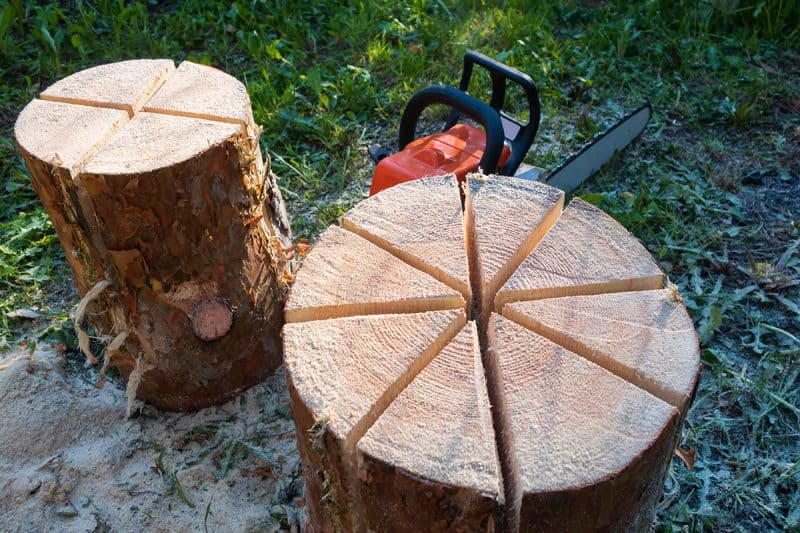
Method B is pretty similar to method A and actually goes a lot faster. If you have a chainsaw at hand for this project, great! You won’t work up quite as much of a sweat making it happen. That said, most people don’t bring chainsaws along on short hiking or canoe adventures. Choose the tools that suit your needs and locale the best, at that moment.
- A chainsaw
- Safety gear, so you don’t cut bits off yourself or get any splinters in your eyes
- A chunk of log that’s flat on both ends
- Chalk or thick pencil for marking
- Tinder (birch bark, wood shavings, paper)
- Lighter, matches, or flint striker
Now, this Swedish fire log method is a bit different from the previous one. Instead of chopping the log into quarters, you’re going to take three deep cuts from the top down all the way across to form six sections. Take your chalk or pencil and mark off where you’ll be cutting. We generally do three cuts, but you can also just do two if you have a smaller log.
Place your log (which of course is nice and flat on both ends) onto a secure surface. Then start your chainsaw and make one of the cuts. You’ll want to move slowly and evenly and cut halfway to 3/4 of the way down. Leave at least 10 inches intact from the bottom upwards. This creates a solid base that’ll take a while to burn through. Then create the other cuts the same way.
Since these cuts are a lot narrower than the ones made by the ax method, you don’t need kindling. You do, however, need some tinder to get the fire going. Push some birch bark, dry moss, paper, etc down into the center of the cuts. You should fill it at least a few inches downwards, leaving an inch or so above. When you’re ready, light that and blow it gently (if needed) until the log catches.
How to Cook on a Swedish Fire Log
There are a few ways to prepare food using a Swedish fire log.
The easiest method, which you’ll likely be using on camping trips and such, is to simply place a pan, kettle, or pot on top of the log. Since it has a flat surface, it’ll easily support most cookware. You can fill your pot or kettle with water and heat it for coffee, or to rehydrate dry goods. Alternatively, you can add raw ingredients into a small pot and cook them into a stew, soup, etc.
I use a cast iron griddle pan for fish, meat, and various vegetables, and it works really well. Just make sure that you have tongs and a spatula handy so you can turn the items frequently. Since you’re cooking on a fire that doesn’t have adjustable heat, you need to move things around in the pan so they don’t burn.
If you’re in a survival situation and you don’t have pots or pans with you, look for a flat rock. You can place this atop the fire and let it heat up enough so you can cook on it. This won’t be ideal but should get hot enough to fry an egg, thinly cut meat, or basic frybread.
Another option is to create kebabs. Most of us carry wire and utility knives as part of our emergency supplies and bug-out bags. Cut a length of wire and use it to skewer chunks of meat and vegetables. Then use the pliers on your utility knife to bend the ends into U shapes so the food doesn’t slip off.
Hook one of these onto a longer length of wire as a cross-piece, and feed the kebab down into the log’s hollow. It’ll need to have burned a while before it can accommodate the food without scorching it. The surrounding heat should cook everything quite well. Just pull the kebab out gently so you don’t burn yourself, let it cool for a couple of minutes, and enjoy.
Additional Supplies and Accessories, if Desired
Some people like to get super fancy with their fire logs. For example, a Swedish fire log stovetop is a metal cooking surface made specifically for log fires. This type of item comes with metal spikes to keep the logs in place and provides a perfect, flat surface for cookware.
Cast iron pots and pans are perfect for cooking over open flames. If you don’t already have a couple of good pieces, it’s a good idea to invest in some. You don’t have to cook directly on top of a fire log either! For example, if you have an iron cauldron and tripod, you can suspend it over the fire log to heat up the contents.
Similarly, if you just make a teensy log fire, just big enough for a mug of soup or coffee, you can get yourself a ceramic pipkin. These are made of thick stoneware and can handle quite a bit of direct heat.
Of course, cooking and eating utensils are also important! Carve a kuksa drinking bowl for your soup or tea, whittle some spoons, and you’ll be dining al fresco in style.
Final Notes:
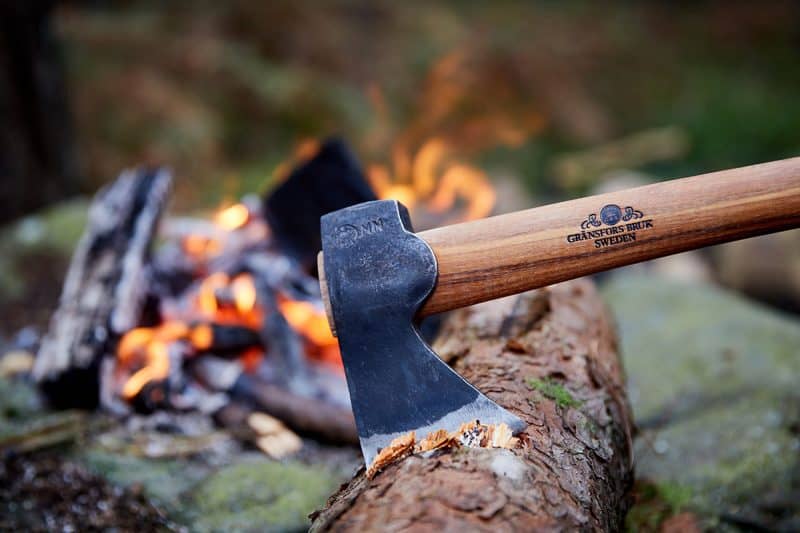
Remember that the bigger the log you choose, the longer it’ll burn. Furthermore, the longer it takes to burn, the more heat (and light) it’ll offer you. Burning larger logs allows you a lot more cooking time, and will provide heat for several hours. A lot depends on how dry the wood is.
For example, a 30-foot-tall birch tree fell on our property, and its trunk was quite massive. The inside of it, however, was bone dry and eaten away by termites and other borers. As a result, it was spongy and burned right through in minutes.
It’s always a good idea to prepare at least three Swedish fire logs at a time. This way, you have them prepped and ready to go when needed. Better still, you won’t have to get up from your comfy spot and cut a new one when the fire starts to burn out.
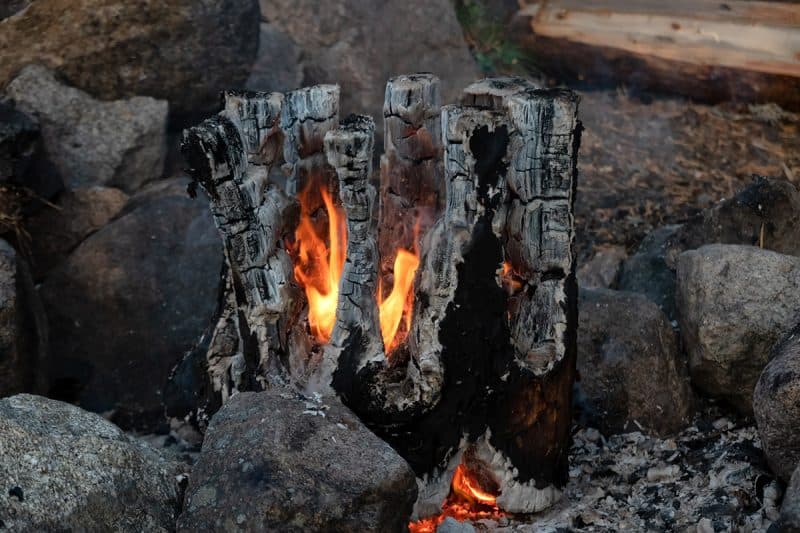
These logs don’t need any additional wood or kindling added to them when they burn. They just use themselves as fuel and crumble into embers when they’re done. Please use good fire safety practices and use either sand or water to extinguish whatever’s left before you leave the area.
