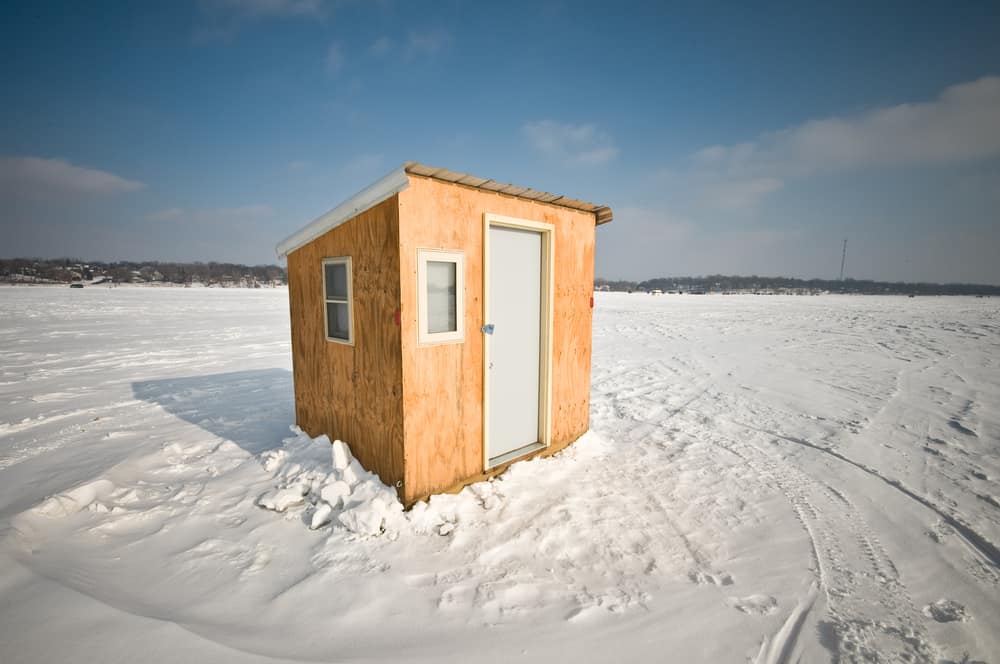
Winter is a time for getting cozy inside, making homecooked meals, and enjoying the solitude. It’s also a challenging time to hunt food and enjoy the outdoors. Ice fishing is a reliable way to feed your loved ones and to get outside. To get the most out of your time on the ice, you’ll need a sturdy ice fishing house. Why not build your own?
An ice fishing house makes spending the day on the ice much more comfortable. This guide helps you with what tools to use, measurements, and assembly. We’ll also give you some alternatives if building an ice shanty is more than you’re ready for.
Key Components of an Ice Fishing House
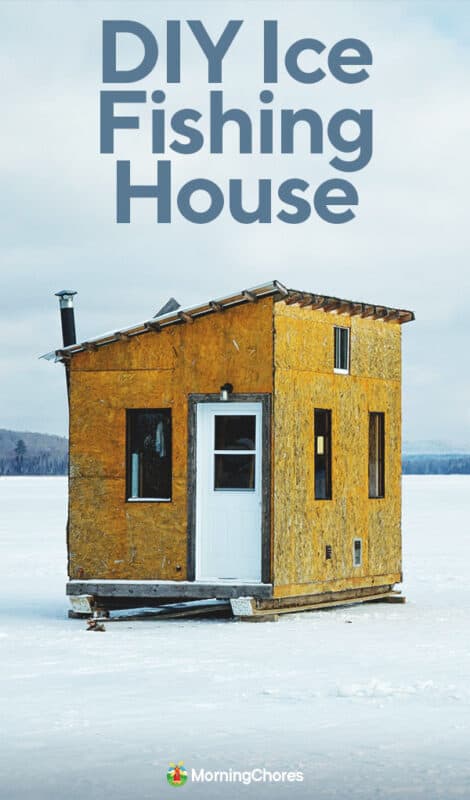
An ice fishing house, otherwise known as an ice shack, ice shanty, fish house, or ice-fishing shed, is used to shield ice fishers from harsh weather conditions in winter. No matter what type of design you choose, there are some key components you need to include for it to be practical and useful.
You need a hole in the floor to fish through and a door for access. A roof overhead keeps out the snow and walls keep the interior warmer.
Then, if you want to make yourself feel more comfortable, you can add some fancier features. Think things like:
- Windows
- Benches
- Portable heater
- Hooks for supplies
- Lockable storage
If you build an ice fishing house, you can also add elements such as stoves, beds, and dining tables for more comfort. Adding decor makes the space feel homier.
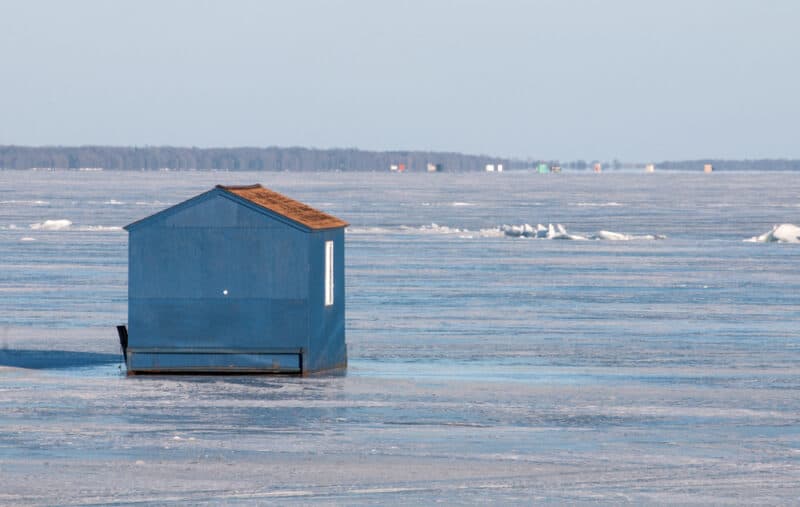
This being said, the design details will depend on what you would like from the ice house. Are you looking for a portable, simple shelter? Or, would you like to create a cozy space for weekend fishing getaways? The first can be bare-bones so long as it is sturdy against the weather. The latter could have furniture and other comfortable additions.
Prepare the Area
Regardless of how fancy you go, you need to rough out the basic layout before you break out the hammer and nails.
Building a basic ice house on a budget requires – at a minimum – wood beams, wood panels, glue, nails, screws, roofing material, and hinges.
Before you get started, roughly mark out the size of the shanty using spray paint on the ice. Now you can start deciding on the rest of the shape.
Measure the Height
Next, you’ll need to decide on how tall you would like the shelter to be. An easy way to do this is by finding sticks in nature, or in the surrounding area near the ice, and placing them vertically to measure how tall they are and to see what height suits you.
Once you’ve decided on the height that feels right, go out and purchase 2×4 wood boards in the length you want. You might need to cut them down to size.
Gather Your Supplies
You will need the following tools to build an ice fishing house:
- Hammer
- Saw
- Pencil
- Screw gun
- Tape measurer
- Protractor
Next, gather the materials:
- Wood boards for the frame (waterproof 2x4s are best)
- Plywood for the floor
- Wood sheets to make the walls
- Wood screws
- Finishing nails
- Wood glue
- Hinges for the door
- Corrugated metal sheets
- Foam insulation
Start Building
You’ve got your supplies, you roughed out the shape, and now it’s time to build.
Create the Base
Build the base using wood boards and plywood. The boards should be laid sideways rather than flat. Place the outside top boards first, saw them off, and then attach the outside side boards. Fill in the middle with boards placed 12-18 inches apart. Fasten these together with the screws. Lay the plywood over the frame that you just created.
Fasten the plywood floor over the base using nails. Saw any excess off so that it fits cleanly.
Build the Walls
Next, place the framing boards on the base that you made at the exterior. These should be laid flat rather than on their sides. Fasten them using screws. Next, place your vertical supports and fasten them by toenailing them in with screws. Secure the vertical supports by placing a piece of wood across the top and toenailing it in place.

Every 24 inches or so up the wall you will need to fasten a horizontal board to create stability. Since you probably aren’t finishing the interior of the shanty, you can just fasten the cross-wood to the frame in one piece. You can afix hooks to these to hold light supplies (nothing too heavy!).
But if you want to be a bit fancier, cut the pieces of wood to fit in between the vertical frame wood. Toenail the screws in. Now you can cover the interior of the walls if you want and the structure will be extra secure.
Top Off With a Roof Frame
Roofs can be a little challenging to build. Start by building a frame that is similar to the one you made for the floor. Now, gather your wood, screws, and protractor and check out this video for tips:
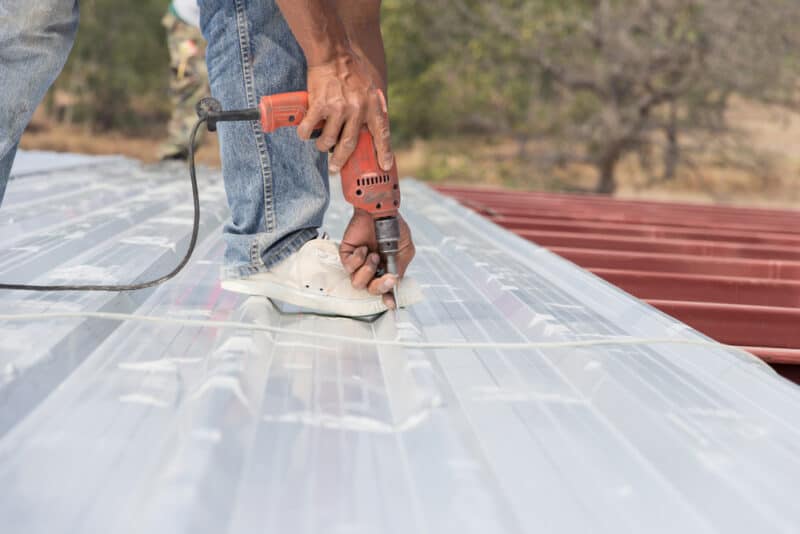
Once you’ve built the roof frame, cover it with corrugated metal sheets, one on each side. If you need to use multiple sheets, place the lower sheet first and layer the next sheets on top. This prevents water from seeping in. Only insert screws to fasten the metal at the top, base, and sides of the roof to prevent leaking.
Don’t insert screws through multiple layers of metal. This creates a place where water can get in.
Bend a third piece so create a leak-proof peak.
You can also create a flat roof or slightly lift one side if making an angled roof is too challenging. Just be sure to knock off the snow if it gets too thick.
Finish Your Walls
You’re almost done with the basic build of your ice fishing house. Now you can place the wood sheets over the exterior of the walls and fasten them with nails and wood glue. If there are small gaps at the top, fill them in with foam insulation. It isn’t pretty, but it gets the job done.
Make a Door
Cut out a door from one of the walls. You can also cut windows, if you want. Frame the cut-out that you made with wood boards, fastening the wood with screws.
Take the piece of wood that you cut out and attach a hinge to the top third and bottom third of the wood. Attach the other side of the hinge to the structure.
If you want, you can use a hook and latch fastener to keep the door closed.
If you made windows, cover them with clear plastic attached on the inside and/or hinge the wood as you did the door and keep them closed when you aren’t inside.
Cut a Hole
Cut out a hole in the base using a saw. Now you can drill your ice hole. You can either replace the plywood when you aren’t fishing or just leave the hole open.
This is a basic model for an ice fishing house on a budget, and of course, you can always upgrade it with insulated walls, heaters, furniture, and anything else you would like.
Other Types of Ice Houses
Don’t want to build an entire ice fishing house yourself? There are other options to help keep yu warm and protected while fishing.
Trailers
If you want something a little more advanced, you can also consider converting a trailer into an ice house. This is ideal if you want something portable that you can take with you when traveling to different ice fishing locations.
The great thing about a converted trailer is that it is well insulated and you don’t need to build everything from scratch. All you need to do is renovate the inside so you have fishing holes and windows for fresh air.
This could also make it easier to create a cozy cooking space, a lounge area, or even a bed to sleep in. Even though you need to make the investment at the beginning, it could be worth it in the long run as you won’t need to buy all the materials from scratch.
You can buy simple, used trailers extremely cheap, or you can purchase fancier versions.
Pop-Up Ice House
Nowadays, people are gravitating towards portable ice houses as they give them the flexibility to move location and it is cost-effective.
Pop-up ice shelters look similar to tents but they’re made for ice fishing. They are often referred to as hub shelters as they provide a warm, comfortable environment.
This type of shelter is lightweight, durable, and waterproof, ideal for varying weather conditions. They have good heat insulation despite their size. If you find the right one, they also provide excellent ventilation so you can even use gas cooking safely.
These modern designs are not as homey as the traditional shelter. You cannot decorate them the same way as a permanent shelter, and they might not be stable enough if you experience severe weather conditions.
Although these could be a good option for daytime fishing when you only need a temporary shelter, they’re not a good long-term solution for more frequent ice fishers. Building your own ice fishing house is more satisfying and can hold more people.
Things to Remember
Every time you build something from scratch, there are always unexpected challenges that arise, such as loose screws. To avoid any sudden construction disasters, you should always keep a toolbox in your ice fishing house. You can always build additions to your ice fishing house down the road, as well.
Don’t get too caught up in decorating and putting tons of accessories in your house. After all, ice fishing is about getting out in nature and carving some time to relax so the last thing you want to worry about is more clutter and tasks on your to-do list. Make it easy and simple for yourself.
Just install the things you really want and will use. If you absolutely plan on napping, a bed makes sense. Say that you want to cook? Installing a chimney is necessary.
If you opt to leave some of your equipment out there, you might want to affix a locked storage bin inside. You can also paint the walls on the exterior to increase longevity.
Now, head on over to our guide on ice fishing to make the most of your adventures.
