Out of all the vegetables that can be grown during the winter months, spinach has got to be one of my favorites. It can handle a heavy frost and even performs well in a greenhouse or cold frame.
Of course, it can be grown in the spring and fall, too (and some varieties can withstand a bit of summer heat). This hardy crop is great for expert growers and beginners alike.
That said, it’s not always all smooth sailing. There are some problems you may encounter while growing spinach. Fortunately, knowing what they are (and how to address them ahead of time) can help you avoid any major mishaps.
Let’s dive in!
Growing Spinach: A Quick Guide
Before I tackle the major problems you might encounter while growing spinach, here’s a quick guide to help you get started with planting and caring for it. You can also find more information in this post to help you get started.
1. Types of Spinach to Grow
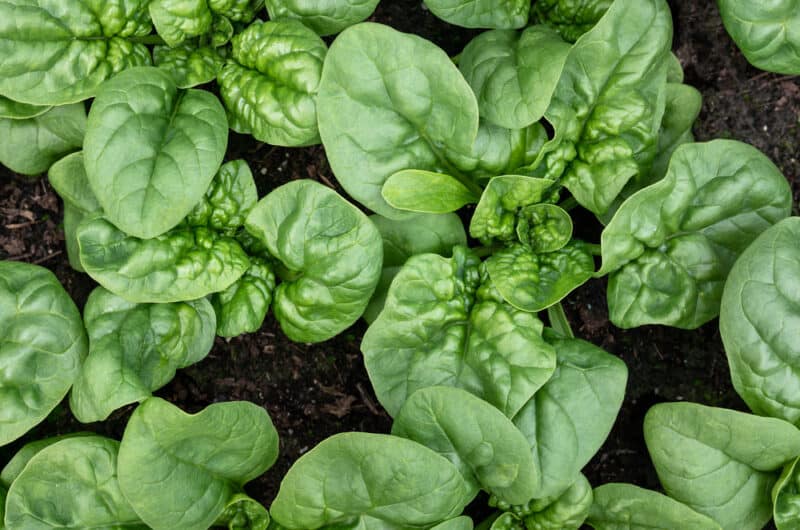
There are all kinds of spinach you can grow in your garden. Here are some of the best varieties:
- Bloomsdale – a good choice for a “cut and come again” garden
- Double Take – perfect for harvesting both baby and mature leaves alike
- Seaside – a heat-resistant cultivar that’s great for summer planting
- Riverside – perfect for resisting fungal diseases like downy mildew
- Malabar – a cultivar that grows on a vine and has ornamental as well as edible properties
2. Planting Spinach
Although there are some cultivars of spinach that can be planted continuously throughout the summer, most are best planted in the early spring or late fall, when the weather is cool and the soil is moist.
You can start spinach from seed indoors or sow seeds directly in the garden. It takes about 30 days to reach maturity.
Plant spinach seeds in full to partial sunlight, making sure you space seeds about 4-6-inches apart.
3. Caring for Spinach
Once your spinach seeds germinate, there’s not much you need to do to take care of your plants. Provide 1-2-inches of water per week, keeping the soil consistently moist.
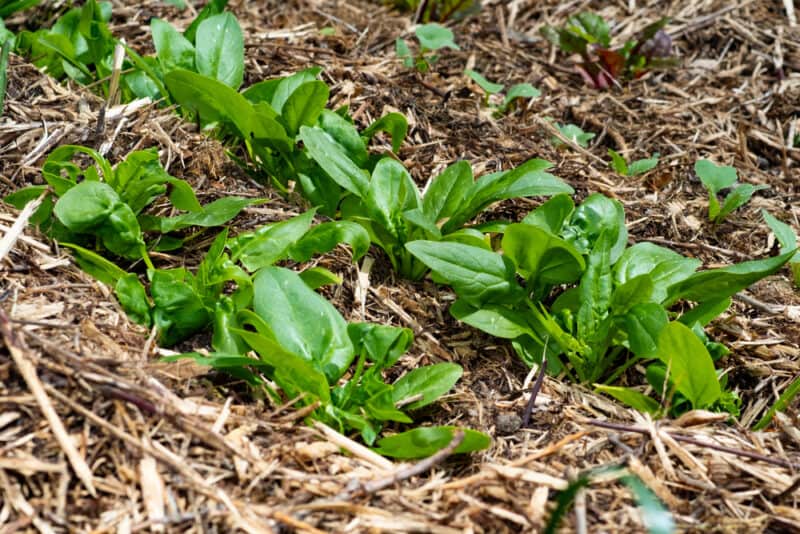
Mulching around your plants can help conserve soil moisture. It also helps to keep the leaves cleaner for easier harvesting, since soil won’t splash up onto the leaves when you water. Use organic mulch to help fertilize the soil as it breaks down.
You can side dress with compost tea or another liquid fertilizer halfway through the growing season.
4. Harvesting Spinach
Spinach is ready to be harvested about 30 days after sowing seeds. Clip individual leaves at that time or even before if you’d like to use them as baby greens. If you avoid cutting the whole plant, you can keep coming back for a continuous harvest throughout the growing season!
Common Spinach Growing Problems and Treating Them
Here are some common problems you might encounter when growing spinach – and how you can address them in the future.
1. Poor Germination
If you find that your spinach germinates poorly, there are a few potential culprits behind this.
One is if seeds are planted too deeply or too shallowly. Both situations can result in seeds that fail to germinate. Therefore, you should aim to plant at one quarter to half an inch deep.
Sometimes spinach seeds won’t germinate because the weather is too hot or too cold. The good news is that, if it is too cold, the seeds will germinate as soon as the weather warms up. Poor soil moisture can also lead to poor germination so be sure to water evenly and regularly.
2. Cutworms
Although many pests can terrorize spinach plants, cutworms are some of the most common. While other pests will only defoliate or damage the leaves, cutworms will kill the entire plant and prevent it from growing back at the base.
They chomp right through the base of the plant, causing it to tip over and then die.
Bacillus thuringiensis is one solution you can use to get rid of them. They can be prevented by placing little rings or collars around your plants so the worms can’t get to them when they are the most fragile.
3. Bolting
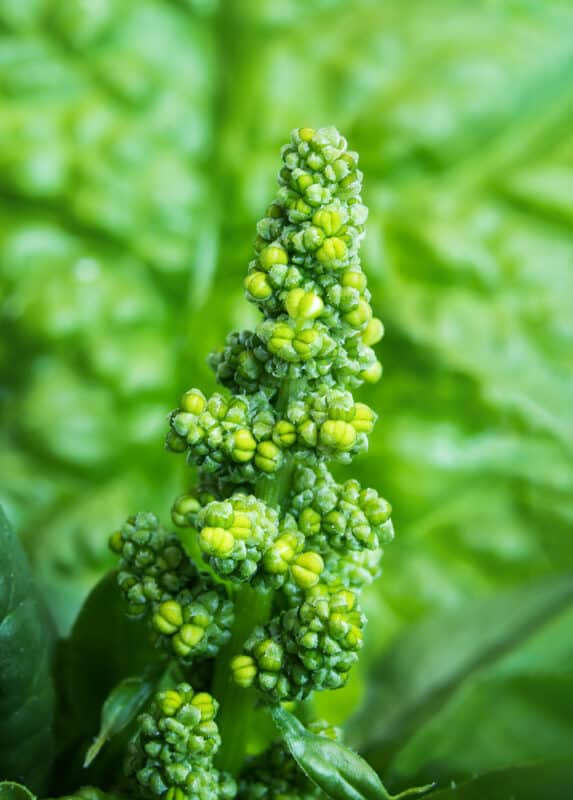
One major mistake that many new gardeners make when growing spinach is planting it at the wrong time. This is true not just for spinach but for many different types of crops.
Conventional wisdom holds that all crops can go into the ground at the same time – usually, around or after Memorial Day. However, that’s not always the case, especially with cold-weather crops like spinach.
These plants need to be grown when the weather is cooler, ideally in the early spring or late fall. If you plant too late, you’re going to have problems with your spinach bolting.
What is bolting? This term simply refers to when spinach plants go to seed. Once the plants start to flower, the leaves become bitter and unpleasant-tasting. After they bolt, there’s no turning back – you have to pull the plants.
To avoid bolting, plant when the weather is cool and as soon as the soil can be worked. Don’t worry about the cold impacting spinach – it can handle the occasional frost or freeze.
4. Leaf Yellowing and Deforming
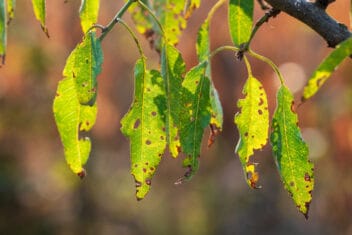
If the leaves of your spinach appear to be yellow or deformed, nitrogen deficiency is likely to blame. This heavy feeder needs lots of nitrogen to grow gorgeous green leaves!
Therefore, you should side-dress your plants with a nitrogen-rich liquid fertilizer (compost tea is a great choice!) regularly as well as before planting.
5. Tunnels or Shot Holes in Leaves
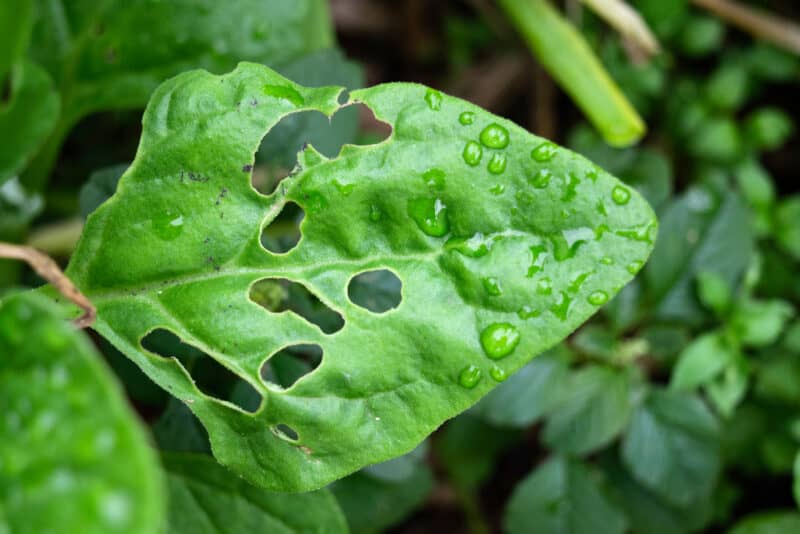
When you notice that the leaves of your spinach look a little worse for wear, there’s a good chance that pests are to blame.
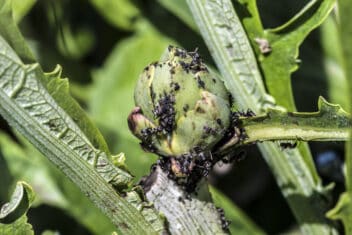
Several pests can cause shot holes or tunnels to appear in leaves, including aphids, leafminers, spider mites, and flea beetles. They can quickly skeletonize the plant if they aren’t stopped.
Neem oil or other natural insecticides work wonders at getting rid of pests, as does Bacillus thuringiensis.
6. Stunted Growth
There are all kinds of reasons why the growth of your spinach plants might be stunted. The culprit could be environmental – the weather is too hot, cold, or dry – or there could be diseases or pests to blame.
Rule out any environmental issues first, then take a closer look at the plant. Do the leaves have any pale green or yellow spots? This is a sign of a fungal disease like downy mildew. Fusarium wilt can lead to black stains, while white rust causes -as expected – white bumps or yellow spots.
You can prevent most fungal diseases by following proper spacing. Get rid of infected plants to prevent the spread of disease and consider using a fungicide when available.
7. Defoliation
Another problem you might encounter growing spinach is defoliation. If the leaves and stems are partially defoliated, there’s a good chance that armyworms are to blame. These pests are caterpillars that are the larvae of gray moths. They eat the stems, roots, and leaves of many plants, including spinach. You can get rid of them by handpicking them off plants.
8. Overcrowding
It can be tempting to try to get as much bang for your buck as possible by planting all of your seeds in one small area.
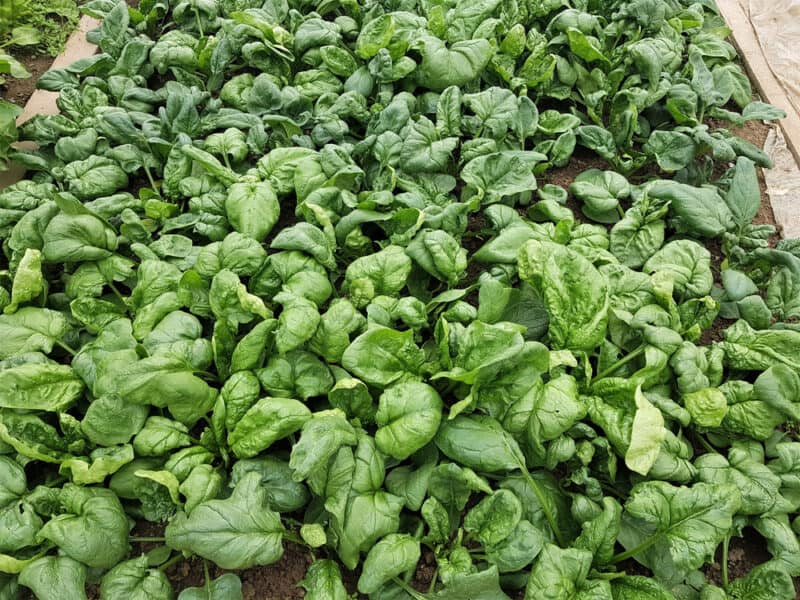
However, overcrowding can cause your seedlings to grow poorly. Not only that, but the lack of air circulation between your plants can lead to various fungal problems. Plant seeds at least 4-6-inches apart and thin if you find that they’re closer together than that when seedlings emerge.
Preventing Spinach Growing Problems
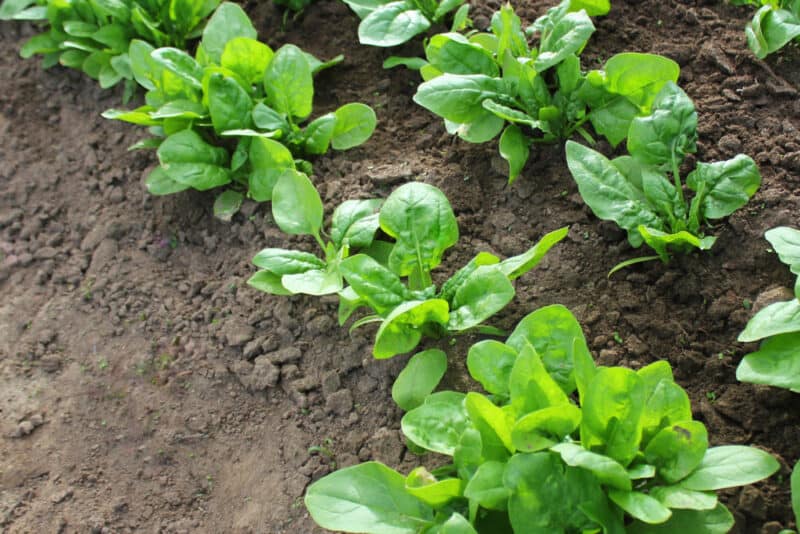
You can prevent most spinach growing problems by following the planting and care tips mentioned above. Always grow your spinach in full sun and make sure the soil is kept moist at all times. Proper spacing and fertilization are important factors to consider, too.
Spinach is not the hardest crop to grow but if you don’t arm yourself with the right knowledge, it can be a bit tricky! Hopefully, this article has helped you on your journey toward becoming a better gardener.
Time to eat! Spinach dip, anyone?
