Many of us are looking for ways to live more eco-friendly these days. Plus, as homesteaders, we’re always trying to find ways to reduce our dependence on outside resources. The more we can do ourselves, without having to buy regular inputs, the better.
Solar cooking can help you achieve both of these goals. You will need to make a one-time investment in a high-quality solar cooker. Or, you’ll need to buy a few resources and invest some time into making your own.
Once you have your solar cooker, though, it can dramatically reduce your dependence on outside resources, cut your house cooling costs, and minimize your labor.
Let’s take a closer look at solar cooking, its benefits, and drawbacks, and how you can use it on your homestead.
How Does Solar Cooking Work?
Solar cooking is all about harnessing sunshine to heat food. It can be as simple as roasting a few hot dogs in a shoebox lined with aluminum foil or as complex as hosting a large family using a commercial-grade solar oven.
Although I love to show kids how to solar cook in a shoebox, for regular use, a more sophisticated solar cooker is better. The higher the quality solar cooker you buy or make, the more likely you’ll be to use it.
Also, if you make or buy a model that will last long-term, you can significantly reduce your need for cooking fuels such as natural gas, electricity, propane, or wood.
Plus, since you don’t have to turn on your indoor stove or burners to cook on hot, sunny days, you won’t have to cool your house just because you are cooking. That can mean additional savings on air conditioning costs and greater comfort for you on hot days.
5 Things to Look for In a Solar Cooker
Regardless of whether you buy or make your solar oven, there are some key design details you’ll have to keep in mind.
1. Easy to Move
Solar cookers must be designed so that you can move them around to adjust their angle to the sun. Some solar cookers come in a kind of suitcase-style that allows you to open and close them.
Others look a bit like those foil-covered car windshield covers that were popular for a while. They are lightweight enough to use anywhere.
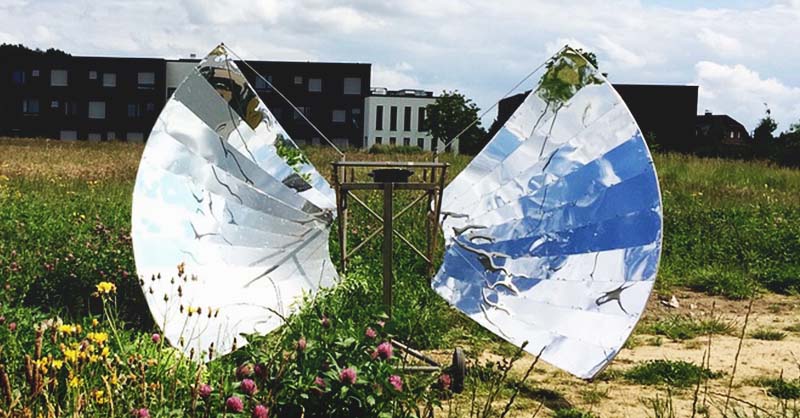
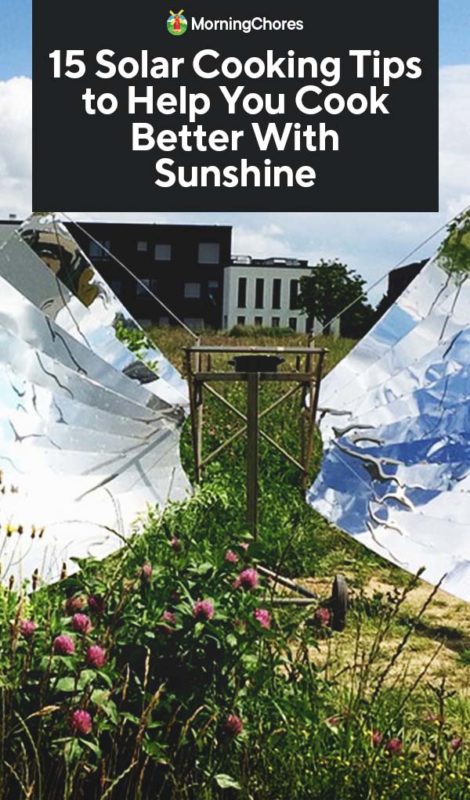
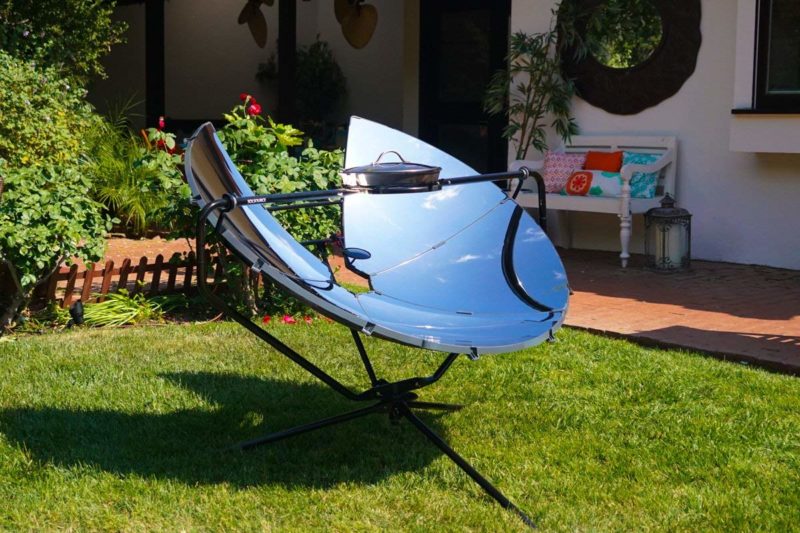
Some fixed parabolic solar ovens look like old-style satellite dishes. However, they pivot and turn on an adjustable base so you can direct them toward the sun.
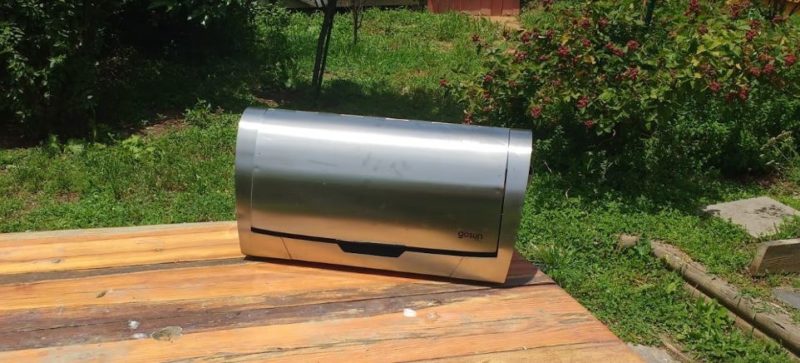
My solar cooker reminds me of a great big stainless steel lunch box until you open it. Once open, it looks like a tanning salon bed, except instead of electric light tubes, it reflects actual sunshine. Still, it’s compact enough that I can turn it to follow the sun.
Whichever model you choose, make sure it’s designed so that you can adjust its angle to the sun, even when it’s hot and full of food.
2. Ideal Cooking Area
Solar cookers also need an insulated, level cooking area. For the simplest models, people often just put a dutch oven on top of a stove grate with footers. The grate provides a stable surface to keep your pot level. Then the pot is heavy-duty enough to hold heat for a while in case the sun slips behind the clouds.
In more expensive models, you may have built-in cooking areas that capture heat and store it longer than a heavy-duty pot does. For example, in the model I use, there’s an insulated cooking core that absorbs heat and continues to disperse heat to the cooking area even without sunlight.
3. External Temperature Gauge
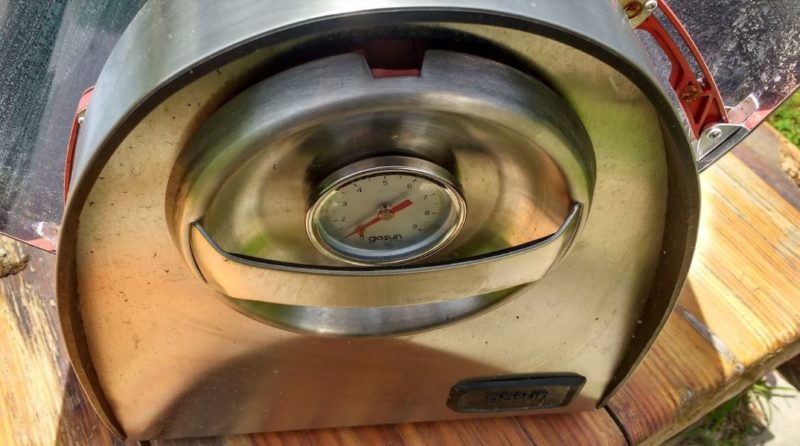
Solar cookers do not have the same kind of easy control as a stovetop burner would. They take a while to heat and will cool at varying rates depending on the model and the conditions you are cooking in.
It’s beneficial to have a temperature gauge, so you know when desired heat is achieved. Expensive models usually have a temperature gauge built into the design. However, you can also use a pot with a built-in temperature gauge.
Or, you can simply use a good old fashioned thermometer to get an approximate reading of the temperature in your heating area. If your thermostat isn’t built-in, you will likely lose some heat each time you open your pot or cooking area. Still, as long as you still have sun, you can always catch more heat to make up the difference.
4. Easy Clean-Up
Another thing to consider if you are making your own solar cooker, or buying one, is the ease of clean up. As with your normal oven, you always run the risk of spillage.
Some of the less expensive models, or homemade plans, don’t hold up to regular cleaning. So, you’ll either have to opt for easier to clean choices or be prepared to repair or replace components from time to time.
5. Safe To Access
Some models of solar cookers can get over 500ºF. So, just like your in-house oven, you need to be able to safely access your cooking area without getting burned.
Good solar cookers offer you an access point, or method for getting to your food, without being at risk for touching a scorching hot solar collection surface.
How to Use a Solar Cooker
Now that you know a bit about what makes a good solar cooker model, let’s talk about how to use them.
Step 1: Heat Your Cooker
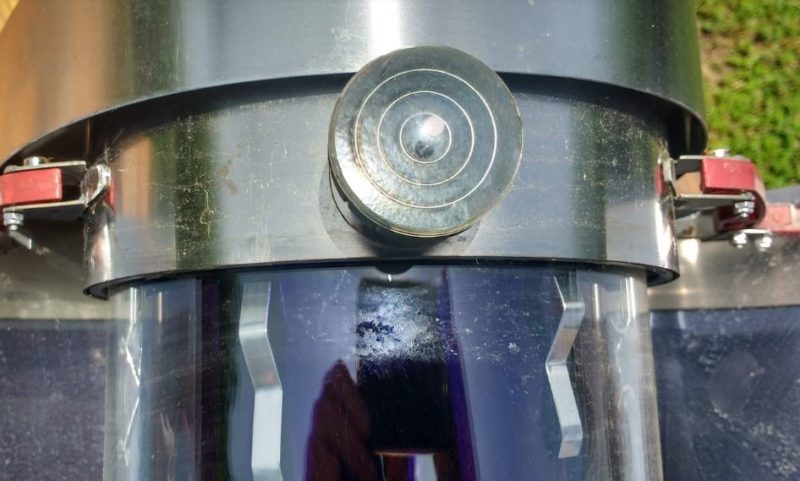
Start by opening your solar collection surfaces and pointing them toward the sun. This begins to generate heat almost immediately on sunny days. However, in partial sun, it can longer to warm the cooker.
You can use a sun angle finder (like the one shown above) or your shadow to find the best sun angle.
Step 2: Start Cooking
Once your solar cooker is preheated, add your pot or begin using your heated core just as you would your oven.
Step 3: Control Your Temperature
Although you can’t instantly turn your heat on and off in a solar cooker as you would a standard stovetop burner, you do have some control. You can usually open, close, or reposition your solar collection panels to raise or lower temperatures.
You can also open and close your pot lid or insulated cooking core to modify the temperature of your food. Or, you can remove your food from the solar cooker completely and allow your cooker to cool before putting it back to finish cooking.
This is about the trickiest part of using a solar cooker. However, with practice, you’ll be as good with your solar cooker as you are with your stovetop.
Step 4: Sample and Serve
Although controlling temperature is a bit more tricky at first with a solar cooker, fundamentally you are still just cooking food as you would over an open fire or stovetop burner. When your food is ready, you can remove it from heat and serve as usual.
You may want to use a thermometer for meat dishes to make sure you achieved safe cooking temperatures at the outset. You may also have to use the fork or toothpick test method to make sure things like cake batter or casseroles are cooked all the way through.
Step 5: Clean Up
Your solar cooker is only as good as its solar collection surfaces. So, if you’ve made any messes, make sure to wipe those up before you put your cooker away.
Even the best solar collection surfaces won’t stand up to regular scrubbing. That’s why cleaning before stuff gets stuck on dried is really important for maintaining solar cookers.
Tips for Using a Solar Cooker
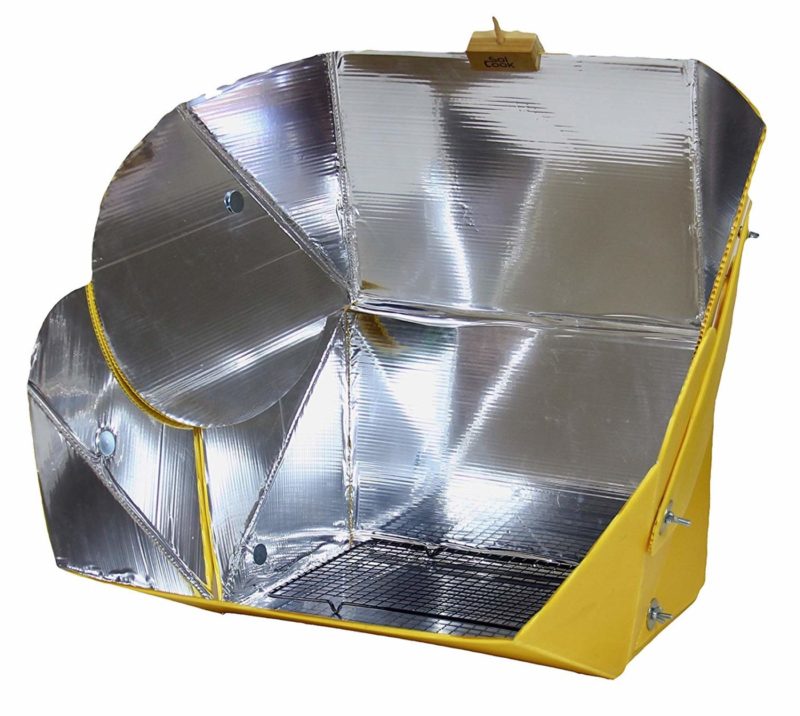
Once you get the hang of using solar cookers, you can use them as you would both an oven and a stovetop burner. You will need to practice and pay close attention to master the heating and cooling nuances of your solar cooker. However, with time, you can be cooking outside every somewhat sunny day, if you want to.
Here are some more tips to help you master solar cooking sooner rather than later.
Tip 1: Full-Sun Not Always Required
Since the heat source is the sun, solar cookers only work during daylight hours and when you can see your shadow. Even so, you don’t need full sun to cook a meal. You may need to adjust your time schedule and opt for lower-risk foods.
For example, if the cooking temperatures of your vegetable stew go up and down, it’s no big deal. It just takes a bit longer for the vegetables to soften and the flavors to meld.
With meat or delicate dishes like quiches, uncontrolled cooking temperature changes can impact the texture and safety of your food. So those are options you might have to save for full-sun days.
Tip 2: Plan for Play Time
You can’t turn your solar cooker up and down like you would a stovetop burner. However, with a little practice, you can have some control over temperatures.
Pay attention to how long it takes your oven to heat on sunny versus part sunny days. Monitor how long it takes for temperatures to drop after you heat it up. Then, play with opening and closing your solar collection surfaces to achieve the desired heat.
Do all of this while trying to cook some beans or boil water rather than with complicated recipes. That way, you get experience without wasting food.
Tip 3: Treat It Like a Slow Cooker
You can absolutely cook a perfect, seared steak, sealed in its own juices, in your solar cooker. At the outset though, think of it as a slow cooker replacement, not a grill or broiler.
Use recipes that contain sufficient liquid that your ingredients won’t stick to the cooking dish and burn. Aim to keep your temperatures in the mid-range of 250-350ºF as you would your slow cooker.
This will help you hone your temperature control skills to prepare you for more complicated cooking later.
Tip 4: Ease Into Baking
Don’t try to make a perfect sourdough loaf in your solar cooker right away. Instead, start with moist cakes that contain oils or butter in the recipes.
Brownies with a butter-based recipe are an excellent way to start because they taste great even if they come out gooey!
Tip 5: Cook Ahead
Not everyone works at home as I do. So, if you aren’t able to hang out at your homestead every day of the week and monitor your solar cooker, consider cooking ahead.
In summer, it’s lovely to eat pre-cooked things cold. Cold roast beef or pork loin is terrific on a bed of lettuce. Chilled, poached fish over salad rice is also a lovely hot weather meal.
There’s no reason you can’t do your solar cooking for cold-served dishes in advance. Particularly if you buy an expensive model, making the most use of your solar cooker while you can bring down the cost per use and creates a more substantial reduction in your carbon footprint if conservation is key for you.
Conclusion
If you get a lot of sunshine, solar cooking can reduce your fossil fuel use and cut your dependence on outside inputs related to cooking. It does take a bit more planning and is sun-dependent. However, it can be a great self-sufficient tool for lots of homesteaders.
