- Outdoor furniture put in storage – ✅
- Shovels, salt, and sand ready to go – ✅
- Chicken coop winterized… ❌
On the list of winter preparation chores that I tend to neglect, preparing the chicken coop for winter is right at the top of the list. For whatever reason, I find it difficult to motivate myself to take care of this cumbersome chore.
Cumbersome as it may be, it’s absolutely necessary. If you think you can cut corners by not doing anything to get your flock ready for the colder months ahead, you’re fooling yourself.
Sure, this might work out just fine in places that have warmer winters, but in those that experience winter days that struggle to rise above freezing point, it’s essential that you do your best to prepare your chicken coop.
Here’s a brief overview of everything you need to do to prepare your chicken coop for winter.
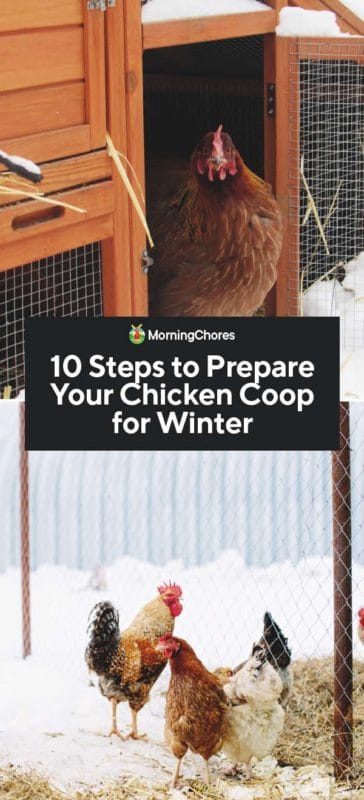
Why Do You Need to Prepare Your Chicken Coop for Winter?
There are several key reasons why it’s vital for you to prep your coop for winter. For one, you need to make sure everything is in tiptop shape. Doing a thorough cleanout and workup of your chicken coop will give you a good picture of the conditions of the coop but will also let you know if there’s anything that needs to be done in terms of repairs or replacements.
Think of it as a spring cleaning – but in the fall. This kind of regular maintenance will help you keep your chickens happy and healthy, preventing issues like predator attacks, parasite invasions, and just general uncleanliness. A clean chicken coop can prevent diseases, and it’s important that you take the time to go through everything now before it all freezes up solid.
Plus, you need to ensure that your coop is in good working order for the winter. Issues with ventilation and insulation often rear their ugly heads during the coldest months of winter, so it’s important that you’re aware of any issues now before it’s too cold and miserable to deal with them.
Preparing Your Coop for Winter in 10 Simple Steps
1. Do a Rigorous Cleaning
Step number one is to conduct a thorough deep-clean of your chicken coop. Kick your chickens out so you don’t have to worry about roosters trying to kick you out of their domain. Take out your nesting boxes, feeders, waterers – everything.
Then, scrape out all of that old, dirty bedding. You might need to recruit the help of a paint scraper or a shovel with a sharp edge to get all that built-up gunk off the floors, walls, and roost bars. Make sure you sweep out all the cobwebs and dust, too.
As you clean, toss that old bedding into a compost pile.
Then, scrub the coop down with a blend of white vinegar and warm water. If you find a lot of mold, you can also add some bleach, but this isn’t necessary and can get dangerous in high quantities. Don’t forget to clean your feeders, waterers, nest boxes, roost bars, windows, and vents, too!
Before you do anything else, allow the coop to dry out. Even if you only take a few hours to let it dry, this step is essential to prevent unnecessary moisture in the coop. Try to pick a warm, sunny day in the fall to get this clean-out done. It will make your life a lot easier!
2. Inspect for Predator Infiltration
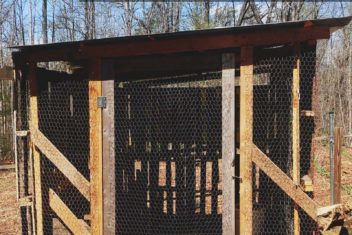
Your next step is to carefully inspect your coop and look out for any gaps or cracks that can let in predators. Your chickens aren’t the only creatures that want to take refuge in the cozy coop on a cold winter’s night. You’re also going to have to protect against predators.
All varieties of predators can make their way into the coop, including weasels, rats, and snakes. Some of these creatures won’t target your chickens directly but will instead go after their eggs or feed.
Repair any damages or cracks now. Yes, even those that seem too small to allow predators inside. Some animals can fit through shockingly small spaces!
3. Conduct Some Basic Maintenance
Any basic maintenance that your coop needs (which you should have noticed when you were carrying out the last step!) should be conducted now. Whether you need to fix some wiring or seal up some gaps, it should be done in the fall and not in the winter – when you’ll be trudging through three feet of snow to do it.
This will help keep your coop safer, too. Most coop fires are linked to electrical problems. If you utilize any kind of electric wiring in your coop, have an electrician inspect it before the winter. If you plan on using extension cords for waterers or other facilities this winter, make sure they’re in good working order, too.
4. Improve Ventilation
Minimizing drafts in the chicken coop is important, but you don’t want to excessively seal up your coop. Too little airflow can cause the build-up of ammonia, and it can, unfortunately, cause your chickens to get colder, too.
Add ventilation without creating excessive drafts by placing vents at the top of the coop (where the cold air won’t blow directly on your birds). Mesh vents can help ventilate the air in the coop by funneling warm, humid air out and replacing it with cooler, drier air from the outside.
5. Design a Food and Water Plan
One of the most frustrating aspects of caring for chickens in the winter is having to break through ice each and every morning. An automatic waterer, while convenient, doesn’t save you any time during the winter because the water turns to ice so quickly.
Some farmers bring water out two or three times a day. This is tough if you work full-time or you have a large flock that needs water. Instead, consider investing in a heated waterer. Make sure you plug it into an outdoor-rated extension cord, too.
The same goes for your feeding situation. Automatic feeders are great. However, you need to make sure you are using a feed with a low moisture content to prevent things from freezing up.
6. Establish a Plan for Clearing Snow
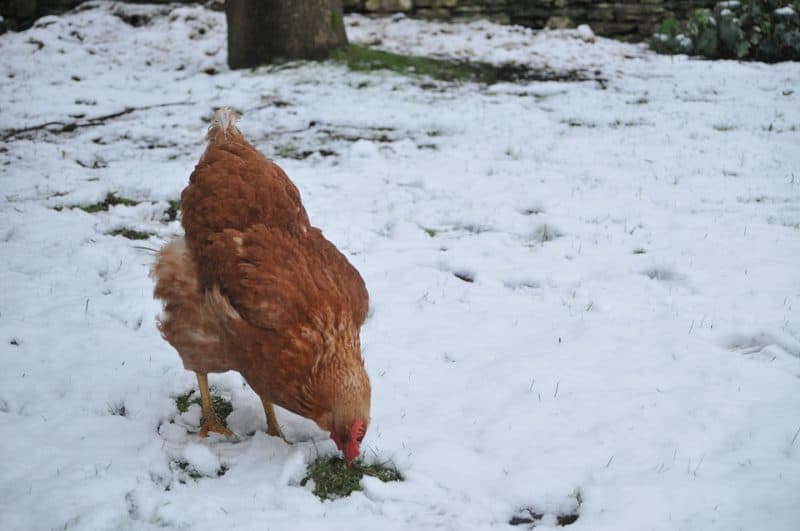
While it would be nice to assume that the chickens can clear their own paths out of the coop each morning after a fresh snowfall, that’s sadly not the case. Although it would be fun to see a chicken trying to operate a snow shovel!
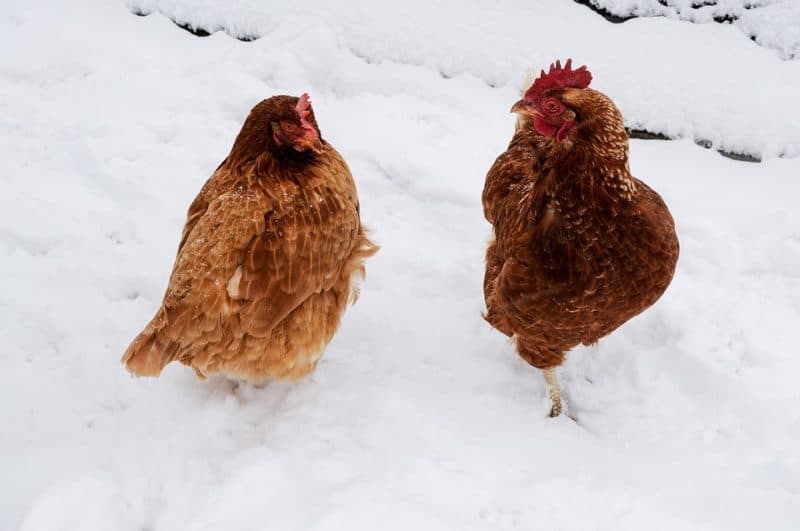
Make sure you have an idea of how you are going to clear the path to your coop. Chickens don’t mind going outside in the cold, but they aren’t fond of trudging through snow (particularly if it’s over their heads!)
Have your snow shovels ready and be prepared to make a pathway to and from the coop for them. You’ll need a way to feed and water them, too. If you aren’t interested in spending all of your time shoveling, consider covering up a section of the chickens’ run so that it doesn’t get snowed on.
7. Set Up Your Other Facilities
Make sure your roost bars are wide enough for your chickens to stand on without curling their toes. Chickens stay warm by tucking their legs up into their bodies while they sleep. If they can’t do this, or if there isn’t enough roost bar space, they can easily become chilled.
You might want to also consider setting up a dust bath inside the coop. To do this, place a galvanized tub in the coop and put some sand and diatomaceous earth inside. This way, your chickens can still engage in their favorite social ritual – and get themselves clean! – even when it’s 20 below outside.
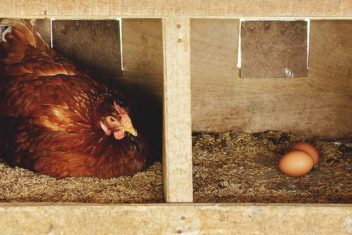
Ensure that you have enough nest box space, too, and plenty of extra bedding in the nest box.
8. Plan Ahead for Poor Production
Don’t think you’re going to continue enjoying excellent egg production during the cold winter months. Egg production is naturally going to drop off as daylight hours wane. Your chickens need about 14 hours of light per day in order to produce eggs.
This decline in production isn’t necessarily a bad thing. Chickens need a regular break in laying to stay healthy. However, if you know that you rely on consistent egg production, consider adding supplemental light to the coop.
Either way, make sure you are collecting eggs several times a day. You don’t want your eggs to freeze, as this will render them unusable.
9. Prevent Health Problems
One of the easiest ways to prevent health problems over the winter months is to plan ahead for nutritional deficits. Your chickens are going to be burning extra calories trying to stay warm, so make sure you have some extra wintertime treat on hand. Pumpkin seeds or mealworms are good choices. This will help raise the internal core temperature of your chickens and also give them something to do.
You will also want to be vigilant for signs of cold-weather related diseases, such as frostbite. Frostbite isn’t usually life-threatening in chickens, but it’s not good, either. It usually affects the combs of your chickens. Luckily, it can easily be prevented with the preparation steps we’ve already mentioned in this article. You can also coat your chickens’ combs with a thin layer of petroleum jelly to ward off frostbite.
10. Add New Bedding
Last but not least, it’s time to toss some new bedding into the coop! Options like wood shavings (avoid cedar) and shredded paper are good choices, as are straw and hay. You can also sprinkle some diatomaceous earth inside the coop to prevent parasites, too.
Don’t’ forget to add new bedding to the nest boxes, too.
And keep in mind that in the winter, you may have to scrape bedding out more often to prevent it from freezing to the floor. If you don’t have the wherewithal to clean bedding every day or even a few times a week, you may want to consider the deep litter method of bedding. This will allow you to simply keep adding bedding to the coop as it gets soiled – no scraping required.
Another benefit of the deep litter method of bedding is that it creates a compost on the floor of your chicken coop. You have compost to use in your garden come spring. The compost will also help heat the coop as it breaks down, too.
Alternatives to Winterizing Your Coop
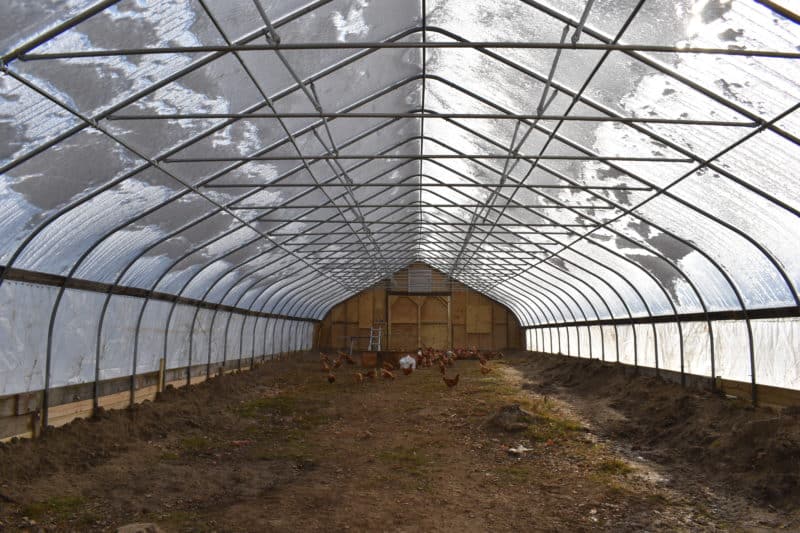
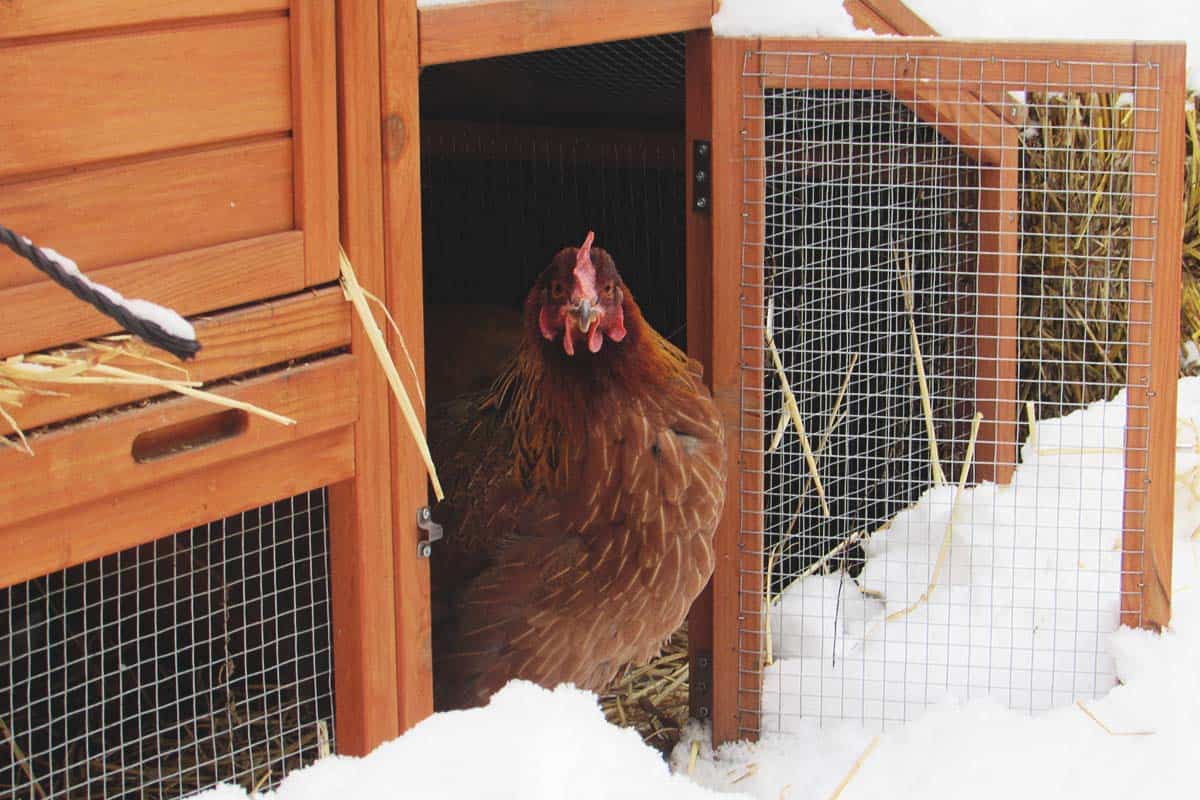
Putting your chickens inside a hoop house is a great alternative to winterizing your chicken coop!
Don’t want to winterize your chicken coop, for whatever reason? You’re not without options. After years of spending hours preparing our coop for snow and ice – a difficult feat in some cases – we decided it made more sense to move our chickens to separate winter housing.
If you have the facilities and space to do this, it’s a good option. You can move your chickens to a greenhouse or hoop house, for instance. The insulating qualities of the glass or plastic will help keep your chickens warm without them getting overheated.
Another alternative to winterizing your coop is to not raise chickens during the winter months at all. If you raise chickens because you like having an ongoing supply of eggs, then this might not be an option. However, consider that laying shuts off almost entirely, in some cases, during the darkest and coldest days of winter. You might not be benefiting by keeping chickens over the winter.
And if you’re raising broiler birds, you should rethink your strategy altogether. Most people who live in climates that experience harsh winters don’t raise broiler birds during the winter at all. It is more difficult for chickens to put on weight during the winter. They’re using their energy to stay warm instead! You’re also going to be using up unnecessary resources of your own trying to care for them.
Get rid of your chickens by the time winter arrives. Then, you won’t need to worry about winterizing your coop at all! But if you do keep chickens during the winter, don’t despair – these steps will make your winter preparation easy and seamless.
Preparing your coop for winter isn’t necessarily enjoyable. I don’t think there’s a single person out there that enjoys scraping chicken poop off roost bars (and if there is, please send me your number – I could use some help!). However, it doesn’t have to be difficult. Follow these tips to keep your chickens warm and healthy this winter.
