If you’re interested in composting indoors, there’s a good chance that you’ve considered building a worm farm.
Worm farms, also known as vermicomposting bins, are a great way for you to make nutrient-rich compost that can be used in your garden – without requiring a lot of outdoor space.
In fact, you can maintain a vermicomposting bin in a space as small as the cupboard under your kitchen sink!
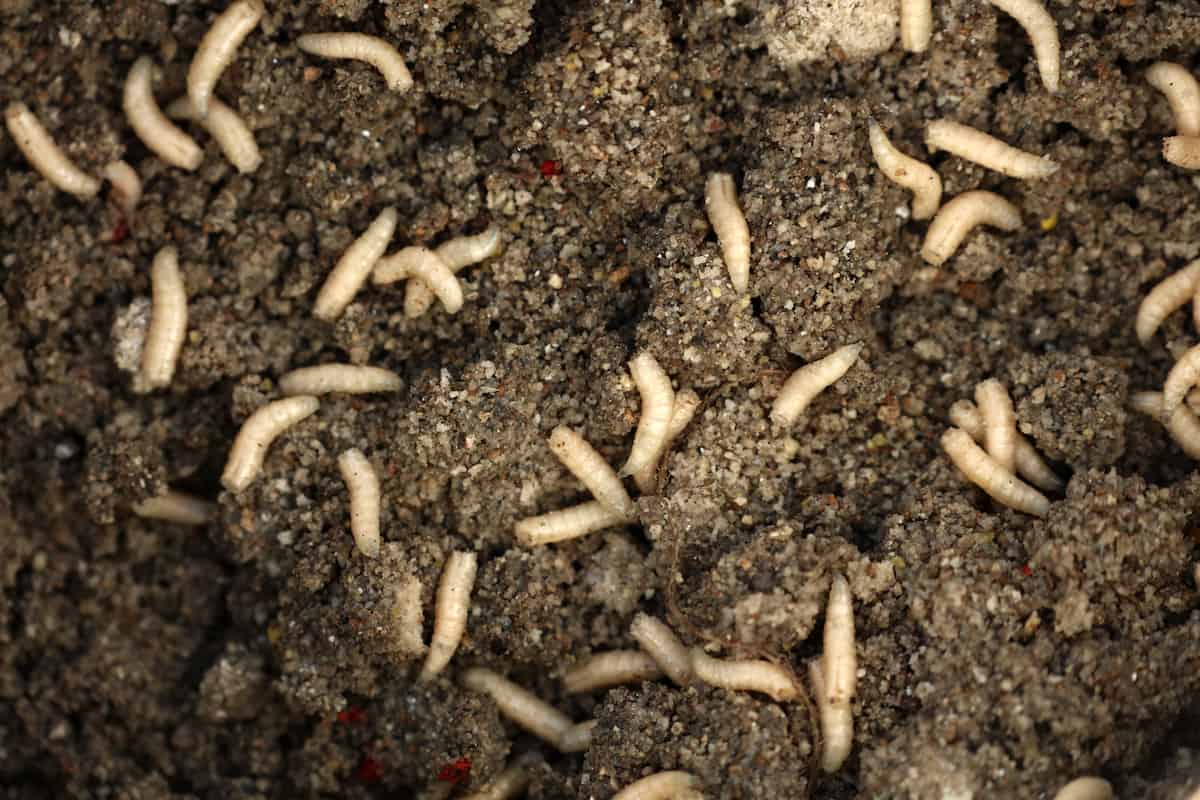
However, when you begin to notice maggots in the vermicomposting bin, you might be wondering where you went wrong – and whether these unpleasant, squirmy invaders are something to be worried about.
Fortunately, maggots aren’t the kiss of death to a vermicomposting bin. Here’s what you need to know.
What is Vermicomposting?
Vermicomposting is a method of composting that takes advantage of the natural decomposition process. Like regular composting, it involves making a pile of kitchen scraps, manure, and other biodegradable items. Over time, the mixture is broken down into rich, fertile soil that can be used as a garden substrate or amendment.
The difference between regular composting and vermicomposting is simple. With typical composting, microbes, fungi, bacteria, and other tiny microorganisms do all the heavy lifting. They work to break down the organic matter in the pile into something usable.
With vermicomposting, it’s worms that do all the work. This combines all the activities of micro-and macroorganisms to reduce the amount of waste your household generates while also producing healthy soil.
It’s not just any kind of worms that do the work in a vermicomposting bin. Usually, special worms known as red wigglers are used. These worms are highly efficient when it comes to eating – they break down all kinds of waste, from shredded paper to eggshells, coffee grounds to cucumber peels.
Once they’re done eating, you’ll be left with worm castings that can feed your garden. The worms regenerate themselves so you really only need to buy worms for your bin once – they’ll reproduce in a helpful cycle of decomposition.
What Causes Maggots in the Vermicomposting Bin?
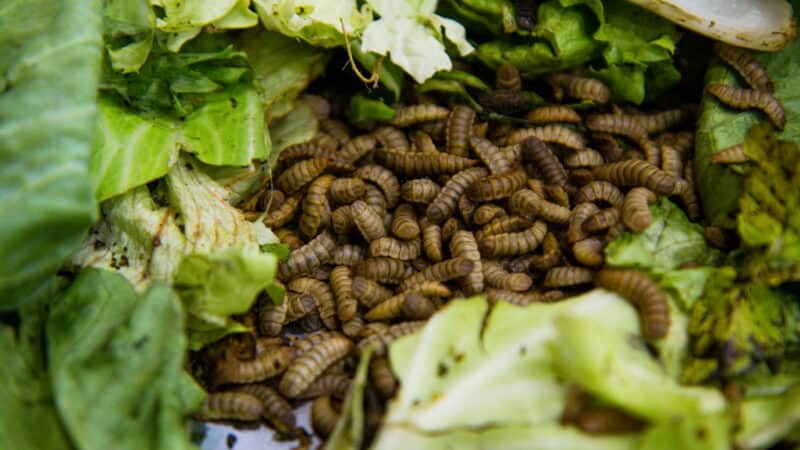
There are many culprits behind why there might be maggots in the vermicomposting bin. Nine times out of 10, it’s related to too much moisture.
However, it’s important to address the fact that there are many creatures – and not just red wiggler worms – that go into a healthy composting system. For food waste to be broken down, there are all kinds of creatures that need to get involved.
Most so-called “pests” in vermicomposting bins are simply a part of the decomposition process (yes, sometimes even those pesky fruit flies you see hanging around!).
If you have your vermicomposting bin indoors, there’s a slim chance of maggots winding up in it unless you have aeration holes that are large enough for houseflies to get inside. In rare cases, houseflies might lay their eggs in your bin, resulting in maggots.
For outdoor bins, black soldier fly larvae are extremely common. These pests feed on decaying matter, making your composting bin the perfect environment.
Believe it or not, black soldier fly larvae are actually helpful most of the time. These creatures help break down food and other waste, complementing the work that your red wigglers are doing.
As black soldier fly larvae eat, they release chemicals that can help prevent other flies from laying their eggs. They’re good pests to have around! Once they hatch into adults, the flies only live for about one week and don’t bite or sting. There’s no harm in having them around.
How to Get Rid of Maggots
As I mentioned, black soldier fly larvae typically aren’t harmful in a vermicomposting bin. However, if you decide that you absolutely cannot bear to have them around, there are a few steps you can take to get them out.
1. Install a Fine Screen
This is also a preventative measure that works well at getting rid of black soldier fly larvae and keeping adult flies out. Attach some fine screens to the air holes – the finer, the better. These should be applied over the bin’s air holes so that air can make its way into the bin, but the flies can’t.
Make sure any gaps around the bin are sealed up, ideally with some caulking.
The larvae inside should die out within a few days and new ones should not appear.
2. Limit Nitrogen
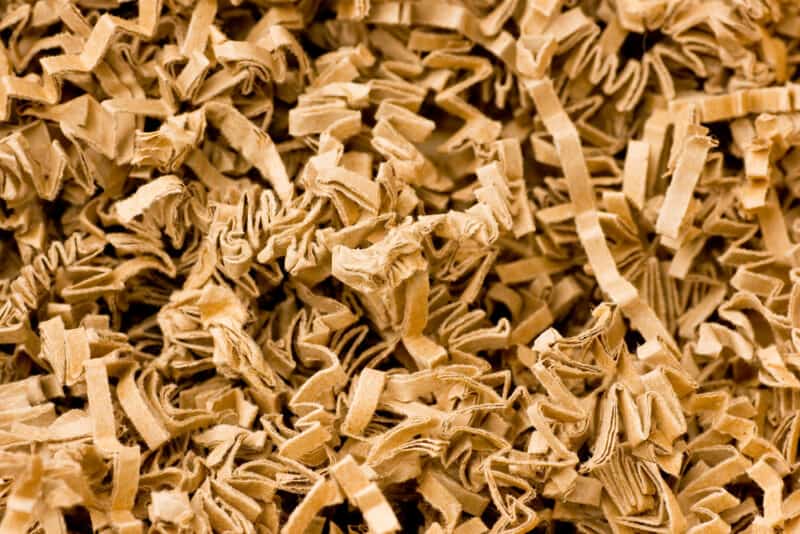
Too much nitrogen can entice maggots and allow them to flourish. Limit the nitrogen-rich ingredients you are putting in your vermicomposting bin (like kitchen waste). Add more carbon-rich items (like shredded cardboard). This will not only help soak up moisture but will balance out some of that extra nitrogen, too.
If you notice any large chunks of kitchen scraps, either shred them down so they break down easier or remove them entirely.
3. Prevent Excess Moisture
Black soldier fly larvae can’t survive without water, so getting rid of any extra moisture can also be an effective way to prevent new maggots from appearing. Dry out the top of the bin – you can allow it to dry out on its own by avoiding adding new wet ingredients.
However, you may have to speed things up a bit. You can add things like shavings or newspapers. This will help soak up the excess liquid.
Things like diatomaceous earth, eggshells, and lime can help soak up moisture and acidity, too. If you use diatomaceous earth, though, be mindful of where you put it out – you don’t want to apply it anywhere the worms in your bin might come into contact with it. It should only be put out as a deterrent on top of the bedding to eliminate the flies.
4. Bury Food Offerings
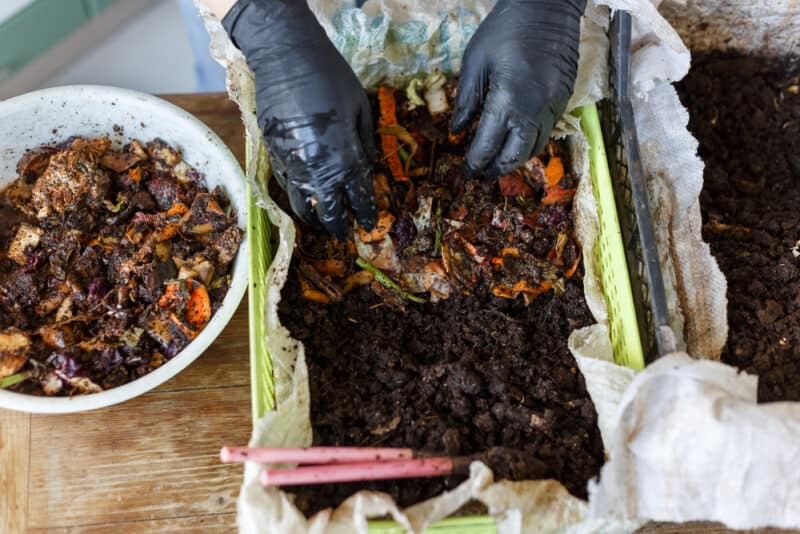
When you add new ingredients to your compost bin, make sure you bury them deeply. Don’t just lay them on the top of the pile. Not only does this make the food more accessible to all the worms, but it also reduces the likelihood that flies will be attracted to the bin.
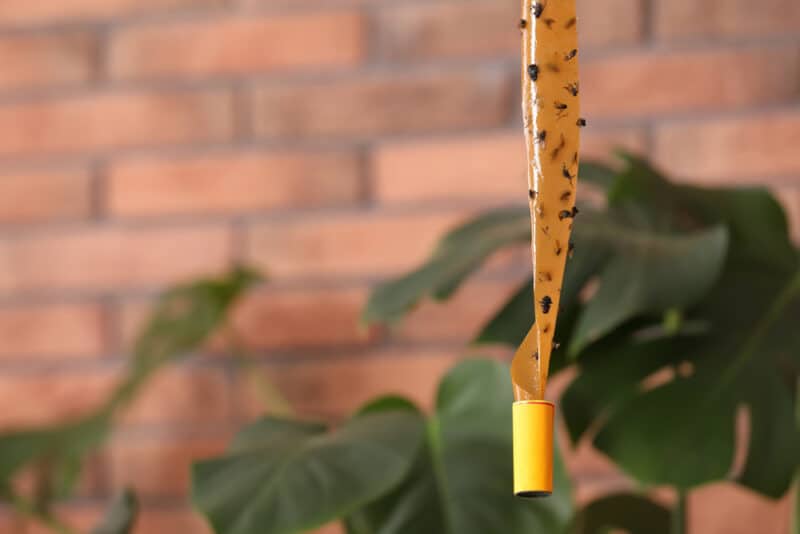
5. Put Out Fly Strips
You should avoid using any kind of toxic chemicals in or around your vermicomposting bin. These can harm your worms and inhibit the process of decomposition in your bin. Instead, use fly strips.
The sticky tape will catch flies before they get inside the bin and may also be able to snap up a few maggots, depending on where you lay down the tape (of course, be careful doing this, as you might catch some red wigglers, too).
Be Patient!
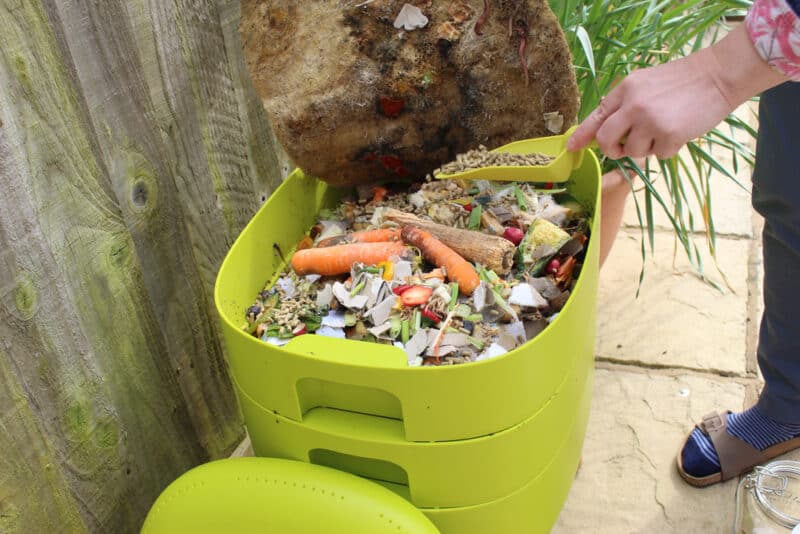
Most of the time, as long as you don’t notice any worms dying, a few maggots here or there in the vermicomposting bin aren’t anything to worry about. Just be patient and they should run their course.
It’s when the quantity of maggots becomes extreme – or when your red wigglers start to fade – that you may have to investigate this source of the maggots and the best ways to get rid of them.
Often, it’s easiest to prevent maggots from getting inside in the first place.
Some people recommend removing all the castings in the bin infested by maggots or even starting over – don’t do this! Maggots aren’t harmful and will go away on their own. Once they finish eating, the problem should go away.
Instead, consider ways you can prevent maggots from getting inside the vermicomposting bin in the future – and you should have a bin that’s healthy and productive moving forward.
