The harvesting of honey has been fine-tuned for thousands of years. Over time, there have been countless improvements to the process that make extraction easier on bees and their keepers.
What was once a dangerous, scary, and even life-threatening procedure has been simplified to a straightforward operation that most beekeepers soon become quite comfortable with.
Keeping bees can be a tedious chore initially. There is a lot to do before any beekeeper gets to the point of harvest, and it can be a long wait for your first taste of sweet golden honey. Ensuring your bees are settled, they have the food they need and are thriving can be exciting, frustrating, and exhausting at the same time.
Luckily, there’s a light at the end of the tunnel, and that golden shining light is one of the reasons you started keeping bees, and that’s the honey! All the hard work is finally paying off, and it’s time for harvesting honey.
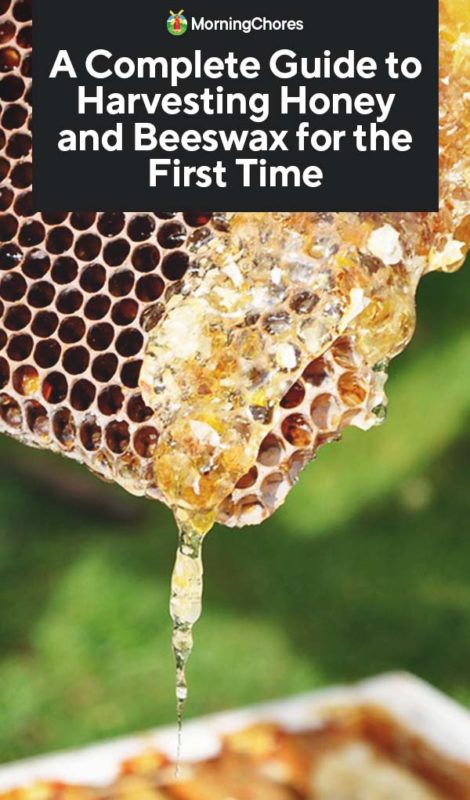
Knowing When to Harvest Honey and Beeswax
The harvest of honey is referred to as extraction, which typically takes place once a year. The process of extraction cannot easily be planned for ahead of time, so having the equipment you need on hand will make life easier when the time has come to extract honey from your hive.
In most cases, extraction occurs during summer; however, if your hive is ready, you may harvest in late spring. Your bees will tell you when it’s time to harvest when the majority of their cells have been capped.
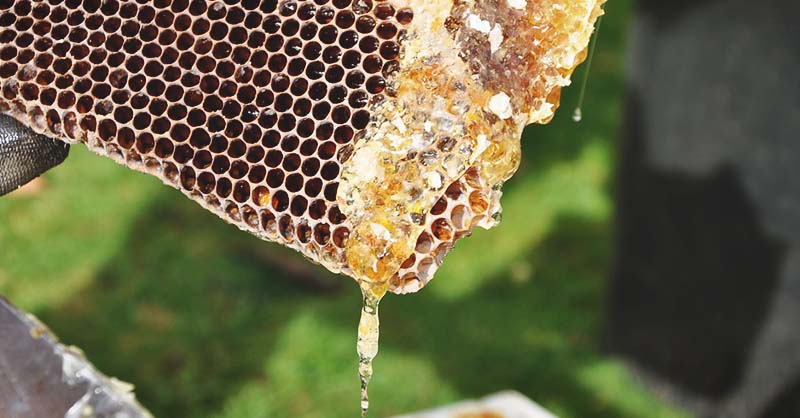
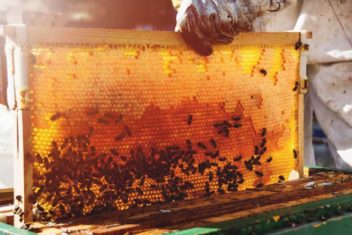
Cells are capped by worker bees to create a reserve of food for the winter months. However, capped cells may also contain larvae, so knowing the difference between brood cells and honey cells is quite important prior to extraction.
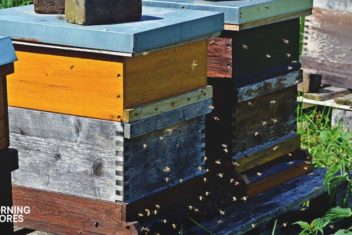
Typically, capped honey cells can be found in the supers, which are boxes at the top of your hive that are separated from the rest of the boxes by a queen excluder. The excluder prevents the queen from entering the top supers and laying eggs.
Observing capped cells is the best way to make sure you are not harvesting your honey too soon, or too late. Watch for at least 90% of the cells to be capped off by nurse bees before you consider extracting. Bees know when the moisture level is perfect for sealing off the cells, so trust their instinct before you dive into the pool of honey.
What Happens if I Extract Too Soon?
If you jump the gun and begin extraction too early, your honey may retain too much moisture, and your honey might ferment in storage.
Remember, your bees need to be able to spend enough time foraging to fill their hive. Observing the environment can help you gauge the honey flow, which is a window of time where bees have access to everything they need in order to create a lot of honey in a short amount of time.
For example, if you had a late spring, you can assume that there will not be a large honey flow until mid to late summer, but if spring was early and blossoms have been available for a long time, bees may produce a honey flow in late spring.
What Happens if I Extract too Late or Not at All?
Always keep in mind that your bees are busy for a reason. The honey they are cooking up in their hive kitchen is meant to feed them throughout the winter. So, a surplus of honey may not be a bad thing for the winter. However, the thing about bees is, they don’t stop filling their cells with honey until the foraging season is complete.
Why is this a problem?
Because man-made hives are typically built with the understanding that humans will be taking a portion of the bees’ honey, and leaving the rest of it for the bees to eat throughout the winter. If there is honey left in the hive, in spring, there may not be enough open cells for bees to store; thus they will run out of the room and a swarm may occur.
Additionally, if you haven’t timed your extraction right, and you are too late to extract, honey may become hardened in the cells and more difficult, or impossible to extract.
Preparation for Honey Extraction
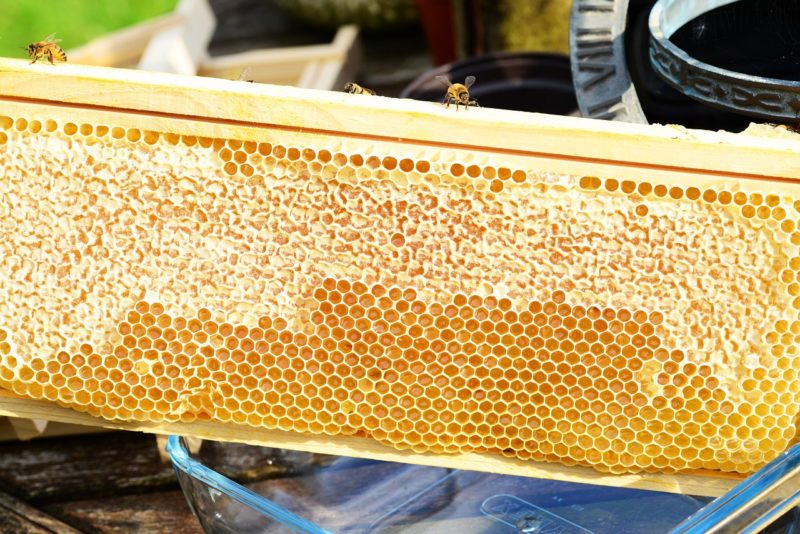
You will know when your honey is ready for extraction when the cells are 90% capped, at this point you shouldn’t have problems with fermentation during storage. Unfortunately, your bees aren’t going to alert you to the fact that their honey is ready, so hive management and monitoring is crucial.
It can take 2-3 days to complete the extraction process, more if you have a large apiary. So, if you see that your hive is reaching the 90% capped point, start planning your harvest.
Equipment Needed For Honey Extraction
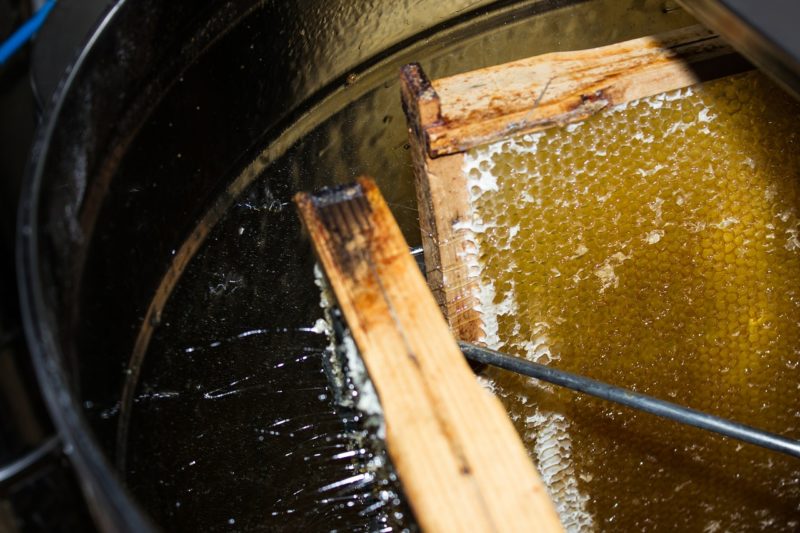
If you thought you had everything you needed with just your hive, bees, smokers, and suit, you’d be surprised come harvest time. There are plenty of useful tools beekeepers use during the extraction process that make things a little easier.
Most tools can either be found around the house or are relatively inexpensive online; however, the actual extractor can be a sizeable expense. Let’s take a look at what you should have on hand before harvesting honey.
1. Uncapping Knife
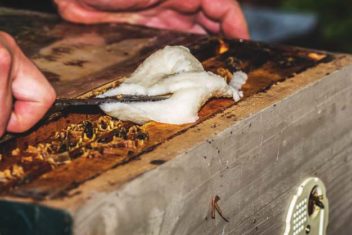
An uncapping knife can be any kind of knife that has been warmed in water. However, you can also purchase uncapping knives that are heated by electricity so you don’t have to continuously dip your knife in water before continuing the uncapping process.
2. Uncapping Comb
It can be easy to skip a few stubborn cells with the uncapping knife, so an uncapping comb can be used to open the remaining cells.
3. Wax Collection Container
As you uncap your cells, be sure to keep the wax that is removed in a safe space because it will undoubtedly have a lot of honey sticking to it. Letting the honey drip off, through a strainer and into a container, will save a lot of honey that may have been otherwise wasted.
You can purchase containers that are made specifically for the wax collection, which have built-in strainers and a notch to steady your frames during the uncapping process.
4. Extractor
An extractor is a centrifuge that spins like a washing machine to pull honey from the cells through gravitational force. Extractors are usually relatively expensive, but if you have friends who are also beekeepers, you may be able to borrow theirs or go in on an extractor together.
There are manual extractors, which are less costly that you spin by hand. Manual extractors work just as well as an automatic extractor, but you have to make sure you flip your frames of honey to ensure you remove the honey from both sides of the frames.
5. Honey Containers
You can use a large, clean bucket with a lid to collect your honey from the extractor. Before you begin extracting, make sure you have your bottling containers ready, and positioned, under the spigot of the extractor. You don’t want all that liquid gold on the floor!
Now that you have the equipment ready, you will need to find an enclosed space to perform the extraction. Bees work hard for their honey, and they don’t like having it taken from them, even though you will be leaving plenty behind.
So, an enclosed shed, garage, or basement will keep honeybee warriors from trying to retrieve their honey… and if they know where it is, they will not hesitate to start hauling it back to the hive, one drop at a time.
Getting Bees Out of The Supers
Before you begin removing frames from your hive, you should always ensure that your bees will be left with enough honey to get them through the winter. Never take all the honey from the hive, or you will starve your bees.
A good rule of thumb is to leave at least 85lbs of honey for your bees and take the rest. Bees in warmer climates may be able to survive on less honey throughout the winter months, but just to be safe, leave your bees with more rather than less.
To ensure there is enough honey left in the hive, use a heavy-duty hanging scale to weigh your hive after you have removed the desired amount of honey-filled frames. Replace frames if you find that you have taken too much honey from your bees.
How to Remove Bees From Honey-Filled Frames
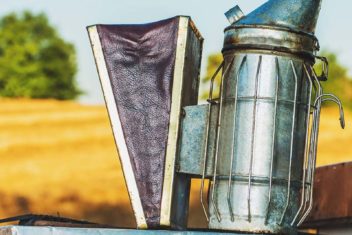
Along with the equipment for extraction, you should have your smoker ready to move your bees off the super, the top boxes that contain honey-filled capped cells, so you can take the honey-filled frames to your extraction site. There are a few ways you can do this safely, so let’s take a look at your options:
1. Smoker and Bee Brush
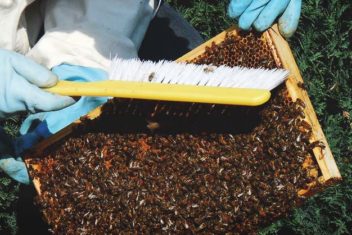
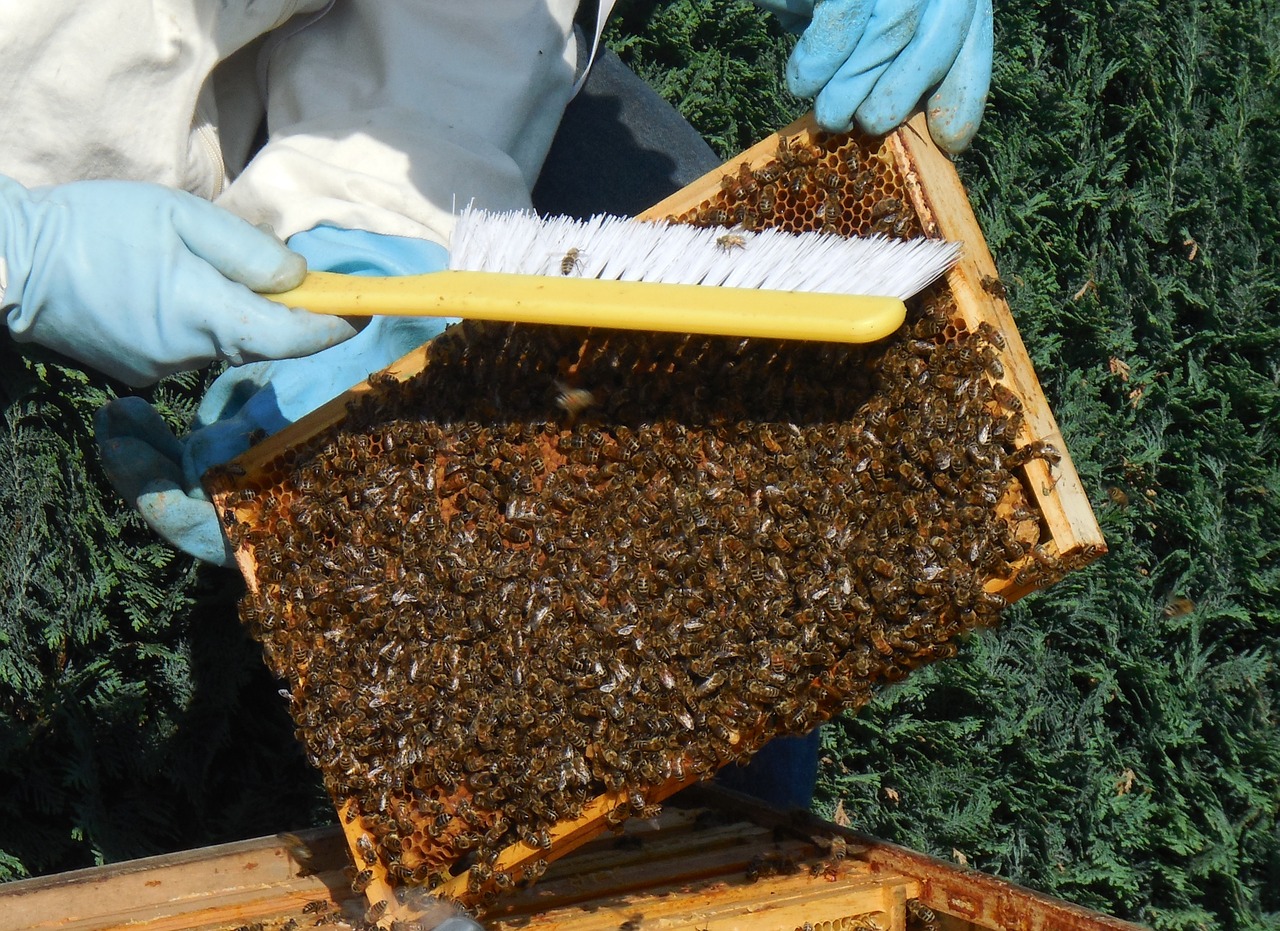
One of the quickest ways to remove bees from their beloved honey is by giving the hive a light puff of smoke and either shaking the frame or lightly brushing it with the bee brush. If you opt to brush your bees off their frames, be sure to be gentle and use an upward stroke, rather than downward, to prevent injury or death to your bees.
2. Bee Escape
Bee escapes are frame-like devices that are added to the supers you wish to extract from. The escape is designed to allow bees to leave supers, but not re-enter them.
Bee escapes will not necessarily clear all bees from the super, and some may stick around if there are brood cells in the frame. If you already know which supers you will be extracting honey from, you can use queen excluders to keep her from laying eggs in them.
Special note about bee escapes: It takes bees about 48 hours to vacate through the escape, but because of their intelligence, it won’t be long before they begin to figure out how to get back to their precious honey. So don’t let the bee escape sit for too long without removing the frames you will be extracting honey from.
If, after 48 hours, you return to your hive to remove the frames, and there are bees present, gently brush them off with your bee brush.
You can always use your smoker to calm or deter bees during this process as well.
3. Fume Boards
Fume boards are super tops, or lids, that have cloth-like interiors that can be doused with repellents, which prompt bees to move down and away from the top of their hive, and their honey.
Due to the toxic nature of some of the repellents that were being used; fume boards declined in popularity. However, you can now find natural forms of repellents that are not harmful to the bees, or the honey you will be consuming.
Steps to Harvesting Honey
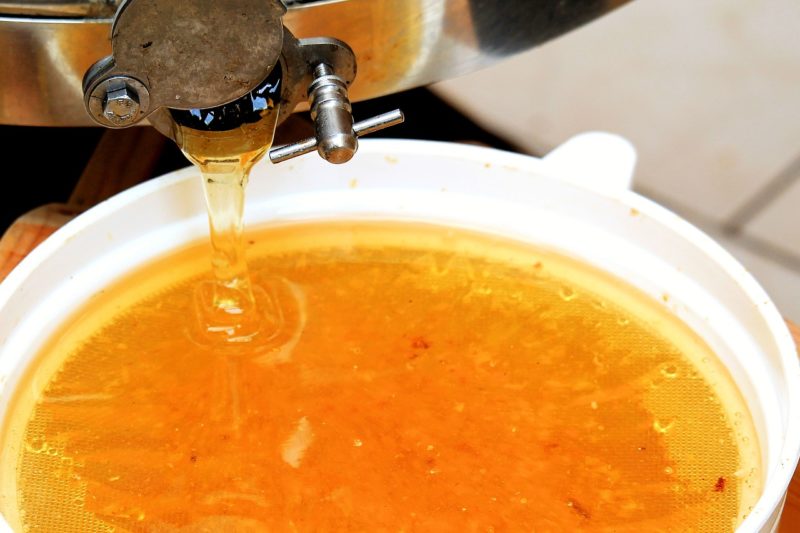
Now that you’ve removed your bees from the supers, and have all your equipment ready, you can begin the harvest!
Before you start, make sure your honey collection container is in position under the spigot of the extractor, and your wax collection container is ready to go.
Step One: Warming Your Knife
Your uncapping knife must be warm, but not hot, for it to glide through the capped cells easily. If you have an electric knife, make sure it is not too hot, and if you are using a sharp knife, be sure to dip it into warm water reasonably often (and dry off water droplets).
Once you have positioned a honey-filled frame over the top of your wax collection container, begin sawing the caps open, moving from top to the bottom, and allow them to fall into the container.
Step Two: Uncap Remaining Cells
After you have removed most of the caps with your uncapping knife, you can use your uncapping comb to break open the remaining cells.
Gently puncture the stubborn cells with the teeth of the uncapping comb, and allow the honey and wax cap to fall into the container.
Step Three: Extraction
Place your frames into the extractor and either manually spin it, or engage the mechanism electronically, depending upon the type of extractor you are using.
Honey will begin to fling out onto the walls of the extractor and pool at the bottom. Then, it will slowly drip out through the spigot and into your honey collection container.
If you are manually spinning your extractor, you will need to continuously monitor the amount of honey that is pooling in the bottom of the extractor. If too much builds up, it can slow down the spinning of the frames, or even clog the spigot.
Also, if you are using a manual extractor, make sure to flip your frames and get the honey goodness from both sides of the comb.
Step Four: Cover The Honey and Let it Rest
Once your frames are emptied and your honey bucket is full, cover it with a lid and let your honey rest for 24 hours to allow bubbles to rise.
Storing Your Honey Harvest
Your bees have worked hard to give you their golden honey, and you have spent countless hours managing your hive. It would be a tragedy to lose your honey due to ineffective storage.
Ideally, honey should be kept in a dark space, below 60°F, to prevent granulation. Granulation doesn’t necessarily change the flavor or benefits of honey, but some consider it unsightly.
Honey can be kept in simple mason jars, or snazzy honey containers. As long as you let your honey rest for 24-hours after extraction, you shouldn’t have issues with air bubbles or foam in your containers.
Once your honey has been at rest for 24 hours, you should immediately pour it into containers, and seal it with a lid. If honey remains exposed to the air for too long, it can gather moisture, which may cause fermentation in the future.
Harvesting Beeswax
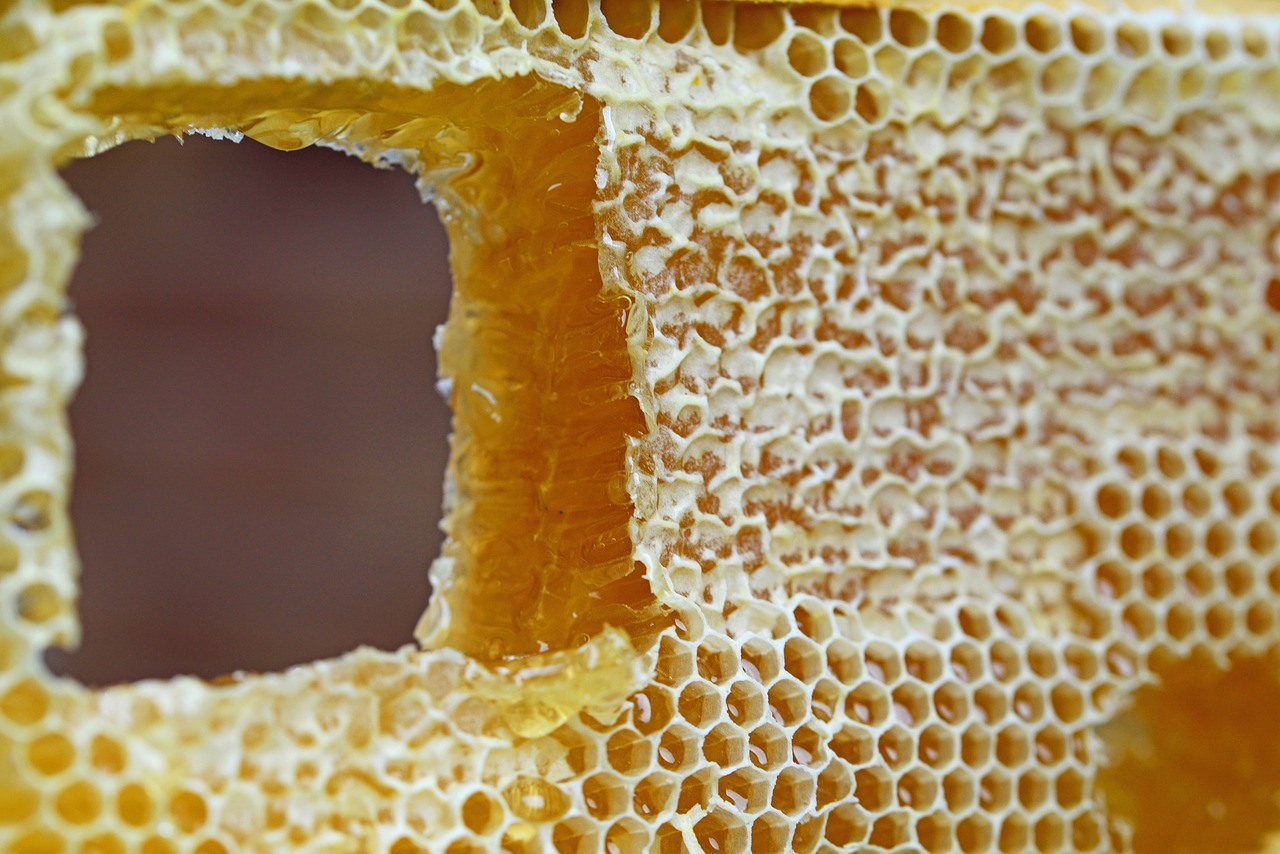
Extracting honey is an exciting procedure, but don’t forget about the valuable wax you have just scraped into your straining container!
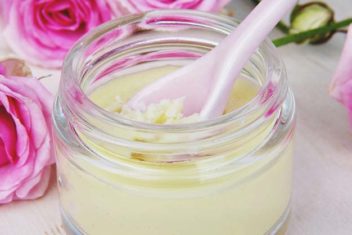
Wax is used to make salves, candles, candy, makeup, and much more! If you aren’t crafty, someone else may be interested in purchasing your wax, so harvesting may be beneficial to you either way.
Steps To Harvest Wax
- Allow the honey to strain off the wax that has been left behind after uncapping the cells.
- Cover the remaining wax with warm water and swirl it around to remove the remaining honey, but don’t overheat the wax with the water or it will melt.
- Drain the water off the beeswax and place the wax into a double boiler as if you were making candy.
- Melt the wax over low heat.
- Use a fine strainer, or cheesecloth, to strain the wax and remove any undesirable elements left behind from the bees. You can do this step a few times to ensure your wax is smooth and pure.
- Pour your warmed beeswax into a container that will allow for easy removal. Store until ready to use or sell!
You’re a Beekeeper!
Once you’ve extracted your honey for the first time, it’s safe to say you’ve officially become a keeper of the bees. The process may take a while the first few times, but after a couple of years, it becomes easier and easier.
All of your hard work paid off, and you can now go into the winter months with happy, well-fed bees. Plus you have wax for crafting or selling, and of course, jars and jars of delicious local honey to sell or share with friends and family.
