
Do you enjoy fresh green beans? Would you like to grow your own?
Well, growing green beans is simple, but learning when to harvest the green beans and how to prepare them for cooking is a different ball game altogether.
It’s not particularly challenging, but it does take some ‘know-how.’ If you’re interested in learning how to harvest fresh green beans and prepare them for cooking or canning, you’re in the right place.
I’m going to share the details you need to know. Here’s how to successfully harvest and prepare fresh green beans:
How to Harvest Green Beans
There are many different varieties of beans. In this article, I’ll mainly be referencing bush beans and runner green beans.
These are two of the more popular varieties of green beans. However, some of the rules given here will work well for other bean varieties too:
1. Healthy Plants Produce
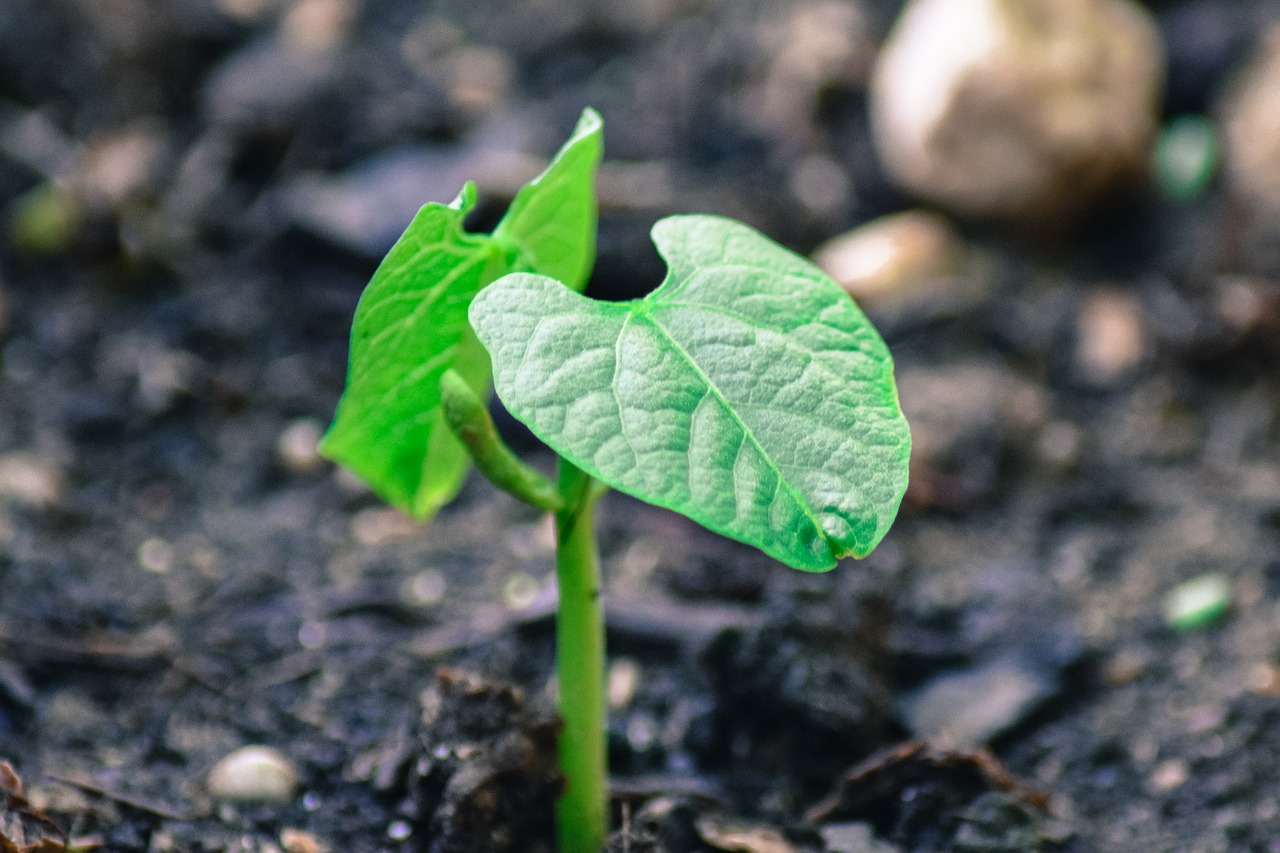
The first step towards harvesting fresh green beans is to grow healthy plants. The basics to producing healthy plants are to make sure the plants have healthy soil to grow in, make sure they get the nutrients they desire, water the green bean plants correctly, and keep the weeds at bay.
Once you’ve done these things, you should feel confident your plants will produce many healthy green beans. Attracting pollinators to your garden will be of help as well.
2. Look Carefully
After some weeks have passed, you’ll begin to see blooms on your green bean plants. From those blooms, green bean pods will blossom.
The pods are a vibrant green color; therefore, they hide easily on the plants. Make sure you look carefully at each plant when searching for your beans.
One of my tricks is to move the plant around to where you can see the bottom of the green bean plant. Many beans will produce there, and you’ll have a greater chance of finding more beans on each plant.
If you have a large garden with multiple green bean plants, it’s easy to overlook them. Try your best to be as thorough as possible when examining the plants for green bean pods.
3. Pick at the Right Time
The last tip for harvesting green beans is to watch them closely and regularly. Green beans are better (in my opinion) when picked young. They’re more tender and have a better flavor.
However, some people like beans referred to as ‘shellies.’ These beans are the ones with the harder pods and larger seeds inside.
You may have to try both to find your preference, but as for me, I prefer the younger more tender beans.
How to Prepare Fresh Green Beans
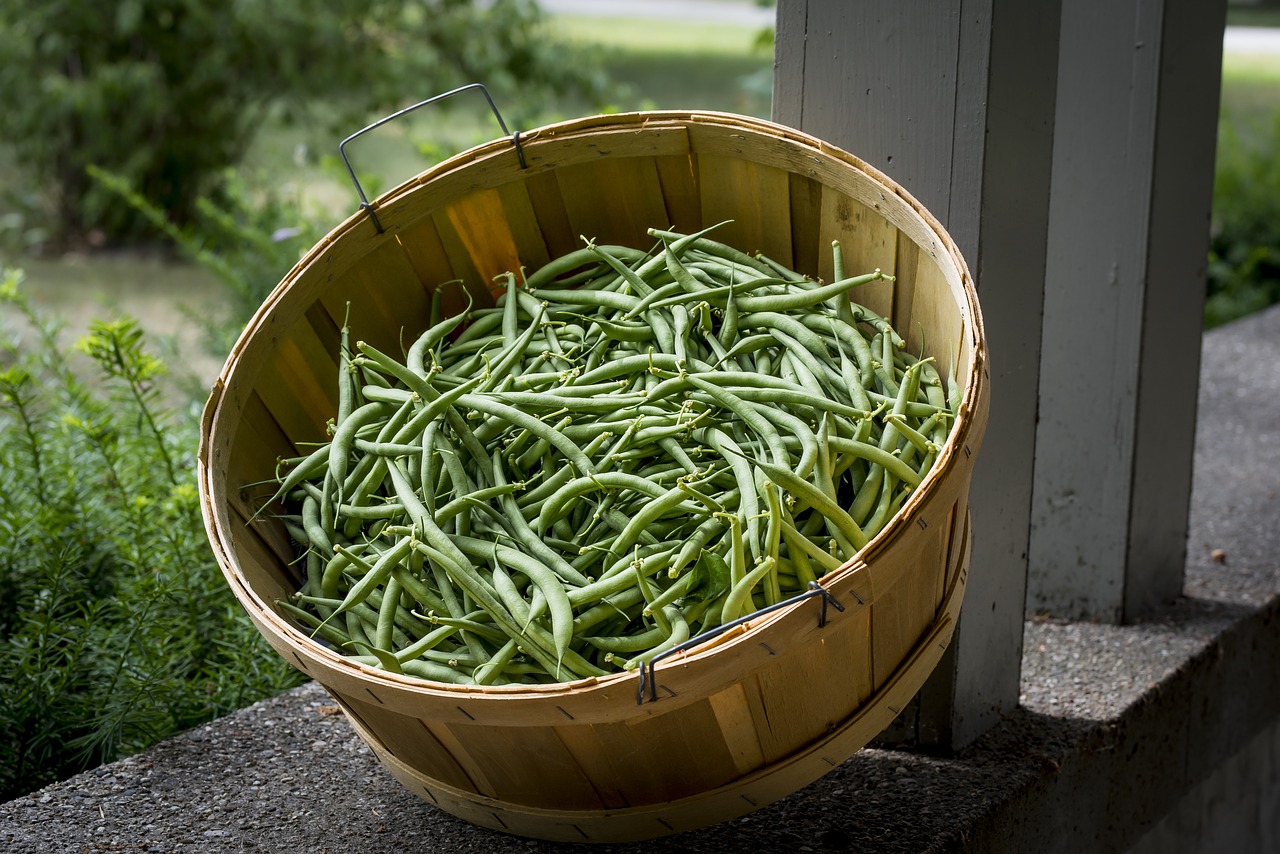
Once you’ve harvested the green beans, the party is only beginning. You have to know how to process fresh green beans to enjoy their flavor at its best. Here’s how you do this:
1. Remove Unwanted Parts
Fresh green beans have certain unwanted parts on them. They have ends which will need to be removed, and some varieties have strings which will need to be removed as well.
The first step in preparing the green beans is to remove each of the ends. This will be the pointy segments on the beans.
Don’t take a great deal of the bean off when removing the ends. Only the pointy part which most don’t enjoy eating.
Once the ends are removed, you should notice strings which run down each side of the bean from end to end.
Sometimes the strings will peel off when removing the ends. Either way, make sure the strings are fully removed from the green beans.
If these strings aren’t removed, they’ll get cooked with the beans. They get stuck in your teeth and don’t taste good.
Be careful with this step of the process because it can impact the quality of your beans when cooked or preserved.
2. Break Them Down
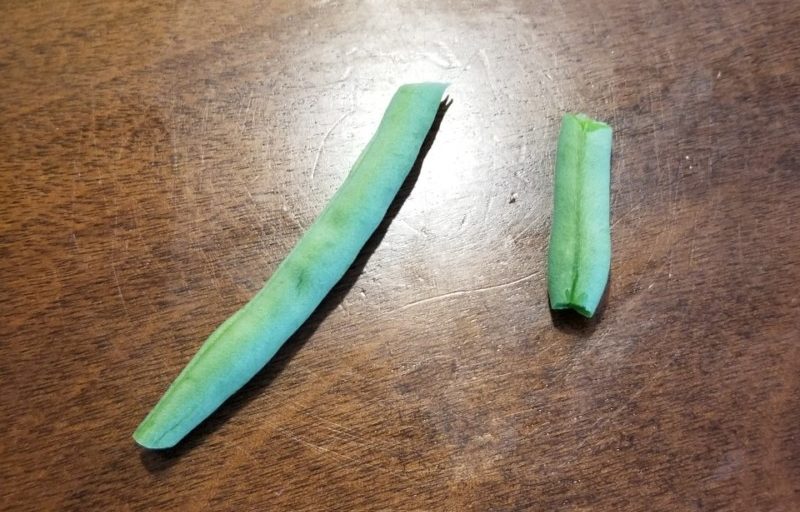
After the beans have had the strings and their ends removed, it’s time to break them. If you leave a green bean whole, in most cases, they’ll be too big to eat.
Therefore, it’s important to make sure you break the green bean down where each bean is inside the pod.
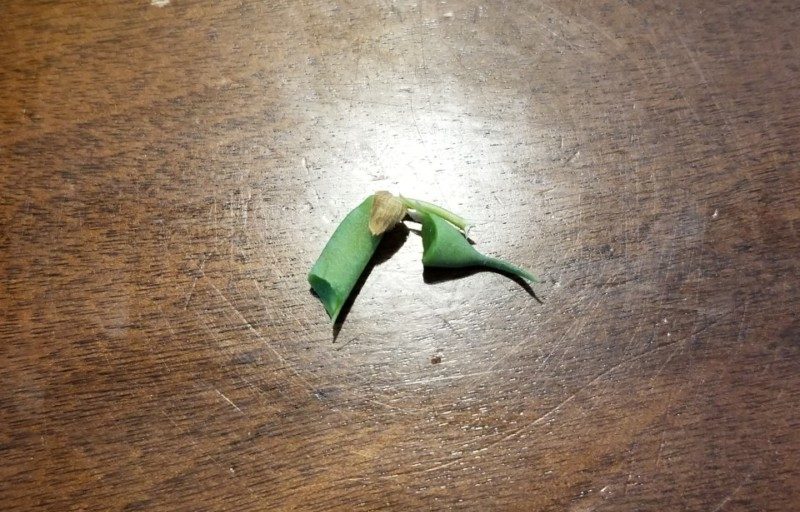
Place the green bean between your thumb and index finger where you feel a bean inside the pod. Gently snap the bean, and it should break apart easily. Go against the direction the green bean pod was growing.
For instance, if the green bean has a curve and is curved downward, you’d want to snap upwards where the bean would face resistance. This makes it easier to have a clean break.
Be sure to remove any bad beans during this step of the process. If they’re discolored, have holes in them, or anything else making them look unappetizing, discard those parts of the bean.
3. Give Them a Shower
After all the beans have been broken, it’s time to place them in a sink with cold water. Move the green beans around in the water to loosen any dirt or bugs from the beans.
If your water turns a dirty brown color, drain the water, place the beans in the other side of the sink, refill with fresh water, and keep cleaning the beans.
Do this until you feel confident the beans are as clean as you can get them.
4. Prepare for Canning
With each of the following steps of the process, you must decide what you’re going to do with your green beans.
Have you harvested a great deal of them and need to preserve some for later use? Or do you have only enough for a meal?
In the event you harvested enough green beans to preserve them, canning them is a good idea. It requires mason jars, canning salt, a pressure canner, fresh lids, and rings for your jars.
If you have all of these materials, you can follow the process of canning green beans and enjoy fresh green beans all winter long without consuming freezer space.
5. Prepare for Freezing
Another option for preserving green beans for later use is to freeze them. This will require freezer space, but it doesn’t require any specialized equipment.
Once the green beans have been washed, boil a pot of water on the stove. Place the green beans in the pot of boiling water for one to two minutes.
Remove the beans from the boiling water using a slotted spoon and place them in a sink of cold water. After the green beans have cooled, drain them, and put them in a plastic freezer bag.
The bag should be filled approximately ¾ of the way full. Close the bag all the way except for the corner.
Begin pressing on the bag from the bottom upward. Remove as much air from the freezer bag as possible.
Once the air has been removed, seal the bag, label it, and it’s ready to go in the freezer for later use. Keep an eye on the green beans to make sure they aren’t freezer burnt.
6. Cook Them Up
If you’ve harvested enough green beans to make a meal, it’s important to realize fresh green beans take much longer to cook than canned green beans from the store.
There are many recipes for making fresh green beans. One of my favorites is in the crockpot. You place the green beans, two cups of water, onion flakes, and two beef bouillon cubes, and allow the beans to cook on high for approximately four or more hours.
Keep a close eye on them because cooking time will vary between crock pots depending upon how hot the crockpot gets.
Another option for cooking fresh green beans is on the stove. Place your green beans in a pot. Fill the pot with water until the green beans are covered. Add any ingredients you’d like such as bacon grease, bacon, onion flakes, sautéed onions, bouillon cubes, or apple cider vinegar.
Allow the green beans to reach a boil, turn the stove to medium-low, and let the beans cook for two to three hours.
Again, the time could vary depending upon the stove. Be sure to keep an eye on them, and when the green beans are tender, they’re ready to eat.
Finally, the method my mom prefers is to start the green beans on the stove at night. She allows them to reach a boil, but she’ll turn off the stove after they boil. She places a lid on the green beans and lets them rest until she’s ready to go to bed.
She puts the beans in the refrigerator overnight but will put them back on the stove early the next morning and bring them to a boil again.
This time she lets them boil for about an hour. She places the lid on the pot, leaves them on the warm burner (making sure they have enough liquid to handle the remaining heat), and lets them be until supper time later in the day.
She does the first step while cooking dinner the night before and finishes them up while she’s getting ready for work the next morning. It allows them to have fresh green beans in a convenient way for her.
Once you begin to eat fresh green beans, you’ll have a hard time returning to the ones you purchase from a grocery store shelf.
Well, you now know how to harvest green beans, how to prepare them, how to preserve them, and also how to utilize them.
Hopefully, this will help you enjoy more fresh vegetables in your diet and even inspire you to include green beans in your garden year after year.


