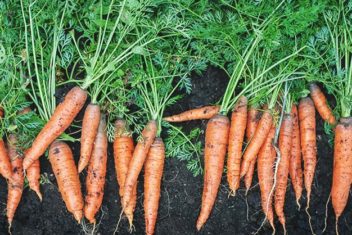
Leafy greens are one of my favorite things to plant in the vegetable garden. They’re healthy, easy to grow, and, in most cases, you can get a continual harvest. Molokhia stands out among the leafy green crowd, which is why more people should try growing it.
Why? Molokhia is fantastic because you can harvest a ton off of one plant, and it can be used medicinally, as food, and to make fiber. It’s also resistant to most pests and diseases and self-seeds freely.
If you’re looking for a leafy green that’s versatile and delicious, molokhia is just right for you.
What is Molokhia?
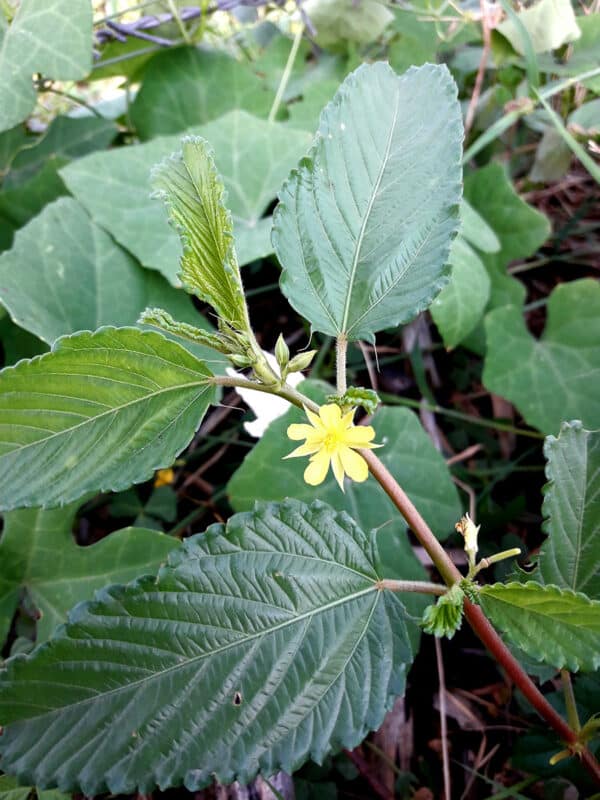
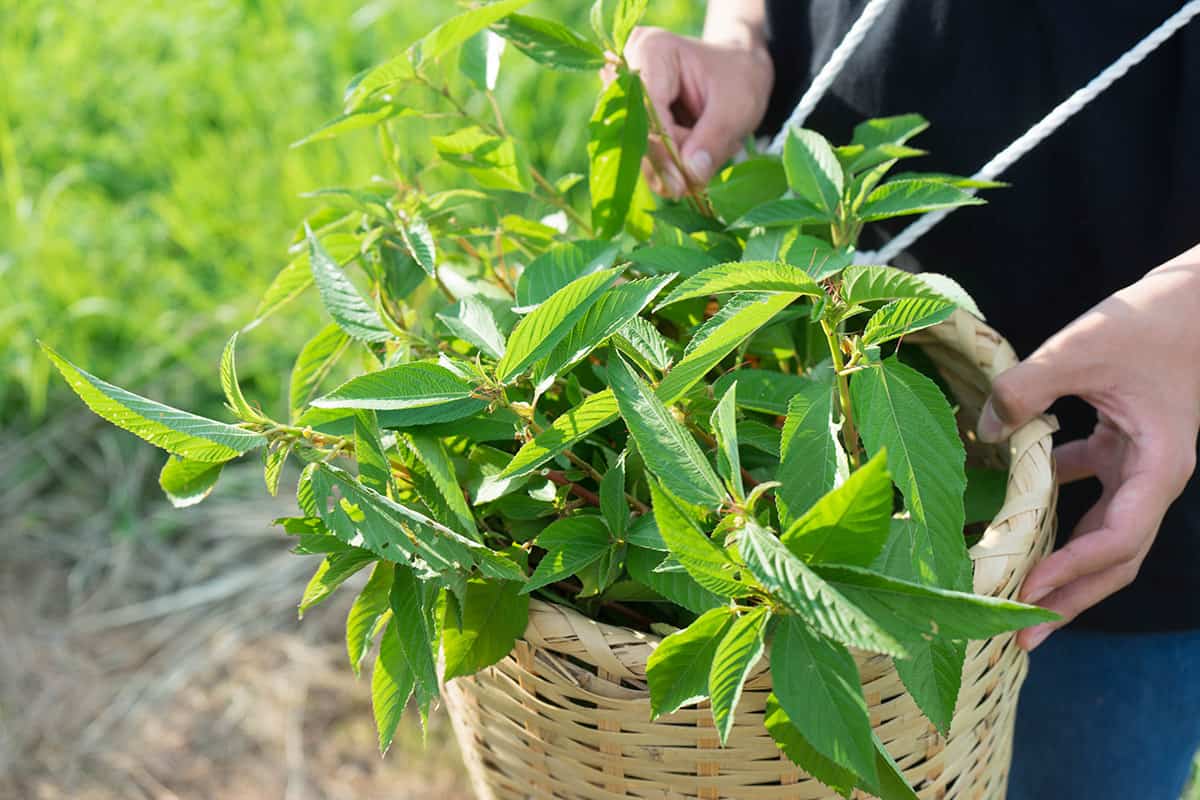
Molokhia (Corchorus olitorius) is also known as jute mallow, Jew’s mallow, nalta jute, and Egyptian spinach. In its native Egypt, it goes by Molukhyia, where it has been cultivated for centuries. It’s used to create an incredibly popular dish in Egypt that goes by the same name.
This self-seeding annual is fast-growing and often ready to harvest within 50 to 60 days after planting. The funny thing is, Egyptian spinach isn’t actually related to spinach. It’s from the same family as okra, durian, and cacao.
Full of nutrients, molokhia can be made into tea, a soup, used raw in salads, or used to thicken cooking liquids. While it’s traditionally served with rabbit and cilantro, your choices are endless.
The lovely yellow flowers will dry out in the fall and form pods. The pods are edible before they harden, and you can use them just as you would okra.
You can also plant new seeds every couple of weeks for continuous harvesting of young, tender plants, and it provides ongoing food for you and your family.
This plant is also one of the two main sources of jute.
How to Plant Molokhia
Egyptian spinach grows well in USDA growing zones 5-11. You can give it a try outside of these zones, particularly if you grow it in a container. It tends to bolt in cooler or drier climates, however.
The soil pH should be around 6.5 to 6.8. Well-draining loamy or sandy soil is essential. Molokhia doesn’t like wet feet.
Plant in full sun. Too much shade will cause molokhia to struggle. Protect from high winds because the stems may snap.
Planting Seed
Planting seed is the easiest way to get molokhia started in your garden. Molokhia seeds have to be treated to get them out of dormancy. Don’t worry; it’s easy. Soak the seeds in hot water for a few seconds, then soak them in room temperature water for 12 hours. Drain and plant as normal.
If you plant directly into the garden, make sure the temperature is consistently around 75ºF, and you’ll see germination in as little as three days.
If your area is not up to 75ºF early on in spring, plant indoors and transplant later when the season warms up.
Because molokhia can be sensitive to being transplanted, use compostable peat or cow pots so you can dig a hole and put the whole pot and plant in without disturbing the roots.
Keep the soil moist and place potted seeds in a warm space inside in direct sunlight. You want to keep the temperature around 75ºF until it’s ready for the garden or container.
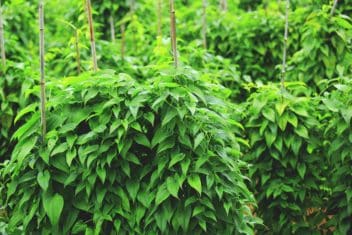
Plant seeds or transplants 16 inches apart. Keep in mind when choosing a spot that these plants grow between 90 and 120 inches tall.
You can sow additional seeds every few weeks for a continual harvest.
Caring for Molokhia
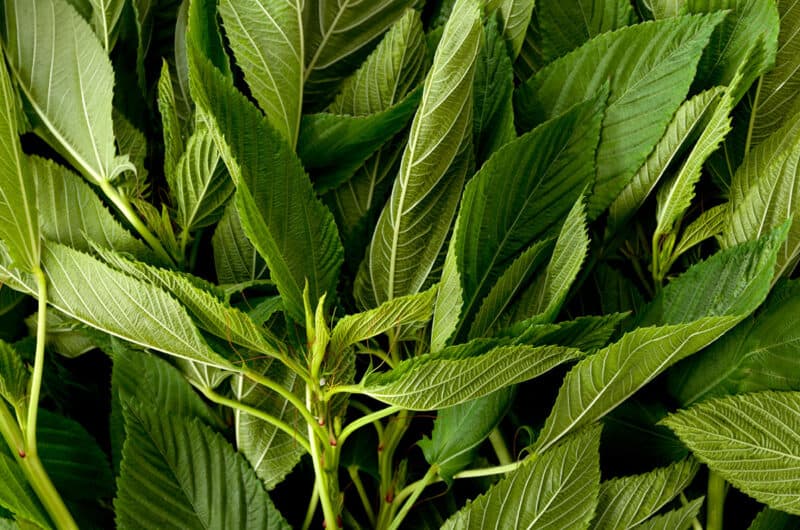
Once it’s in the ground and growing, here’s how to make your molokhia thrive.
Fertilizer
Prepare your garden or container with well-rotted compost, and you shouldn’t have to add any fertilizer later in the season. If you notice the plant isn’t growing quickly or robustly, add all-purpose liquid fertilizer once a month during the growing season.
Use a sustained release fertilizer in containers and add it in the spring.
Water
Keep the soil moist. Molokhia can handle high temperatures, but it will struggle in a drought. Lack of water will cause the plant to bolt to seed.
This is one plant that will benefit from a drip irrigation system to keep it consistently moist. Failing that, water deeply once or twice a week, but keep an eye on the soil. Scratch the surface and if it’s dry an inch below the surface, provide more water.
Don’t forget that when you are continuously harvesting from a plant, it needs to draw more nutrients from the soil. It needs water to do that.
Pruning
Other than when your molokhia is in a container, you shouldn’t have to prune your plant. Just keep removing leaves for eating, and it shouldn’t get too out of control. For container plants, trim it regularly to encourage bushiness.
Grow Molokhia in Containers
Egyptian spinach grows well in containers. Use a good quality potting mix made for vegetables. Water well and take leaves regularly to keep the plant bushy.
Once the molokhia reaches about 15 inches tall, trim the top to promote bushiness. If you plan on harvesting the seeds or using it to make jute, don’t trim the plant.
If you live in a cooler area, containers may be best for your molokhia because you can move it around to follow the sun if necessary.
Companion Planting for Molokhia
You can plant molokhia with:
- Brassicas
- Beans
- Peas
- Strawberries
- Onion
Just be sure that you give enough distance between plants so that the molokhia doesn’t shade things when it gets tall.
Don’t plant with:
- Potatoes
- Pumpkin
- Squash
- Corn
Common Problems and Solutions for Growing Molokhia
Like most leafy plants, molokhia suffers from a few issues, but nothing is too serious. Some seasons you will get through with no problems at all. Here are the most common issues you might see.
Anthracnose
You usually find this is caused by overhead watering in humid conditions. Once it starts, it makes plants like molokhia unusable because you don’t want to eat horrible-looking leaves. Read our in-depth article on anthracnose to learn how to identify and control this disease.
Damping Off
This is when newly emerged seedlings die off for no apparent reason. Older plants become stunted and yellow. When you pull the plants out, the roots are black and rotted.
You must plant your molokhia in well-draining soil. If you buy seeds, check to see if they are have been treated with fungicide.
Once damping-off occurs, remove the plant and don’t plant more molokhia in that spot again for a couple of seasons. Our guide has more tips.
Fusarium Wilt
Premature death, yellowing of older leaves, and lesions are all signs of fusarium wilt. This is a common issue that can repeat for a few seasons, so check out all you need to know in our article on fusarium wilt.
Snails and Slugs
Like all leafy plants, molokhia is loved by snails and slugs. If you want several effective ways to rid your garden of slugs and snails, head to our informative article.
Aphids
There is no plant these pesky bugs don’t seem to want to devour. They eat plants and leave behind a substance called honeydew. This attracts ants and wasps as they love to feed on this sweet treat. It also causes sooty mold, which is a real pain for gardeners.
We have an entire guide dedicated to helping you spot and eliminate these pests.
Harvesting Molokhia
Harvesting begins about six to eight weeks after germination. As soon as the leaves are large enough to eat, you can start harvesting. The leaves are best used young.
Use sharp scissors and remove about 6 inches of the top part of the stems. This will encourage more growth so you can keep using time-and-again.
If you let the plant go to seed, you’ll get a bunch of new plants next year. Just be careful. It’s considered a weed in some areas.
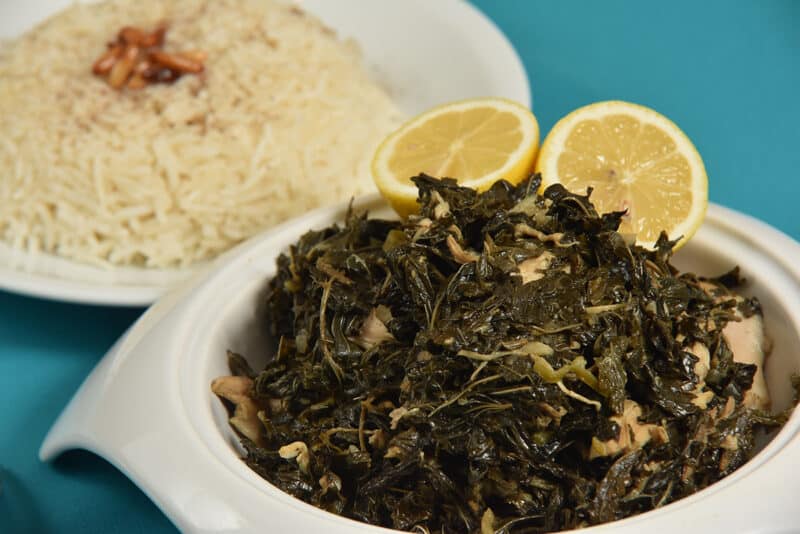
While you can use the leaves and stalks in many different ways, you might want to try making the traditional molokhia dish. Or use them in soups, salads, sandwiches, curries, or to make tea.
Saving Seeds
This is a giving plant. I bought seeds once and have never needed to buy them again. Allow the pods to dry on the plant and snip off when completely dry.
Crack the pods open, and you should see little black seeds inside. Store in a paper envelope and keep in a warm, dry place.
Next season, start with the soaking method described above, and you can provide for yourself and your family again. This is one reason I am always growing molokhia in my survival garden.
