I don’t know anyone who doesn’t go for a warm bowl of freshly-made popcorn now and then, but did you know that you could be growing popcorn in your own backyard? Until the last growing season, I had no idea that I could learn how to grow popcorn, which is one of our favorite snacks for our family. Homegrown popcorn is delicious with unique flavors that will lead to this being a permanent addition to your garden.
You might not realize that there are many different types of corn. You can grow sweet corn, pod corn, flour corn, and popcorn. Popcorn is different from the corn on the cob that you might eat for dinner thanks to its explosive nature when exposed to high temperatures.
Even though corn plants yield about the same amount, popcorn stores for much longer, so you can keep it around a long time. Plus, it’s quite versatile and impressive to friends. Imagine serving fresh bowls of popcorn at your next family event – everyone will love that you grew your popcorn!
The Best Varieties of Popcorn
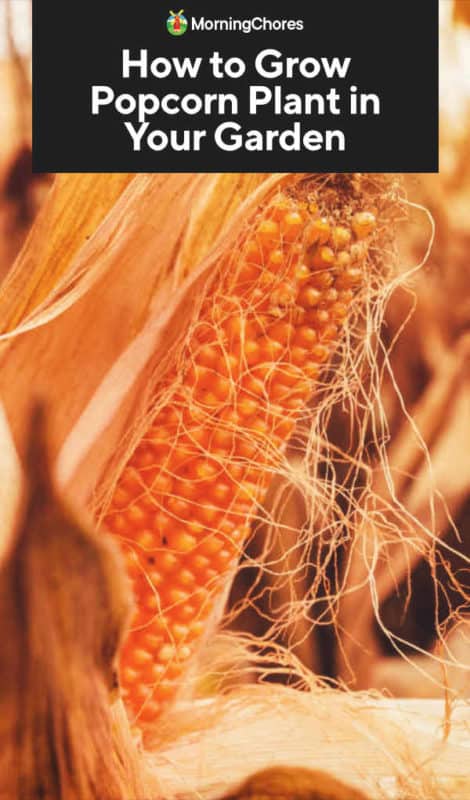
The best part of growing popcorn is picking the variety that you want to grow. When you think of popcorn, you envision the yellow kernels you can purchase at the stores, but you can find red, blue, black, pink, and all colors of the rainbow.
Here are some of the most popular varieties of popcorn.
- Mini Blue: This variety produces dark blue kernels that mature in 100 days, and the stalks reach 6 feet tall.
- Mini Pink: This variety produces a purplish-pink kernel that takes 105 days to mature. The stalks grow 6 feet tall.
- Ruby Red: This type grows dark red kernels that take 110 days to mature, reaching 8 feet tall.
- Strawberry: Here is another variety that grows dark red kernels. Strawberry popcorn takes 100 days to mature, but the stalks only reach 4 feet tall.
- Tom Thumb: This variety produces the classic yellow kernel you expect from popcorn and takes 84 days to mature. These stalks only reach 3 feet tall.
How to Grow Popcorn
Soil
To grow a bountiful harvest of popcorn, you need to plant the seeds in fertile, well-draining soil. Before you plant your corn, you should test your soil to see what fertilizers are needed. Popcorn plants are heavy feeders, requiring a lot of nitrogen and other nutrients. You also should spread an inch of compost over your garden beds before planting.
Location
Popcorn needs full sunlight in most circumstances. Also, you cannot grow popcorn and sweet corn in the same garden. Due to pollination, the quality of sweet corn can be reduced. You might even find that your sweet corn becomes inedible or takes on characteristics of the popcorn, such as kernels being miscolored.
Also, you should select a location with easy access to irrigation or water. Popcorn, like other varieties of corn, requires a lot of water during the growing season. You don’t want to struggle to keep the plants watered.
When to Plant
When you learn how to grow popcorn, one thing should stand out – all danger of frost needs to have passed before planting. The soil needs to be warm for the corn to germinate and grow. Look for soil temperatures around 60℉ to ensure good germination and early growth.
How to Plant
One thing that I messed up when I grew popcorn is that I didn’t place them apart appropriately. Make sure you pay attention if you want to grow popcorn with larger ears of corn.
Sow the popcorn seeds directly into the garden once the soil warms up. The seeds should be sown 1-2 inches deep. You can place two seeds per hole, and space each seed 8-10 inches apart. Make sure you water thoroughly after you plant your popcorn.
Later, you should thin out your popcorn seedlings. Popcorn is best grown in rows that are spaced 18-24 inches apart. Spacing the rows apart at the right distance ensures plenty of space for proper pollination and well-filled, decent sized ears. That is one of the problems I faced because I failed to space my rows correctly.
How to Care for Popcorn
Watering
As I mentioned before, popcorn requires a lot of water. Expect to need to provide 1.5-2 inches of water each week, whether that’s rain or irrigation. I suggest keeping a rain gauge in your garden to determine how much rain you receive each week.
Drought stress will negatively impact your harvest. In fact, too little water and you won’t receive much of a harvest at all. Make sure to keep the soil moist at all times.
Fertilizing
To grow a bountiful harvest, popcorn needs plenty of nitrogen. When your plants are about 6 inches tall, side dress with 1/2 pound of high-nitrogen fertilizer per 100 square feet. Make sure to thoroughly spread the fertilizer down the sides of the rows and water to soak it into the ground.
You can side dress again later with 1/4 pound of fertilizer when the stalks are knee-high or when you see the ears forming silk.
Weed Regularly
Weeds take away nutrients and moisture from the soil that popcorn plants drastically need. So, be sure to weed around the plants regularly. When you remove the weeds, don’t pull too hard or you will damage the roots or remove soil away from the plants.
Common Popcorn Plant Diseases
Popcorn plants aren’t full of problems, but most of the issues come from stalk and root rot diseases. Here are a few issues you might face.
Gray Leaf Spot
You might notice small necrotic spots with chloritic halos on the leaves that slowly expand. These diseases can spread quickly, leading to the blighting of leaves and plant death. It’s a fungus.
Try to plant corn hybrids that are resistant to diseases and try crop rotation. Plow the debris into the soil to reduce levels of inoculum in the ground.
Northern Leaf Blight
At first, you notice elliptical grey-green lesions on the leaves. As the disease gets worse, the lesions turn to a tan color, and then the lesions look dirty because of the dark gray spores.
Make sure that you follow the right tillage to reduce fungus inoculum from crop debris. If you have a severe case of northern leaf blight, you might need to apply a suitable fungicide.
Bacterial Leaf Blight/Stripe
Here is another problem you might face. You’ll see water-soaked lesions on the leaves as they emerge, and the lesions turn brown than gray or white. This bacteria also can affect oats, barley, wheat, and sorghum.
To avoid these bacteria, use healthy and disease-free seeds. Make sure you remove the infected plant debris and burn them so that the bacteria cannot damage other plants. Also, follow crop rotation.
Harvesting Popcorn
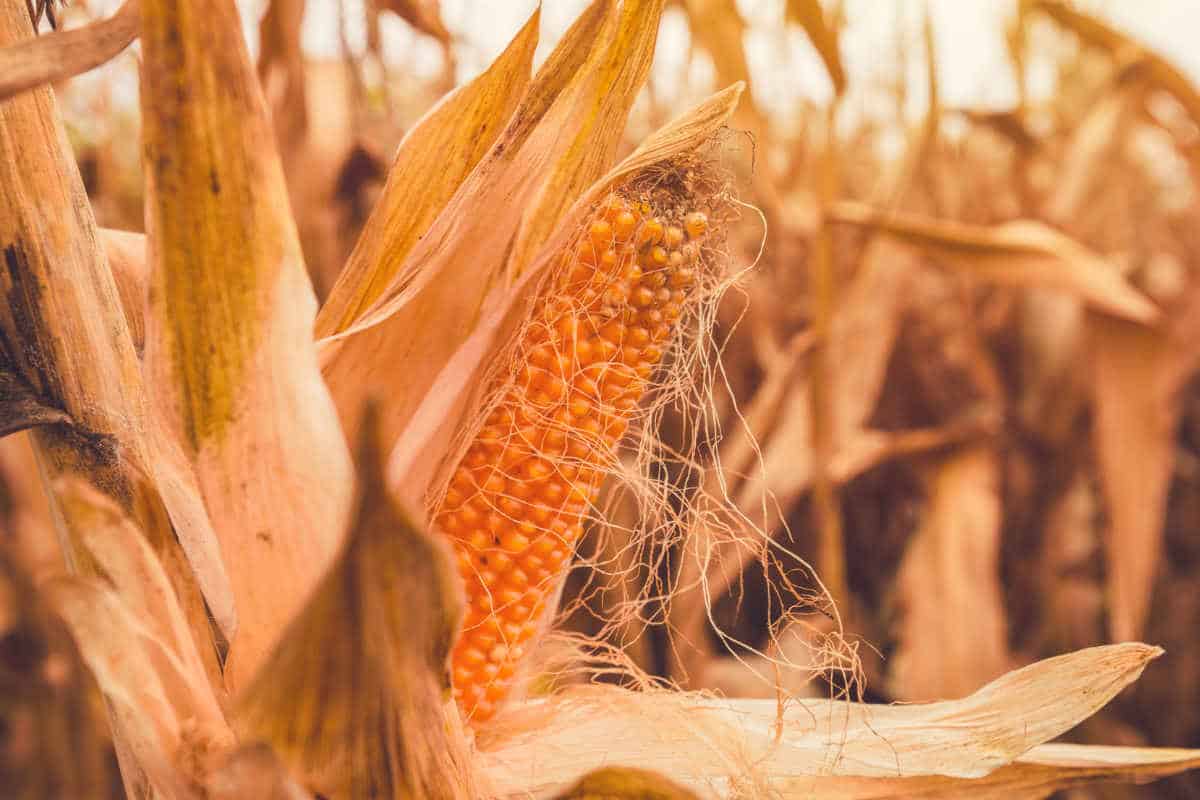
When you harvest popcorn depends on the variety you’re growing and the days it requires to mature. For most types, it takes around 100 days. The stalks will start to dry, and the kernels get hard, just like popcorn. You’ll notice the difference from popcorn that you typically eat with dinner.
The kernels need to dry in the field for as long as possible. When you harvest, the kernels should be hard, and the husks completely dry. It’s best to let the ears stay on the stalks until they’re dried. When the shells are brown and the kernels are hardy and shiny, it’s finally time to harvest.
Once you finally harvest the popcorn ears, they still need to finish drying inside for several weeks. Leave the ears out someplace that gives them plenty of access to air, letting them dry out thoroughly. You can hang the ears in mesh bags, keeping them in a dry, well-ventilated location.
You’ll know that the ears are ready to shell when you can pop kernels off easily. Try each week until the kernels pop off easier.
Shelling the Kernels Off The Ears
Here comes the hard work, my friends. I tried dozens of methods for removing kernels, and I can tell you that you might need some trial and error as well.
First, twist the kernels by hand, starting to break the kernels apart. Just turn the ears with your hands. Then, try rubbing two cobs together to start popping off of the kernels. Once you begin removing the kernels, you can use a spoon to pop the rest of them off.
Another option is to purchase hand-held corn shellers. Those are a great tool to remove kernels from the cob.
Storing Popcorn
You need to remove any debris, called chaff, from the kernels. All I do is transfer the kernels from one container to another outdoors. The wind lifts the debris, making it easy for you.
Next, to store popcorn, you need an airtight container. If stored properly, popcorn can keep its high quality for several years. If you want to save unshelled corn, keep them in temperatures around 32℉ and high relative humidity.
Cooking Popcorn Kernels
Now comes the fun part! Put the kernels into a pot and add 1/2 cup (or less) of popcorn kernels. Add a tablespoon or two of oil at the bottom of the pot and turn it in medium-high heat. Put the lid over the pot and watch.
Soon, the kernels will start to pop. My kids love to watch this part, and so do I. You also can purchase a popcorn popper. They’re cheap, less than $20, and work well to pop larger quantities of popcorn.
If your popcorn kernels don’t pop, it might be because the kernels are too dry. All you need to do is add one tablespoon of water to a quart of popcorn kernels. Cover and shake at different intervals until the popcorn kernels absorb all of the water.
This process takes 3-4 days. Then, try to pop a few kernels to see if they’re ready. You can add more water if they’re still too dry, repeating the process until the kernels pop.
The taste of homegrown popcorn makes learning how to grow popcorn worth it!
Enjoy Your Homegrown Popcorn
Growing popcorn isn’t as hard as you might think, but you feel a huge sense of satisfaction when you eat a bowl of homegrown popcorn. If you can grow popcorn, you can grow anything, and there is nothing like providing your family with wholesome snacks.
