You can use goat milk for many things; making cheesecakes, candies, fudge, ice cream. But have you ever considered making a rich, creamy soap out of it?
Well, if not, this is your lucky day.
Today, I’m going to share with you how you can take all of that white gold that your goats make for you and turn into something good for your body. A goat milk soap.
If you are thinking, “I don’t want to work with lye to make soap!” you are in luck. Because I’m bringing you the recipes to make soap in two ways—with and without lye. So tell your nanny goats to get ready because once you see these recipes you’ll be flying through their milk like there is no tomorrow.
Before we start…
It is important that we tell you that there are dangers with making soap. Lye is no joke and nothing to be toyed around with. It can cause severe burns to your body if not handled properly. So please use great caution when making soap.
Here is a great resource to fully inform you of its dangers and how to properly handle lye.
With that out of the way, let’s get started—
The Benefits Of Goat Milk Soap
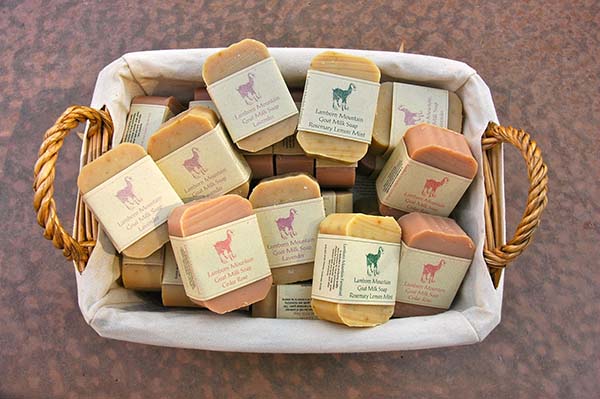
Photo by Lamborn Mountain Farmstead
You might be wondering why you should even consider making goats milk soap besides having an extra way of utilizing an overflow of goats’ milk.
Well, here are just a few reasons you might love goat milk soap:
- Goat milk contains alpha hydroxyl acid which helps to remove dead skin cells. This will help your skin appear younger and smoother.
- Goat milk is high in Vitamin A. This particular vitamin is great for repairing skin tissues which equates to healthier skin.
- Goat milk has a lot of cream in it and therefore equates to a creamier soap which offers better moisturizing qualities.
- It contains selenium which is a mineral that is believed by scientists to help prevent skin cancer.
- Goat milk soap actually has properties in it that are anti-inflammatory. This is huge as inflammation is believed to be a leading cause in a lot of illnesses. So because goats’ milk is so high in fat it is said to actually reduce skin inflammation.
- It is a great acne fighter. Goats’ milk contains antibacterial properties which stops nasty little organisms from sprouting and causing acne.
Goats Milk Soap Recipe With Lye
Ingredients:
- 20 oz. coconut oil
- 20 oz. olive oil
- 13 oz. lard or shortening
- 18 oz. fresh goat’s milk
- 9 oz. lye
- 1 oz. of any essential oils or fresh herbs (such as lavender or oatmeal) that you choose to go with.
- Glass or stainless steel bowl
- Mixing Spoon
- Immersion Blender (optional)
Directions:
- You will need to begin by milking your goats a few days in advance. If you aren’t quite sure how to do this check out this resource to make the process easier and be sure to store the milk properly.
- The day before you want to make soap, you’ll need to pull out the amount of milk your recipe calls for (and a little extra just in case scorching occurs) and freeze your milk in zipper storage bags. Keep it in the freezer until you need it.
- You will need to work with a glass or stainless steel bowl. Plastic is not the best option as it can hold odors that will ruin your bowl. Then place the first bowl in a larger bowl or in the sink and fill the outer bowl (or sink) about half full with cold water and ice. Now, pull your frozen milk out and chop it into workable pieces. Then place the chopped pieces in the inside bowl.
- Here comes the dangerous part. You have got to really be careful when handling lye. It has the ability to severely burn your eyes and skin. So please handle with care! Very slowly, add the lye. Be very careful when mixing it together with the milk. You could actually use a potato masher for this process as it will be kind of thick and sludgy. Keep adding the lye until it is all mixed together. It is best to add the lye a little at a time so you don’t end up with lye chunks in your finished product.You will not feel the lye heat up during this process most likely. And that’s okay because it doesn’t need to heat up to be effective. However, if the ice melts on the outside, replace it as the bowl needs to stay very cold. If the milk turns an orange, tan, or yellow color then you are still okay. But if the milk turns a dark brown then the mixture has become too warm and scorched the milk. You’ll have to start again. And if you smell ammonia don’t worry about that. The smell will fade while curing.
- Next, you’ll need to measure out your oils. It is important to melt your coconut oil first and then add the olive oil to it so you can mix your concoction a little easier. When you’ve got your oils all settled it will then be time to add the milk mixture to them. You can either mix it by hand or use a kitchen immersion blender. If you use the blender it is recommended that you still mix by hand for at least the first five minutes.When you get done mixing, your mixture should have the consistency of a thick pudding. When you get it to the pudding-like consistency this is your time to add your scents. Now, if by some chance your mixture does not make it to the pudding consistency that I’ve mentioned that’s okay. Still go ahead with it because it should still cure just fine. You can add fragrances with essential oils or fresh herbs. If you desire a whiter soap be sure to use lighter oils as this will impact the color of the finished product.I personally recommend using scents like lavender and tea tree oil for the great benefits. Then pour the mixture into soap molds. You can purchase soap molds here or learn how to make your own here.
- After you’ve poured it into molds, you’ll need to let it sit for 24 hours. After the 24 hour mark, you can dump it and cut it. I should mention, it is a common occurrence for soap to resemble Jell-O as it is setting up. Don’t let this alarm you and don’t mess with the soap in any way. You actually want this to happen. But if you start poking or stirring it you can actually mix up the balance and cause the soap not to cure.Now, you’ll need to wait around a month before using your soap. You will know it’s ready by testing it with pH test strips. You want the pH level to be between 8 and 10. Or you can simply place the soap on your tongue for a few seconds. If you get a tingly sensation then that lets you know it hasn’t cured long enough and will still be too harsh for your skin.
Goats Milk Soap Recipe Without Lye
I’m going to give you a rather harsh news flash; if you want to make goats milk soap without lye, you can’t do it with your own goats’ milk. (I know! Isn’t that tragic!)
It’s because you have to have lye to make soap from scratch.
But if you are—like I was—a little scared at the thought of handling lye when you were new to making soap then this might be a good option to start you off.
Ingredients:
- 2-pound goats milk soap base (purchase on Amazon)
- 1 oz. any scents or additives you’d like to add (like lavender or oatmeal)
- Double boiler (homemade or store-bought)
Directions:
- You will begin by spooning out your soap base into a double boiler and melting it. Soap base really is a prefabricated soap that has been made for you. Basically, a factory handled the lye for you. Now, all you will want to do is melt it. There is no need to bring it to a rolling boil or anything like that.
- Then you’ll add any scents or additives that you’d like to place in your soap. As before, I recommend adding essential oils like tea tree oil, lavender, or even some oatmeal. I’ve heard of people adding honey, honeysuckle, and many other mixtures that make this creamy soap smell delicious too. So play around with it and really make this soap your own.
- Next, you’ll place the soap mixture into a soap mold and allow the soap to cure as mentioned above with the lye soap. As mentioned before, you can purchase soap molds here or make your own. Again, test the pH level with pH testing strips (look for pH levels between 8 and 10) or by simply using your tongue. Remember, if your tongue gets a tingly sensation after a few seconds of the soap being applied then the soap is not cured enough and will still be too harsh for your skin to handle.
And that is all there is to making homemade soap without lye.
If That Wasn’t Enough To Satisfy You…Here Are Even More Goat Soap Recipes
Well, in case you’d still like a few more detailed recipes to make different scented goats milk soap I’ve got those for you today too.
1. Oatmeal Honey Goats Milk Soap
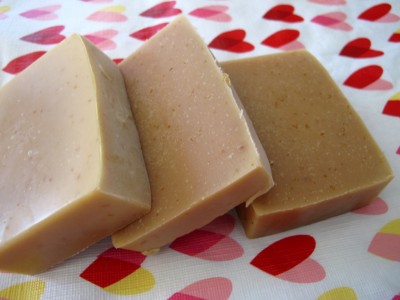
If the idea of this soap doesn’t just sound wonderful then I don’t know what will. Oatmeal is great for your skin and so is natural honey. So if you are like me and raise your own goats and bees then this is a great way to put both products together and get something amazing!
2. Milk And Honey Soap
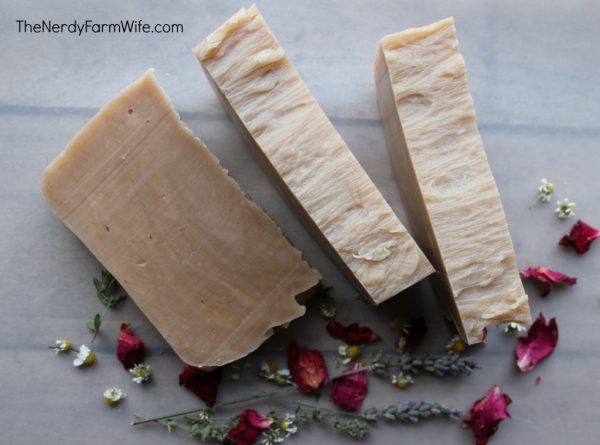
Again, I am a huge fan of milk and honey. It just sounds creamy and smooth. And if that does not make your skin excited for the royal treatment then I’m not sure what will. So if you’d love to have really soft skin and soothe those rough elbows then give this soap a try. And you could support your local beekeeper in the process. Sounds like a win, win to me.
3. 10 Minute Milk And Honey Soap
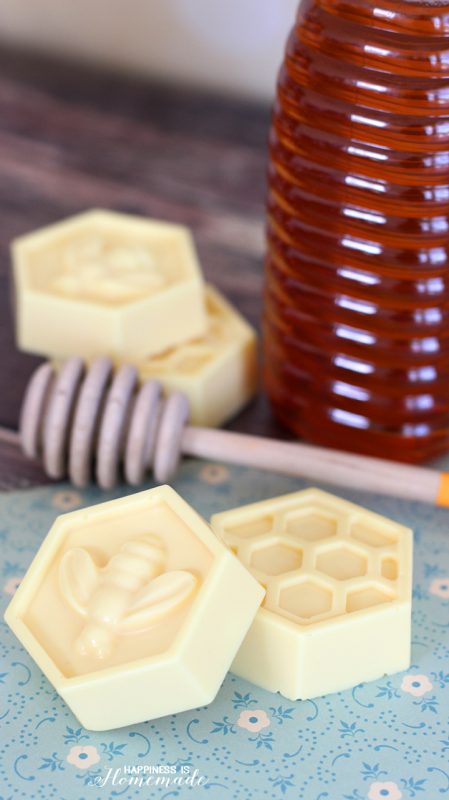
Maybe you’ve read this post and think that it sounds nice, but you just really don’t have the time to become a soap maker. Well, that’s okay. This recipe is for you. You can have soft skin in no time flat with this recipe that says it only takes 10 minutes. Think of the money saved and the healthier skin that can be created in only a matter of minutes.
4. Crockpot Goat Milk Soap

If you love using your crockpot then why not pull it out and use it for one more thing in your life. Yes, that’s right. You can even make soap in your crockpot. So if you have an abundance of goats’ milk in your life, don’t let it go to waste. Make some amazing, creamy soap in your crockpot during the day while you are working around your kitchen doing other things.
5. Easy Lavender Goat Milk Soap
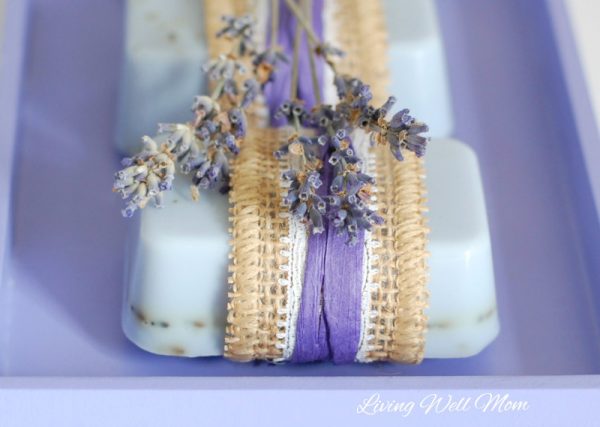
I’m a huge fan of lavender. It has amazing qualities in it that naturally help our bodies to relax. And when you combine it with goats’ milk, it just sounds heavenly. So plant a lavender plant in your yard and make your own homemade soap for a little of nothing. And with great ease, according to this recipe.
And that’s it for today, guys. I hope you found this information helpful so you can begin your soap ventures.
But I’d love to hear your thoughts. What is your favorite soap recipe? And do you have any other tips for beginner soap makers?
If so, please leave your comments below. We love hearing from you all!
