I open one eye only to notice the sun gazing through my window. I know it must be time to start the day.
Like most people, I reach for my phone to check any missed emails, texts, or notifications through blurry ‘morning vision.’ I click on one of my news apps only to see the same scary headline again.
More food health issues with food bought from grocery store shelves. I shuffle to my kitchen for coffee but can’t seem to shake the feeling of how scary this issue is becoming.
But I also feel thankful because I’m able to grow most of our food. Whether you’re someone trying to be more self-sufficient, or you’ve had enough of wondering if what you’re purchasing is going to be recalled in the weeks to come, you might be interested in learning how to prepare your own staple ingredients.
One ingredient which is common in many of our foods is wheat. It’s easy to grind and grinding wheat yourself can produce many benefits.
I’m going to walk you through each step of the process and explain to you why this skill could be of value to you. Here’s what you need to know about grinding wheat for flour:

What You’ll Need
Grinding wheat is a simple process. You only need a few items to make the process happen. Here’s what you need:
1. Grain Mill
What catches most of us off guard is purchasing the grain mill. They are an investment.
However, if you purchase a quality product, you shouldn’t need to purchase another one for many years to come.
When purchasing your wheat mill, you’ll find two options. One option is for a manual mill. When I bought mine, I chose this option.
My reasons were simple. Though manual mills require more effort from you, they work whether you have electricity or not.
I’m someone who likes to be prepared and prefers not to be hindered when things (such as storms) happen and cause power outages.
If you’re someone who wants fresh flour but would prefer an easier method, go with an electric flour mill.
With an electric mill, you hit a switch, and the grinder does the work for you. Keep in mind, they come with a heftier price tag, but if you can afford this, it is an easier option.
Also, be sure you choose a grain mill which is easy to take apart and clean. Cleanliness is a priority when you’re making any ingredient from scratch.
2. Wheat Berries

Wheat berries don’t look like berries. Instead, they look like small kernels of grain. This is what most flour is made from.
However, you can make many different types of flour using nuts, grains, beans, or seeds. Some common flour varieties are buckwheat, garbanzos, quinoa, rye, barley, oats, lentils, beans, corn, and wheat.
As you can tell, when you start grinding your own flour, the options are limitless. Hard red winter or spring wheat berries are the favorites and common varieties among people who grind their own wheat.
They provide a more traditional flavor and can be used in most traditional bread recipes containing yeast.
But where can you find wheat berries? If you have the land, you can grow your own wheat crop. It’s a great way of protecting your garden soil over the winter.
You can grow a cover crop which you can use yourself. If you don’t have room to grow wheat, you can search for a local flour or feed mill.
Some livestock stores will sell wheat as well. Be sure to verify when purchasing wheat from livestock stores, that wheat is the only ingredient in what you’re buying and is safe for human consumption.
Many farmers use it to grow fodder for their animals. In my area, I can buy a 50-pound bag of wheat for approximately $9.
Considering whole wheat berries have an unlimited shelf-life, this is a great deal.
Lastly, you can order wheat online as well. It can be purchased in smaller quantities which makes it easier to store.
Plus, it’s a convenient option considering it can be shipped straight to your door. Once you have your grain mill and wheat berries, you’re ready to begin making your flour.
How to go about Grinding Wheat
Grinding wheat requires only a few steps. Some of these steps may vary depending upon the manufacturer’s instructions for your particular grain mill. Be sure to read the instructions before proceeding:
1. Pour Wheat in Grain Mill
Begin the process of making flour by measuring the amount of wheat berries you’ll need. One cup of wheat berries equals approximately 1¾ cup of flour. One pound of wheat berries equals 4½ cups of flour.
Check your recipe and see how much flour you need to make. Use the parameters given above to equate how many cups of wheat berries you need to feed the grain mill.
When you have the wheat berries measured out, pour them into the grain mill.
2. Process
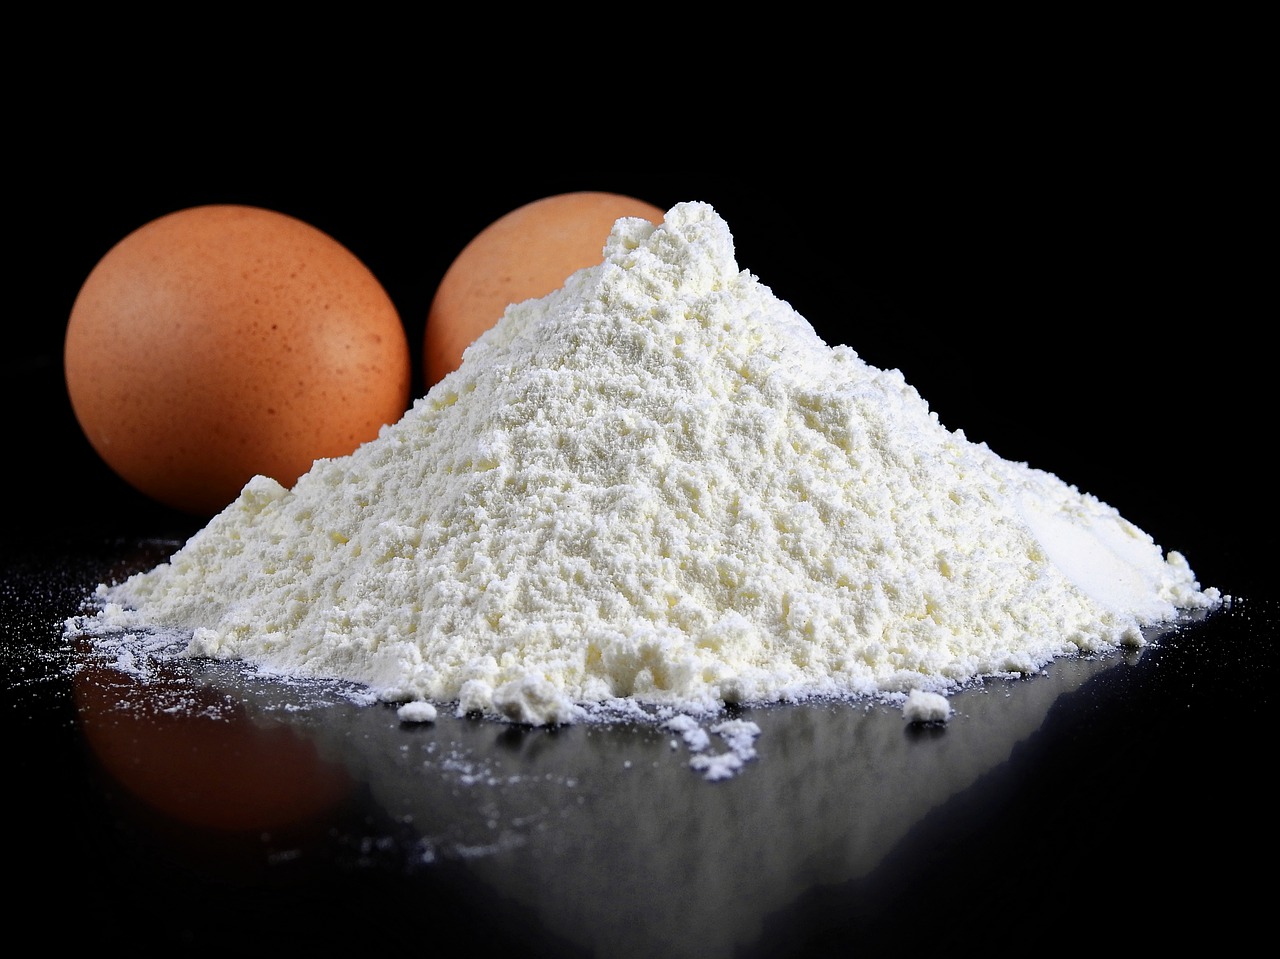
Once the wheat berries are in the grain mill, you’re ready to process them. If it’s manual, begin turning the crank to push the berries into the hopper. They should pop out at the other end as ground flour and fall into a bowl waiting to catch them.
However, if you have an electric grinder, all you need to do is pour the wheat into the grain mill and press the button. It’ll automatically force the wheat berries down to the hopper and produce them out of the other end as ground flour.
Some grain mills have a setting which will allow you to adjust the mill on how finely or coarsely it grinds the wheat berries.
If you prefer a powdery flour, adjust the setting for the wheat berries to be ground finer. If you prefer a chunkier flour, change the setting for the wheat berries to be ground coarser.
3. Utilize and Store
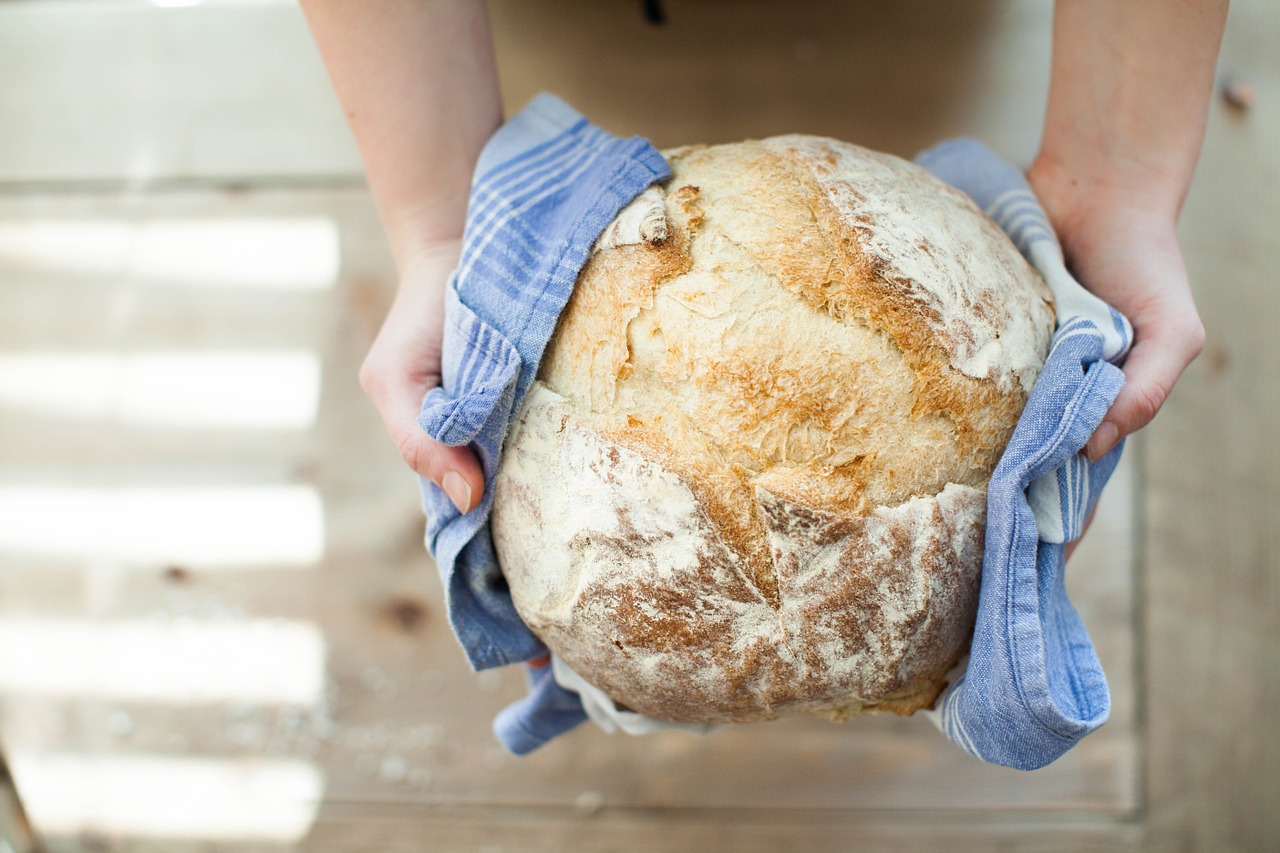
The last step of grinding wheat is to utilize it in a recipe or store it. It’s important to note; fresh flour doesn’t last as long as store-bought flour.
The reason being is when grinding fresh wheat, the flour isn’t sifted through after the grinding process. Therefore, the bran and germ are still included in the flour.
This is a benefit of grinding your own flour, but the germ contains oil. The oil can cause the flour to become rancid quicker.
Which is why commercial flour removes it before placing it on the store shelf for you to purchase.
It’s a good idea only to grind the amount of flour you’ll use at a time. However, it can last up to a week or two in the fridge. You can also freeze the flour as well.
Be sure to store it in an air-tight container whether it’s stored in your refrigerator or freezer.
Do the Benefits Outweigh the Extra Effort?
You may be wondering why people put in the extra effort to grind their own wheat if it doesn’t last as long as what is purchased commercially. These are the benefits of grinding wheat for flour:
1. Sweeter Flavor
Like most things homegrown, many people prefer the flavor over what is commercially grown. Fresh ground flour has a sweeter taste.
Therefore, it makes it an excellent choice when baking bread or desserts because it adds a natural sweetness many people desire in their baked goods.
2. No Hidden Chems
When you go to the grocery store and begin reading labels, you quickly become aware of how many hidden ingredients make their way into the foods you consume on a regular basis.
If you look at the shelf of flour, you see you have the option for bleached or unbleached flour. It’s alarming the different items which find their way into our foods, even when we try to cook from scratch.
Therefore, when grinding wheat to make flour, you’re in control. You know where the wheat came from, and you know exactly what is in your flour. Most importantly, you know what isn’t in your flour.
3. Healthier
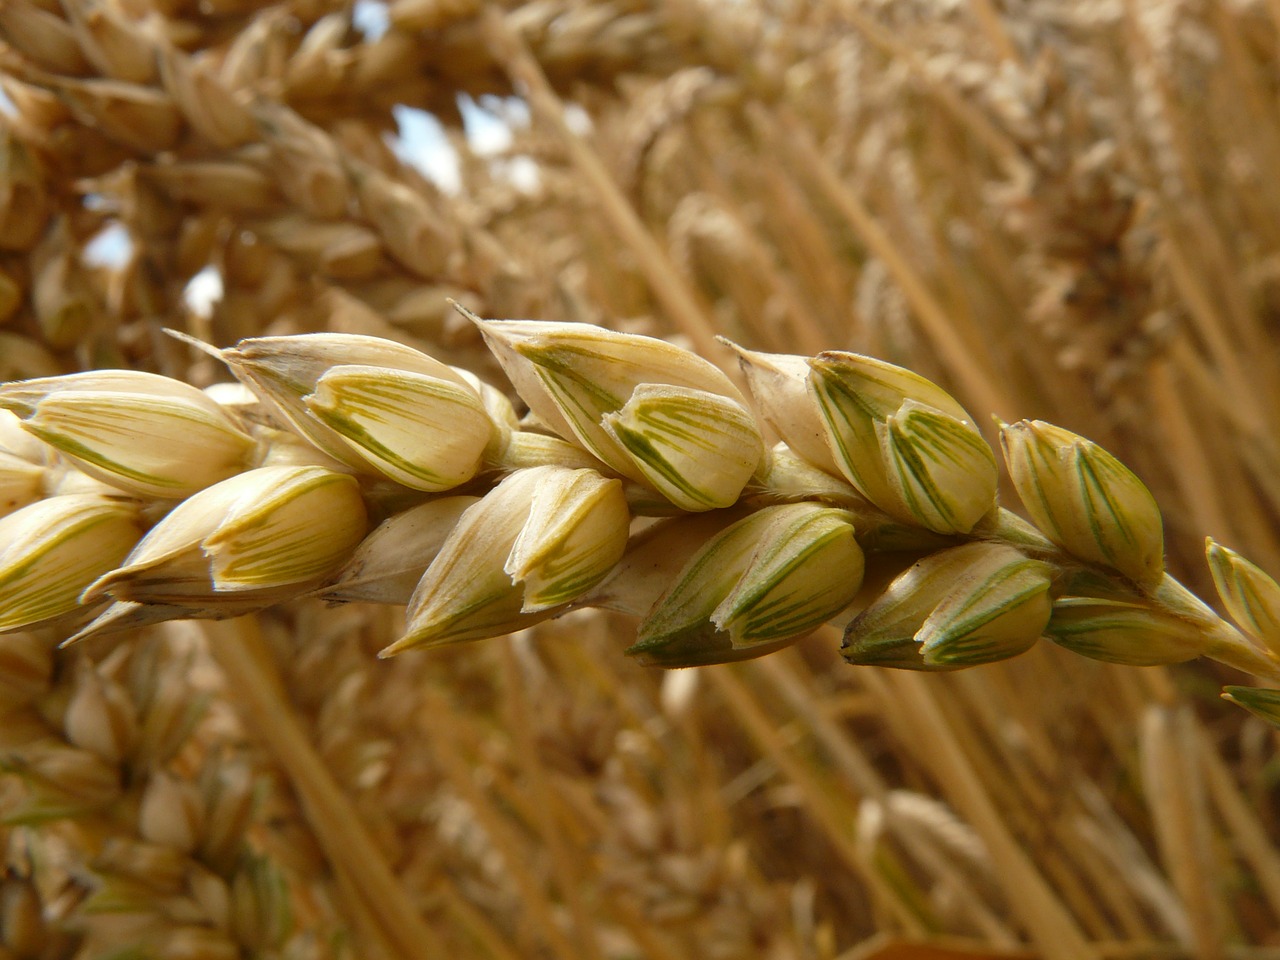
When grinding wheat for your own flour, you get the entire hull of the wheat berry. Nothing is extracted to make the flour last longer on a shelf.
Therefore, the bran and germ are still included. This is where you’ll find most of the fiber, minerals, antioxidants, and vitamins you desire to get by consuming whole wheat foods.
4. Self-Sufficiency
Finally, when grinding your own wheat, you become more self-sufficient. You can purchase wheat in large quantities or grow it yourself, have a grain mill, and be prepared to make flour when you need it.
Therefore, you’ll no longer be chained to the grocery store. Which is important for people who like to be prepared for emergencies or consider themselves preppers.
You now know what you need for grinding wheat, how to grind your own wheat and the benefits of grinding it as well.
Hopefully, this will provide better health for you, help you save a few dollars in the process, and also give you better health through what you eat.

