Do you enjoy making food ingredients yourself?
It can save you money, help you to be more knowledgeable about what you’re consuming, and it tastes better too.
In my case, I enjoy making my own food because it makes me feel better. Therefore, anytime I find I can make something almost as easy as buying it, I’m on board.
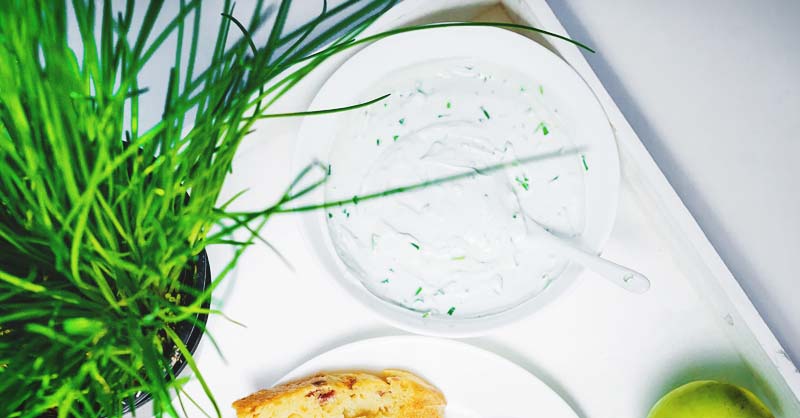
If you enjoy sour cream on baked potatoes, to turn into a dip for your chips, or on top of your chili, you’ll be glad to know it’s extremely easy to make.
Here’s all you need to know to make your own DIY sour cream in a flash:
You’ll need:
- 1 cup of heavy whipping cream
- ¼ cup of buttermilk
- Mason jar

1. Prep Your Jar
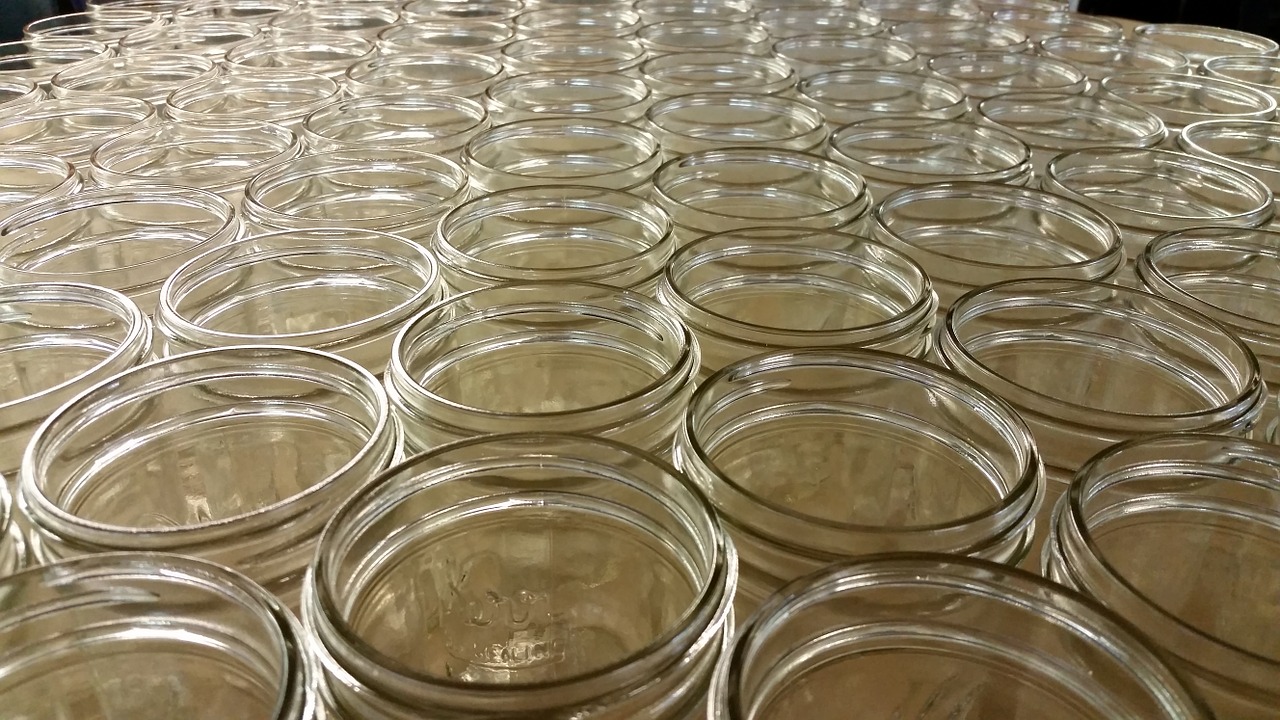
Since you won’t be canning sour cream, there’s no way to sanitize the jar during the process. Therefore, you must take care of your jar before you get started.
You can use a pint jar. However, if you need more sour cream, use a larger jar. If you use the portion listed above, you’ll have 1 ¼ cup of sour cream.
Once you find the right size mason jar to use, wash it thoroughly in warm soap and water. Be sure you rinse the jar well to make sure you don’t end up with soapy tasting sour cream.
After the jar has been washed, rinsed, and dried thoroughly be sure to sanitize it too. You do this by placing warm water inside the jar itself.
Place the jar in a pot of warm water and fill the pot with water until the jar is covered. Bring the water to a boil and allow the jar to remain in the boiling water for 10 minutes.
After the 10 minutes is up, use jar grabbers to safely remove the jar, and give it a few minutes to cool off to where you can safely handle it.
When your jar is clean and sanitized, you’re ready to begin the process of making a delicious homemade sour cream.
2. Mix the Ingredients
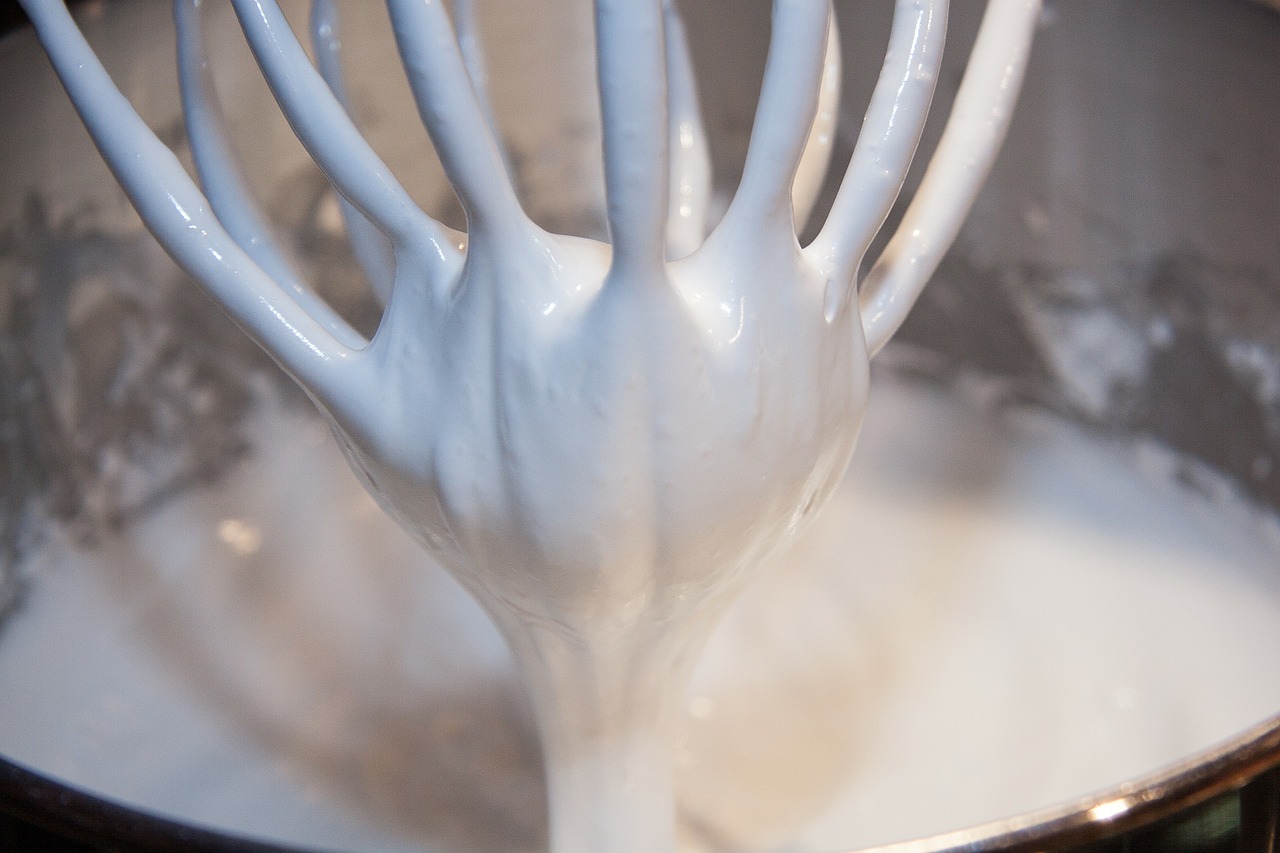
Pour one cup of whipping cream into the jar. Place ¼ cup of buttermilk into the jar too. Place a clean canning lid and ring on the jar.
You’re going to be shaking the ingredients, so it’s important to make sure the lid and ring are secured to avoid a mess.
When everything is tight, begin to shake the ingredients inside the jar. Shake with some oomph because you want to make sure the ingredients are mixed well.
3. Let Fermentation Do Its Thing
Sour cream is formed through fermentation. Fermented foods are excellent for you and your gut. Because 70% of our immune system is in our gut, we should focus on eating foods which will give us good bacteria.
With fermentation, it’s important for us to understand what a great thing it is to make our own sour cream, watch the process, and understand how well we’re feeding our bodies when we’re eating this product.
Once all the ingredients have been thoroughly mixed, allow the jar to rest at room temperature for approximately 24 hours.
Obviously, when making your own sour cream, you must make it ahead of time. If you’re in a pinch and need sour cream quickly, consider using plain yogurt in its place.
If you get into the habit of making sour cream regularly, you should have it when it’s needed. Over the 24-hour period, the lactic acid within the buttermilk will begin fermenting the whipping cream.
Many good things happen in this process, and by the end, you’ll have delicious sour cream.
4. Enjoy and Store
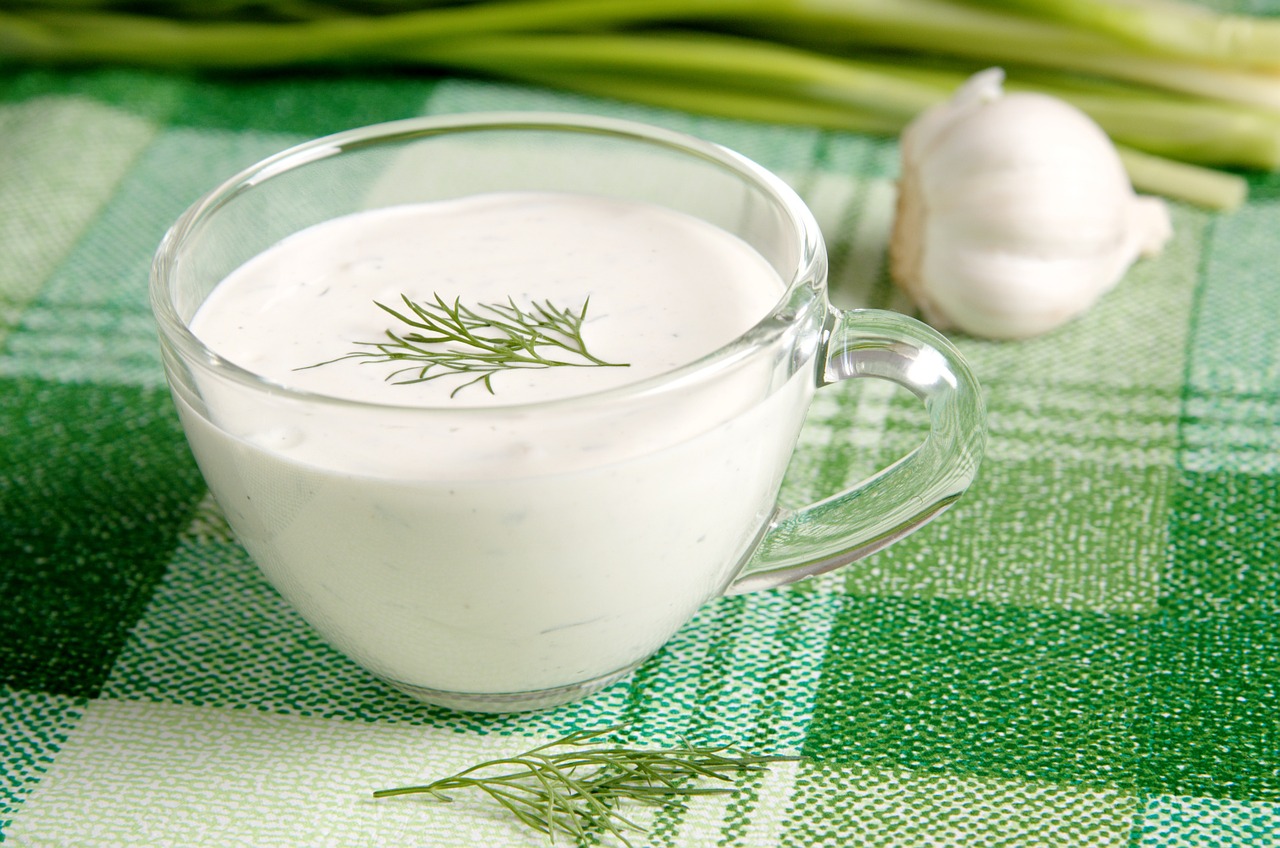
After the 24 hours is up, open the jar and give the ingredients a quick stir. If you’ve ever opened store-bought sour cream and found liquid at the top, you know this is normal.
Therefore, stirring will bring everything back together and give the sour cream the desired thicker consistency.
When the sour cream is complete, you can either use right away or store it in the fridge until you’re ready to use it.
As with store-bought sour cream, it should last for a few weeks. When it no longer holds its thick consistency, has an odd odor, or if you see anything growing on the sour cream or jar, you’ll know it’s time to toss and make a new batch.
I’m sure though you’ll enjoy it using to the point where it won’t have time to go bad before you consume it.
5. A Quick Note on Sour Cream
There are different types of buttermilk and other kinds of milk you can use to make sour cream. If you want a lower fat option, you may choose to go with half and half, whole milk, or even a lower fat milk.
You may also choose to make your own buttermilk instead of using store-bought cultured buttermilk. If you decide to use these other options, be advised your sour cream may not be as thick as what you’re accustomed to.
Don’t be alarmed if it ends up being a little runnier instead of the thick dollops you’re used to using. Like with most things, when you begin trying to lower the fat intake, the calories, or any other ingredients in the traditional recipes, it tends to alter the texture or consistency of the product.
As you can tell, making your own sour cream is an easy process. It requires a little forethought because of the 24-hour fermentation process.
Beyond the time frame, it should be a cost-effective and self-sufficient option to provide a condiment you and your family will love.
