As you may have been able to guess from my other articles, I’m a huge proponent of using absolutely everything to its greatest potential.
I hate the idea of anything going to waste, and that’s a mindset shared by many other self-sufficient, homesteading types.
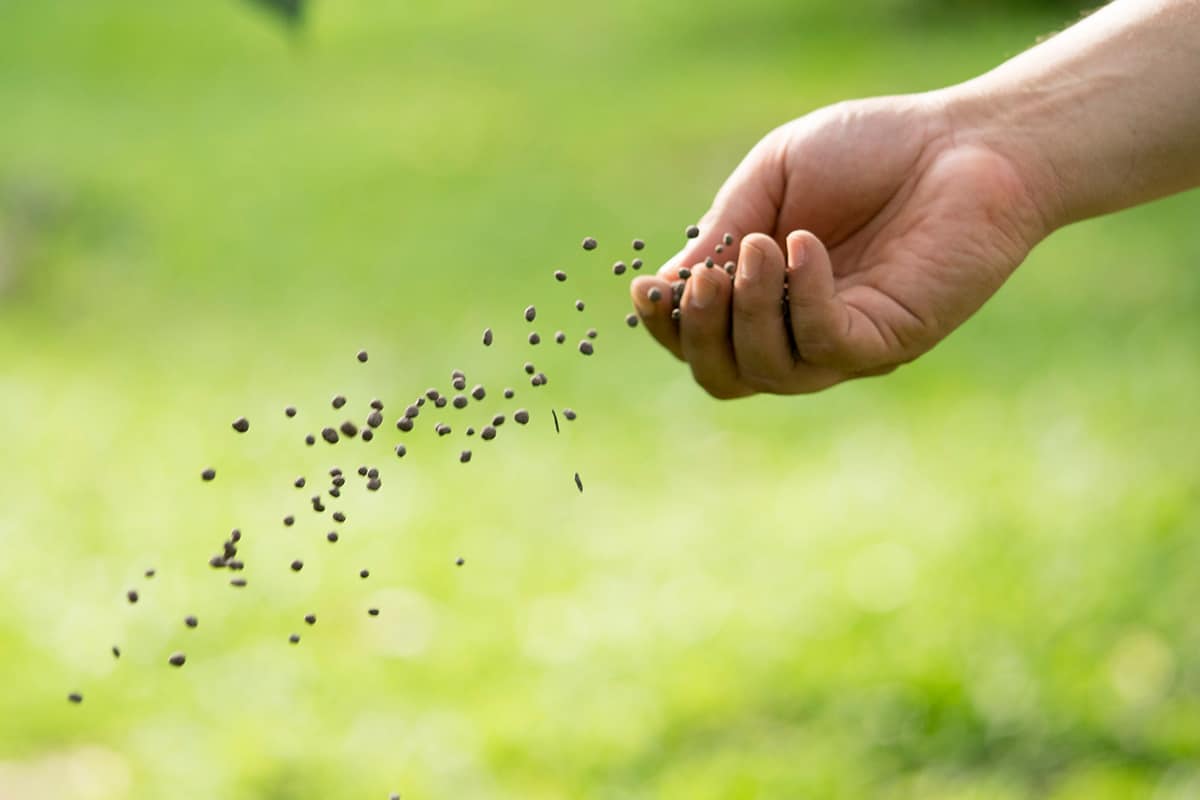
Most of us compost all our vegetable scraps to transform into fertilizer. But there are other ways to create nutrient-rich food for our gardens, and that’s by using wild game to make blood meal fertilizer.
Let Nothing Go to Waste
Those of us who eat animal protein regularly, whether we purchase or hunt it, are generally quite diligent about using every bit possible.
For example, if we roast a wild turkey for dinner, the leftovers end up in the crockpot to make bone broth. The feathers will be treated and set aside for fletching arrows later.
We dry empty eggshells and grind them up to add to the soil because they fend off damping-off disease. Any leftover fat and grease that we haven’t used to cook with gets turned into soap.
But what about the blood and viscera that we remove from these animals before we transform them into meals? Do we just let it go to waste?
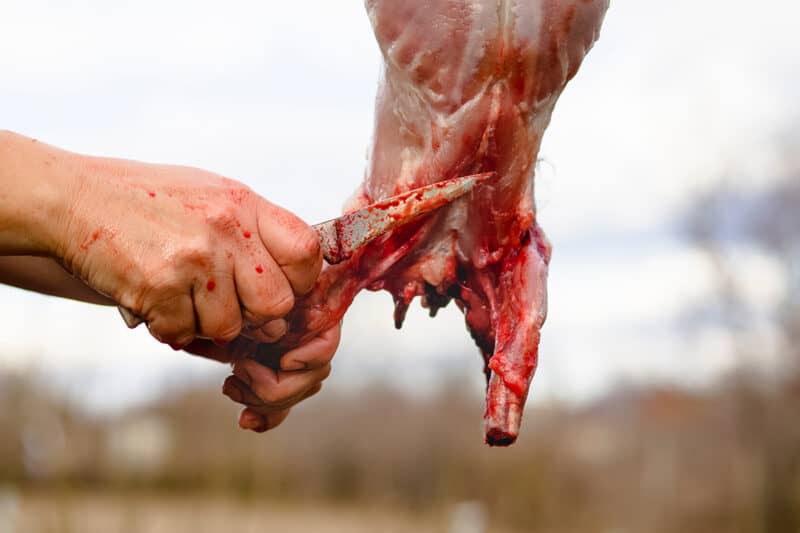
Well, no. People use organ meats for food (hello pate!), and you can transform the blood into meal to nourish the garden.
That might sound like a weird idea to you, as most folks balk at the mere sight of blood, let alone the thought of getting their hands dirty with it. If you can handle the idea of working with it, blood is an invaluable resource that can add so much nourishment to your garden.
And by extension, to your plate.
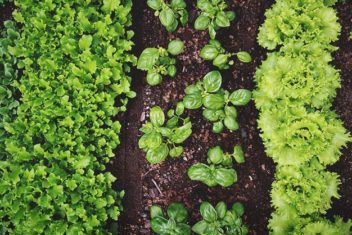
Like fish emulsion, blood meal is incredibly high in nitrogen. This means that it’ll help leafy greens explode into antediluvian-sized, mega-nutritious versions of themselves.
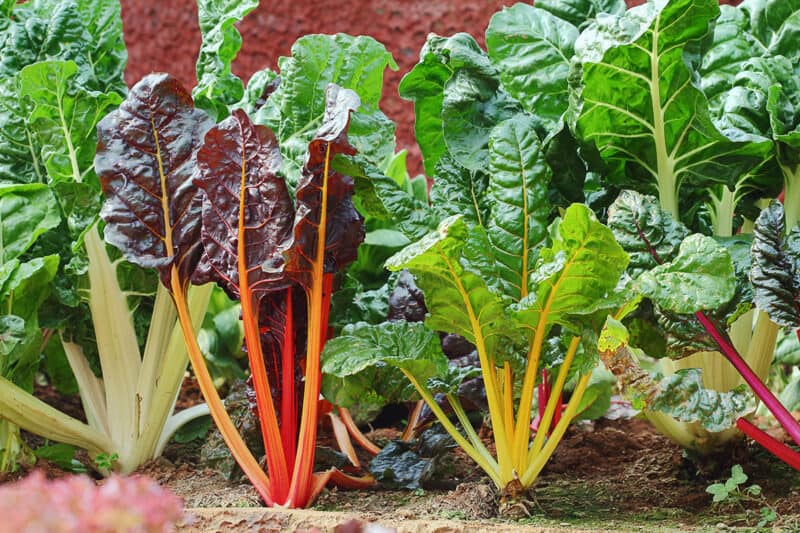
For example, have you ever seen Thousandhead Kale before? Well, be prepared for Jurassic-style greenery the likes of this if you amp your soil with blood-based micronutrients.
Making Blood Meal Fertilizer from Wild Game
You can, of course, find blood meal in the fertilizer section at your local hardware store. This is usually collected from slaughterhouses and abattoirs and is generally made from cow’s or pig’s blood.
However, for those of us who hunt, the blood collected may be from deer, elk, moose, turkeys, partridges, or grouse.
Since you hang these animals up when disemboweled, you can collect their blood easily from below. You just need to have some clean buckets handy. Maybe some rubber gloves and a face visor too, just in case.
Most people who’ll try to make homemade blood meal will need to visit a slaughterhouse first. After all, not many people will have buckets of blood around to use at will.
Those who would have this substance available in the quantities needed are either those who raise and slaughter their own livestock or hunt for wild game.
Hunting for food takes a lot of patience, and work, and immense respect for the animals being hunted. After all, they’re giving up their lives to feed us and our families. As such, we can honor this gift by treating their bodies with proper care, reverence, and appreciation.
Boil it Down and Dry it Out, But Do it Outside
Many people who do a lot of home canning create outdoor setups for processing. After all, many fruits and vegetables are ripe and ready at the height of mid-summer.
I can’t think of many people who want their stove running at full heat for hours, doing boiling water bath canning, on the hottest days of the year.
To combat this steaming sauna situation, you should process canned goods outside. And the same goes for making blood meal.
You’ll need to boil down the blood for several hours to evaporate most of the water from it. Not only will this heat up the house significantly, but it’s also fairly… malodorous.
Cooking it down out on the driveway or back patio means that fresh summer breezes will keep you cool and keep you from gagging during this process.
As mentioned, this stuff needs to be boiled down for quite a while. Essentially, you want it reduced until the water content is about 10%. This will create a substance that has a thick, sludgy consistency, not unlike molasses.
At this point, it’s time to dry it out.
The method you’ll use to dry it out will of course depend on where you’re located.
When I lived in California, we’d spread it out onto tarps on sunny days. The dry heat would suck any remaining moisture out of the slurry and would transform it into brittle chips.
If you live in a climate that’s either wetter or more overcast, you can use other techniques. For example, you can spread this out on baking sheets that you have lined with parchment paper. Set the oven to 170 or 180°F and leave the sheets in there until the blood has dried out well.
Alternatively, you can use a food dehydrator. If that’s the route you’re aiming for, you’ll likely need to set the dehydrator to 120 or so and let the blood dry out for several hours. This depends on your machine, of course: each one is different.
Aim for a very brittle, crunchy consistency. Basically, you want it dried out so it’s like thin potato chips or the dried seaweed wraps you use for sushi. It should be dry enough to crumble apart between your fingers.
An Alternative Blood Meal-Making Method
There’s another technique you can use entirely, especially if you don’t want to get thoroughly squicked out by the boiling down process. This method is to mix the blood with hardwood sawdust and bury it to age for about a year.
It’s a slower process but a far less volatile and overall “ugh” one than the method mentioned earlier.
Some people swear by this technique, saying that the result is actually better for the garden in the long run. I’d say do your research to determine what you think is best and run from there.
For example, using fresh (albeit dehydrated) blood meal in the garden can attract unwanted carnivorous visitors.
Foxes, wild dogs, and raccoons, in particular, can perk up when they catch the scent of blood nearby. You may not really care about this unless you have pets or livestock that may suffer as a result.
It would be a shame to lose precious chickens, ducks, or rabbits to these animals, especially if they wouldn’t have been attracted to your yard otherwise.
Aging the blood meal reduces its scent, as well as its capacity to potentially burn the plants with its high nitrogen content. Yes, nitrogen is important for leafy green growth, but too much of it can overwhelm plants as well. You can have too much of a good thing!
Do some research into nitrogen toxicity, also known as “nitrogen burn”, to get a better idea of what can happen if you overfeed your plants with this stuff.
In simplest terms, when plants get exposed to too much nitrogen in the soil, especially when they’re not in the middle of a growth spurt, other nutrients (and water) can be leached out of them.
We don’t want that to happen.
How to Use Blood Meal in Your Garden
Whether you’re using dried blood meal or aged sawdust mix, you’ll need to dilute it considerably. Aim for about one tablespoon of blood meal to a gallon of water, and spray or drench at root level, rather than foliar feeding.
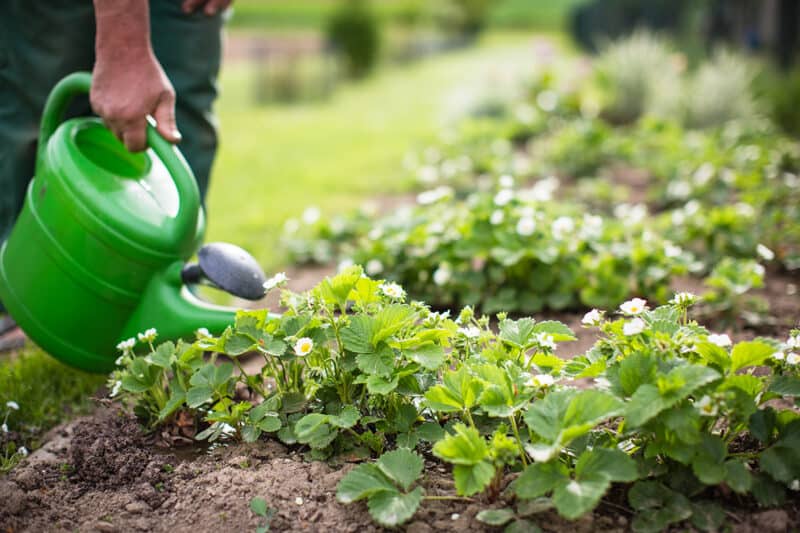
Do this every couple of weeks during green growth phases for fruiting plants, or throughout the growing season for leafy greens.
That’s if you’re watering with this stuff, of course.
Another method is to pre-treat soil with it before planting anything. In that case, you’ll drench the soil a week or two before planting seeds or seedlings.
Or, if you’re using the aged sawdust blood meal, work some of it into the soil along with compost, perlite, and other amendments at least two weeks before planting into it.
Storage
If you’re going the sawdust route, create your pit at the far edge of your property. This will keep predators well away from your house and animals. Additionally, you’re less likely to smell it as it ages, even when buried.
On the other hand, if you’ve made that dried blood meal, you can store it in airtight containers in a cool, dry place for up to a year. It doesn’t have much of a scent when dried, so you don’t have to worry about it stinking up a basement or closet.
Be sure to keep it away from any damp. If it does get wet, you’ll know. It’ll get clumpy and will smell fairly unpleasant. If this does happen, bury it along with some vegetable scraps and sawdust, and you’ll be able to use it again next season.
Nothing ever goes to waste, remember? So be gentle with yourself even if this stuff goes “off”: it’s still usable, and you haven’t shown the animals any disrespect as long as the end result is put to good use.
