One of the first (and most important) things to learn about using axes and hatchets is that dull blades are dangerous blades. This is because they’re more likely to bounce or glance off wood instead of cutting through it. As you might imagine, this can result in some pretty serious injuries. Learning how to sharpen axes and hatchets by hand can mean the difference between a well-stocked woodpile and a trip to the emergency room.
What You’ll Need
- Work gloves
- File, if you have major burrs or dings to remove
- Whetstones: You’ll need coarse, fine, and super-fine. Some stones are dual-sided with coarse and fine, which is great, as you’ll get two surfaces in one.
- Non-slip surface: If your whetstones don’t come with rubber feet or non-slip attachments, you’ll need something to place the stone on. Otherwise it’ll skid all over the place and you might hurt yourself. I use a piece of old yoga mat for this, but you can also use a dampened cloth, piece of rubber mat, etc.
- Water
- Old towel
- Mineral oil
The Anatomy of Your Axe (or Hatchet)
Before you start sharpening, it’s good to know the lingo. This video explains all of the different parts of an axe:
Now that you understand the anatomy, when we mention which parts to hold onto and sharpen, it won’t all be random clicks and buzzes.
5 Steps to Sharpening Your Tool
1. Clean Your Blades Before Sharpening Them
Have you been doing a lot of wood chopping and whatnot? Then chances are there’s a fair bit of detritus on your axe, maul, or hatchet.
Put on your safety/work gloves and wipe your blades down with a wet towel. If there’s any rust on the heads, soak them in white vinegar for an hour or so, and then use some steel wool to remove the rust. Then dry them off thoroughly before starting the sharpening process.
2. Prep Your Whetstone
If your whetstone came with a non-slip foot, put that on. The last thing you want is this stone skidding out and away from you while you’re working. Alternatively, if you don’t have a non-slip attachment, place a rubber mat or old yoga mat on the surface you’ll be working on.
Next, soak your stone(s). I soak my whetstones for 10 to 20 minutes before I do any sharpening. This decreases the amount of water you’ll need to apply on top of them while you’re working.
Why do you need to soak the stone? Well, that’s to help sluice away the swarf. Isn’t that a great word? “Swarf” is the waste material that will slough off the edge of your axe while you’re sharpening it. You’ll rinse and wipe the stone off periodically while you’re working. This will prevent the stone from clogging up and will allow you to continue sharpening your blades unimpeded.
Some people use oil for their whetstones rather than the water method. That’s absolutely fine too, and you can even mix and match the two liquids. Just be aware that the oil + water will = more of a mess. If you’re going to use the oil method, choose honing oil specifically made for sharpening. Then just grease up the stone shortly before using it rather than soaking it with water.
Lay the stone onto your non-slip surface, perpendicular to your body.
3. Get Sharpening
Once you’ve prepped your whetstone, it’s time to get sharpening.
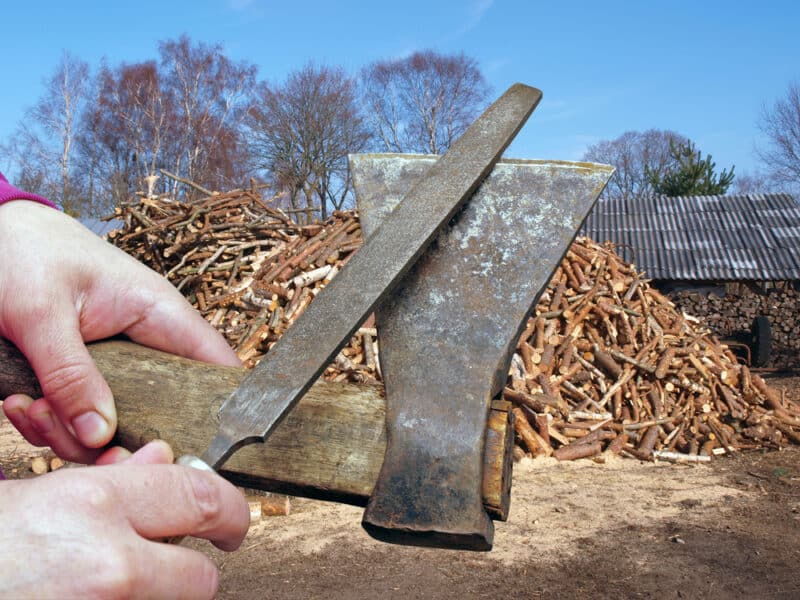
First, you’re going to use your coarsest whetstone. This will take down burrs and chips and provide you with a smooth surface to sharpen. Think of it like using coarse sandpaper on a wooden piece—you need to remove rougher bits first before you smooth it with finer grades.
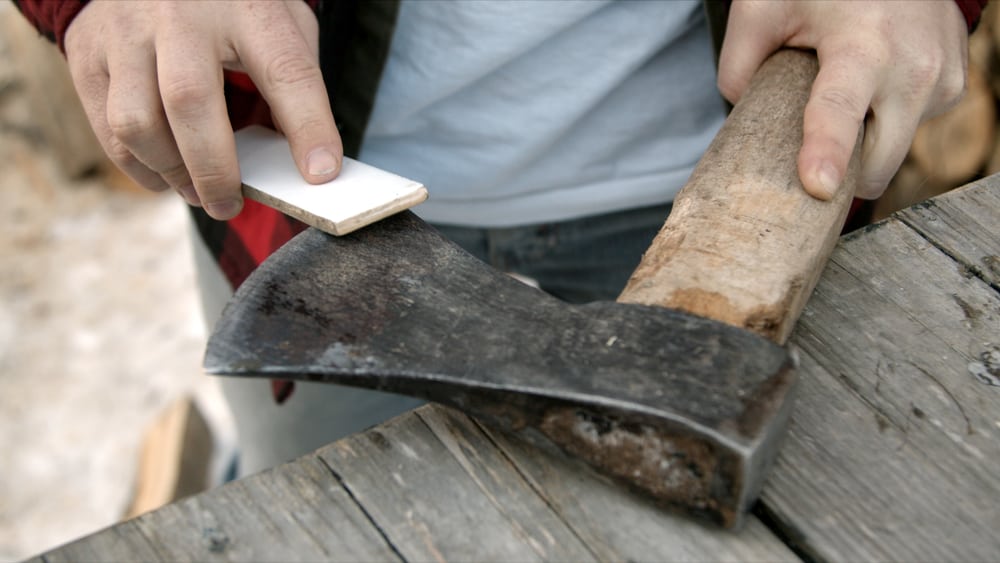
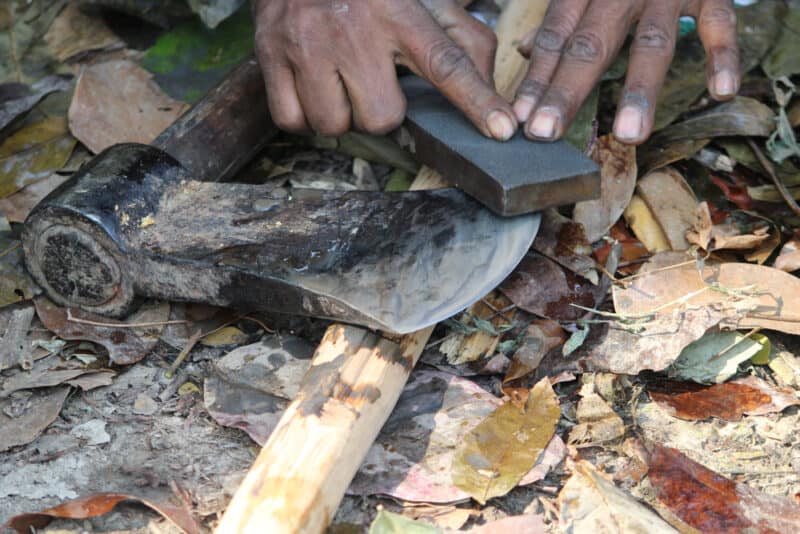
Put on your work gloves and hold your axe by the handle’s shoulder, close to the head (the steel part) with your dominant hand. Support and move the tool with his hand while directing it with the other. Using your other hand, place your fingertips on top of the cheek, close to the beard. This is the easiest way to sharpen axes and mauls, as you’ll be controlling the tool closest to its heaviest part.
You’ll want the edge facing downwards, as you’ll be moving that edge along the length of the whetstone. Hold the blade at the angle you’d like the edge to have, and then move it forward at a diagonal.
Repeat this motion everywhere from five to 10 times. Then turn your axe around and do the same thing on the other side. Keep track of how many times you draw the blade over the stone’s surface, as you want to mirror every action evenly on both sides of your axe. Make sure the angle is the same on both sides so you don’t end up with a wonky, uneven edge.
Furthermore, you’ll change direction when you’re pushing the edge across the stone, depending on which side you’re on. Check out the video below for tips on this: if you push the blade diagonally to the right to sharpen one side, you’ll push it diagonally left when you do the other one.
4. Refine and Finish
When your axe’s edge feels like it’s getting suitably sharp, it’s time to switch to the finer grade whetstone. This will help to refine the edge to razor sharpness.
Repeat the technique you used earlier, making sure you sharpen both sides evenly. Once you think your axe edge is sharp enough, it’s time to test it. You’ll know that you have a proper razor-sharp edge on your blade if it can dry-shave the hairs off your arm, or if it can slice cleanly through the edge of a sheet of paper.
This should go without saying, but you need to handle these blades with a lot of care when they’re this sharp. One wrong move and you can lose a finger, or slice cleanly into your own shin. Learn how to chop wood properly, and wear safety gloves when cutting kindling. Basically, use common sense and pay attention to what you’re doing in the moment. Far less chance of maiming yourself that way.
Once your axe feels sharp enough, wipe it down with some mineral oil and store it safely until you’re ready to use it.
5. Alternative Options
Some people prefer to use sharpening stones rather than whetstones. That’s perfectly cool: I actually recommend trying out a few different tools and techniques to determine which you like to work with best.
Try clamping your axes and moving the stones around on them to sharpen them, for example. Consider trying out fine-grained sandpaper to smooth the edges instead of fine stones and leather strops.
Ultimately, you’ll discover a technique that feels “right” to you. What matters most is that you put a keen edge on your axe so it does the job it’s meant to.
How to Prevent Axe and Hatchet Damage
You’re probably familiar with the adage “an ounce of prevention is worth a pound of cure.” This is especially true when it comes to keeping your blades in good shape. While you do need to sharpen axes and maintain them in good working order, you can prevent them from deteriorating too quickly with TLC and wise cutting choices.
1. Use a Splitting Block Rather than Cutting Into the Ground
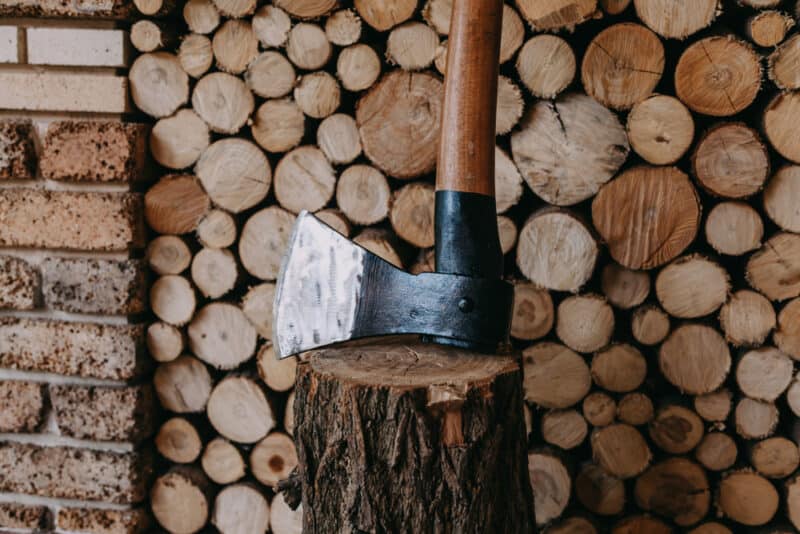
When you chop wood directly on the ground, your axe blade can cut through it and right into the earth beneath. This means that it can make contact with all manner of rocky bits in there. They’ll dent and chip the steel, causing the edge to blunt ridiculously quickly.
Always use a chopping/splitting block to chop wood. It should be a fairly tall, sturdy piece of hardwood like oak or maple. Aim for a block that reaches you to about mid-thigh or hip height. That way, when you place a piece of wood on top of it, your axe will be perpendicular to your body when it cuts through. There’s far less chance of over-swinging and lodging it into your own leg this way.
2. Clean Wood Off Before Chopping It
Bucked wood slices that have been sitting on the ground for a while may have picked up some detritus. Mud can cake onto these slices, and hold pebbles, gravel, and other hard bits against the surface. If you try to chop through it, the steel can get nicked by the stone, or deflect entirely.
Keep a rough brush handy and clean ground-level wood pieces off before chopping them.
3. Avoid Cutting into Knotted Wood
Knots are notoriously difficult to cut through, and are even harder in green (fresh) wood. You’ll dull your axe in no time flat if you keep chopping into knots with it.
Cut around the knots whenever possible, and use these late in the evening to slow-burn overnight. If the pieces are too large for your fireplace or wood-burning stove, save them for outdoor bonfire nights. Or, if you’re feeling creative, carve them into kuksa drinking bowls instead.
A Few More Tips
This might sound a bit new agey, but it’s a good idea to take the time to get to know your tools. Learn how they feel in your hands when they’re working optimally, and you’ll be able to recognize when something just feels “off.” If something just doesn’t feel right, trust your intuition and check it out.
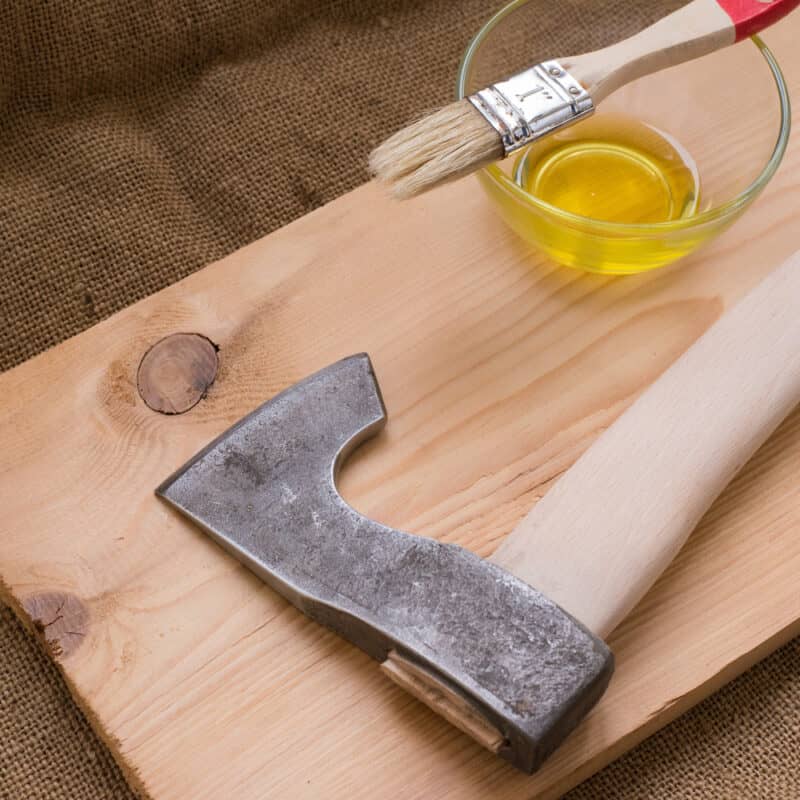
While it’s important to sharpen axes and other blades regularly, there are additional ways to keep them in great working order. Prevent micro corrosion by giving them some TLC. Clean them off well after each use, make sure they’re dry before putting them in storage, and wipe them down with mineral oil after every few uses.
