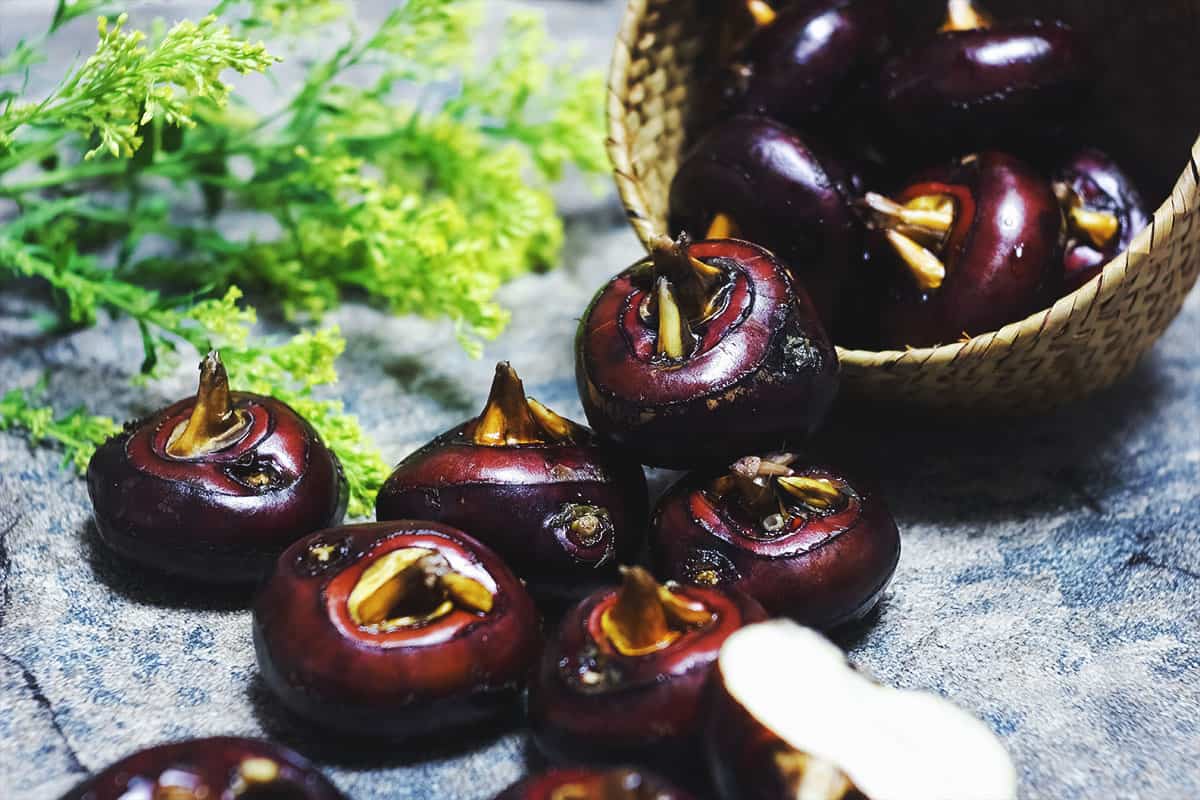
Water chestnuts are native to Asia, but anyone with the right climate can succeed at growing these sweet, crunchy treats. Even though the name water chestnut would suggest it’s a nut, this unique plant is actually an aquatic vegetable. The plant grows in wet areas like marshes, ponds, or mud.
It’s far from the average nut, right? The part you eat is actually the corm, which is sort of like a bulb. Yams, for instance, are also corms.
If you’re intrigued by this marvelous veggie, you might be wondering what it takes to grow water chestnuts. Don’t worry, it’s not as difficult as you might think. Let’s dig in.
Get To Know Water Chestnuts
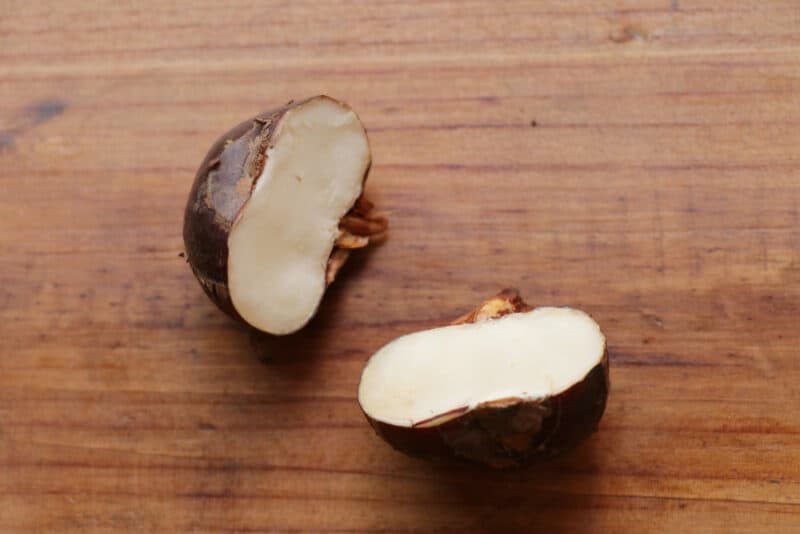
There are two plants commonly called water chestnuts. The Eleocharis dulcis species the one you buy in can or at the grocery store for eating, but the Trapa natans species isn’t edible because it contains contains toxic compounds. They’re often confused with one another, but this guide is talking about the first plant.
The edible kind of water chestnut can be found growing in ponds and are considered a delicacy in Chinese culture. The stems can grow up to 2-3 feet in height. Here are some other interesting facts about E. dulcis:
- It produces horizontal rhizomes
- There are round tubers at the end of the rhizomes
- You can harvest the rhizomes (brown parts) to eat
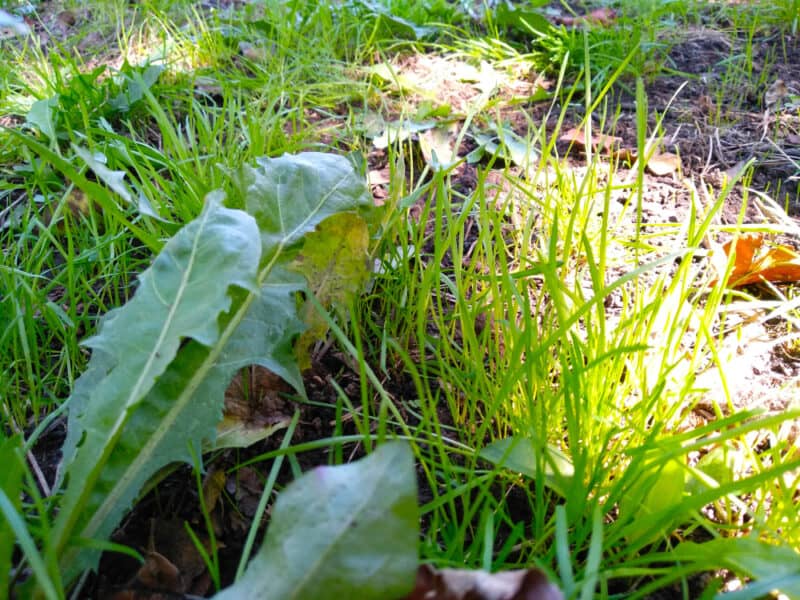
To spot this vegetable in the wild where it grows native, you should keep an eye out for green stems poking up from the ground. You might even mistake them for a patch of grass instead of a vegetable, which makes sense since they are a sedge.
Water chestnuts are not the most common vegetable to grow in the US, but they are entirely worth it once you get your hands on them! Plus, once you’ve given them the right set-up, they’re incredibly easy to grow. Those in USDA Growing Zones 9-11 should give growing water chestnuts a try.
Planting Water Chestnut
There are two ways to grow E. dulcis. One way is to plant it in a pool of shallow water. If you have access to a pond, great! However, if you’re limited in space or you live in a warm climate then you might want to try the container method. Planting happens in the early spring because you need at least six months of frost-free days. The plants need full sun and lots of water.
The first thing you need to find is a container big enough to hold a sufficient amount of water. For a size guide, a 25-gallon container will hold roughly 30-35 mature water chestnut plants. You don’t need a large container, though. A 5-gallon bucket will do.
Some people decide to use shallow paddling pools instead of buckets as it allows you to give the water chestnuts more growing room. You can use anything that will hold water: an old bathtub, a livestock feed tub, or a muddy patch in your yard.
You can find corms at your local garden center or online. Once you have them, it’s time to plant them.
You can plant them in a pond or marshy area as you would any other semi-aquatic plant. Similar to growing water chestnuts in a container, you need to prepare the soil in advance. Then, place the corms 4-5 inches deep.
Whether in the ground or in containers, the soil needs to be at least a foot deep so that the corms have plenty of room to develop.
If you have a hydroponics system, you can also grow them that way.
Planting in Containers
Before you pour in the soil you should make sure that the container is clean. If you just bought it then you won’t need to worry about cleaning it, but if it’s an old container then give it a quick wipe with soap and water in case there are is any leftover dirt.
After cleaning your container, fill with potting mix. The soil needs to be at least 6-9 inches deep. Flatten the medium with a spade or your hand.
Next, place the corms in the soil 4-5 inches deep. You should leave at least two corms or seedlings per one square foot of surface area so they have enough room to grow.
After you’ve placed the corms into the soil you should pour in water so that it’s wet above the soil level. To begin with, you want to use water at room temperature so the corms aren’t shocked.
Caring for Water Chestnuts
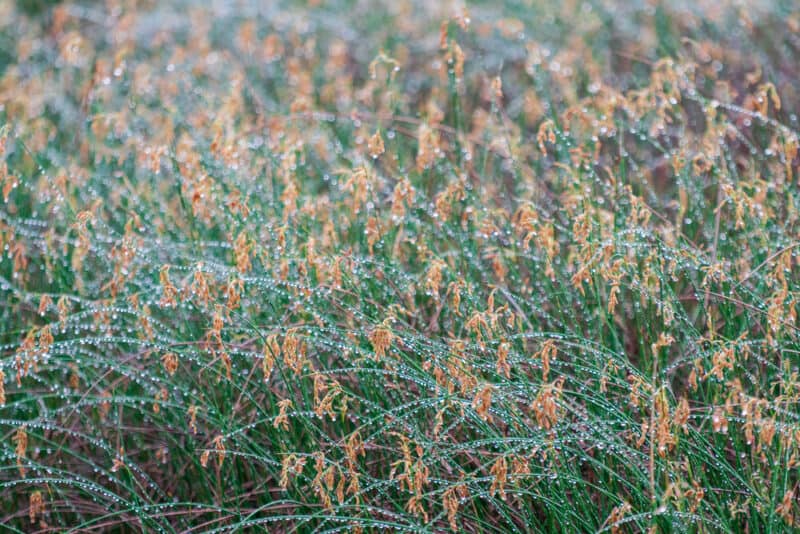
Once you have the corms in their mud base, you don’t have to do much. Add some hydroponic fertilizer once a month and make sure the water level never falls below the height of the mud. Then, just sit back and watch the grass grow.
The plants will grow happily as long as they’re covered in mud and given a little food and at least six hours of sun.
If you’re looking for a plant that you can plant and forget, growing water chestnuts is the way to go. As long as they don’t dry out, they’ll be just fine.
Possible Pests and Diseases
When it comes to pests and diseases there aren’t too many problems to worry about when growing water chestnuts. During the starting stages, you might encounter issues with bush or mole crickets, or snout moths.
You can prevent these insects from devouring your plant by using an insecticidal soap such as Bonide’s Super Soap. However, they aren’t that common, so you’ll only need to resort to this if you have a bad infestation. Generally, encouraging predators such as birds and keeping your garden weed-free is enough to control these insects.
You might also encounter Fusarium wilt, which is caused by fungi in the Fusarium genus. This is a prevalent and devastating disease in China, as a study by scientists in China shows, but it’s not as common in the US. Once you have it, it’s hard to control.
Prevent it in the first place by treating corms with a fungicide before planting them.
Harvesting and Using Water Chestnuts
For harvesting, drain the container and dig out the water chestnuts. If they’re in the ground, use a spade and gently dig out your new water chestnuts.
The final stage is rinsing the excess dirt off the vegetables and storing them away somewhere in a dry place for 3-5 weeks. As soon as their outer layer becomes dark brown then you can eat them.
To eat them, slice off the top and bottom of the corm and use a potato peeler to remove the skin. It can take some time, but the skin is tough and inedible, so you need to remove it.
As long as you water them consistently and keep an eye on your crop you should have water chestnuts after 6 or 7 months. The best way to tell if they are ready to harvest is if their leaves start to turn yellow and die back. When this starts to happen, dig down and check out the corms. They should be about the size of a red radish.

Using Water Chestnuts
Water chestnuts have a list of health benefits that make them a worthy addition to your home, in addition to your kitchen.
Water chestnuts are full of potassium, which can lower your blood pressure and decrease the risk of having a stroke and other heart diseases.
They also have antioxidant properties. Antioxidants can prevent cancer by limiting the potential of cancerous cell growth. If you suffer from digestive problems water chestnuts are rich in fiber which can help alleviate stomach issues.
You can eat water chestnuts raw, cooked, boiled, or pickled. So, you can choose your preferred way of eating it and even create your own recipe.
There are a number of ways to enjoy this tasty vegetable:
- Stir-fry with other veggies
- Chop and place in lettuce or rice-paper wraps with other vegetables
- Stuff them into egg rolls
- Saute with green beans and ginger
- Mix chopped corms into salads
Of course, there’s always the fan-favorite of water chestnuts wrapped in bacon. No matter what way you use them, the crunchy texture and sweet, nutty flavor always add something special to a dish.
