Do you love beer? Then it’s time to consider growing hops. Having a batch of this leafy vine in your garden lets you brew uniquely flavored beer, not to mention saves you some cash. Growing hops at home simple enough that intermediate gardeners can quickly get a handle on this vigorous perennial (and we mean vigorous – hops can grow a foot each day).
Craft beer is firmly established in the U.S., and growing hops allows you to make your own using hyper-locally sourced ingredients. If you don’t want to make the beer yourself, you can sell your hops to local beer makers or at the farmer’s market.
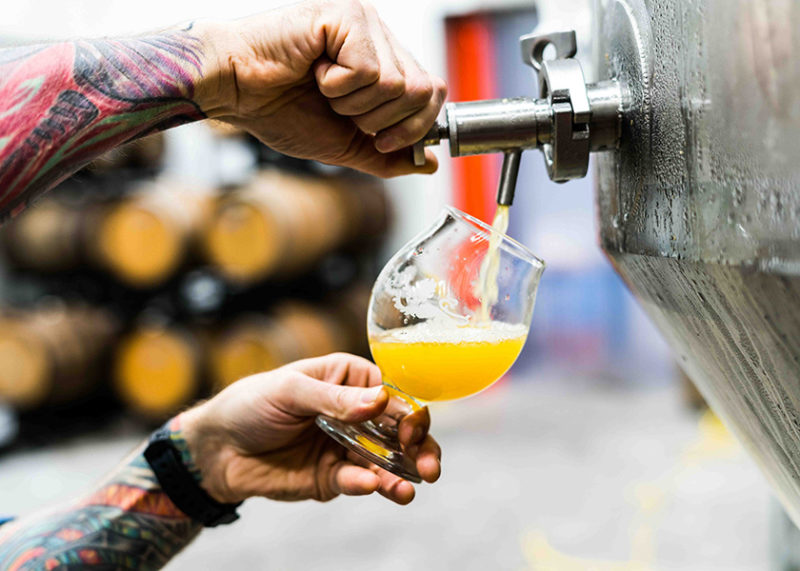
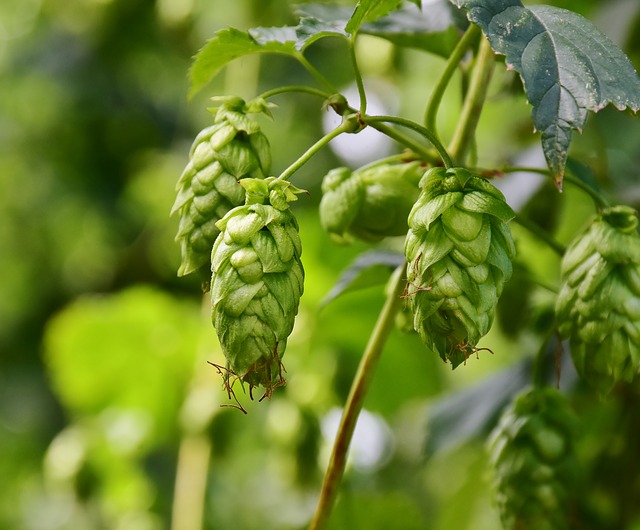
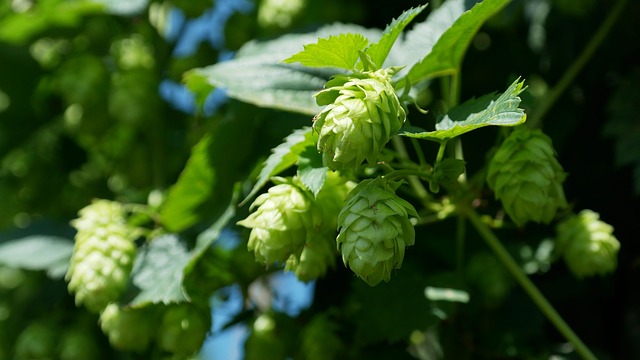
Beer brewers use the female flower of the Humulus lupulus vine, which gives the beverage the flavor and aroma that people love. It’s also a natural preservative.
Beyond beer, hops are used as a calming medicinal remedy. They’re also tasty added to a salad, used to replace basil in a recipe, or chopped and sprinkled on french fries.
The Best Hops Varieties
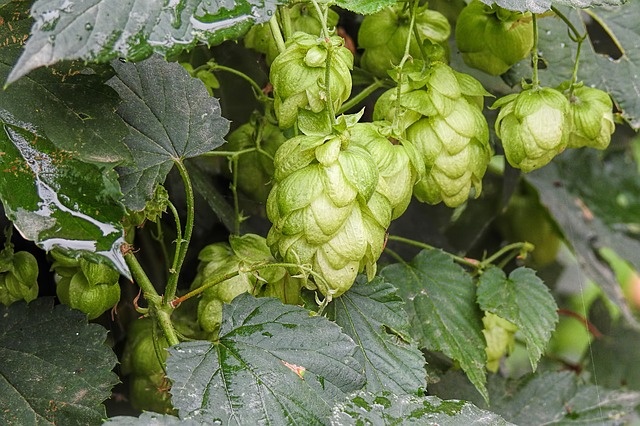
As the brewery scene continues to expand in the United States, growers have established a few hop varieties that they consider the best. As desires for different beers arise, the top hop varieties will inevitably change, but here a few that are solid classics:
- Cascade: This hop has citrus and grapefruit tones. It’s one of the most popular craft brewing choices.
- Chinook: Grown as a dual purpose hop, chinook has citrus, pine, and spicy undertones. This type grows well in hot and dry climates.
- Centennial: Brewers pick this because of its bittering abilities, and its lemon notes.
- Crystal: Crystal has a lovely woody aroma. It has a lower yield, which ideal for homebrewers. It’s resistant to verticillium wilt.
- Nugget: Nugget is a tried-and-true bittering hop with an herbal aroma.
- Fuggle: Fuggle is an English hop now grown in the United States. It’s often combined with other hops, and has wood and grass aromas.
- Willamette: Willamette comes from Fuggle, and it’s a popular variety in the U.S. It offers a floral and elderberry aromas.
- Magnum: This hop is a high alpha cultivar that is used for bittering purposes. It adds spice and fruit notes to your beer.
- Hallertauer: This is a German type that’s considered a classic among brewers. It works well in most lagers and German ales. It’s susceptible to some diseases, so choose a hybrid if you struggle with hop pests.
- Golding: This is an English type with a mild spice and floral aroma. Many brewers think this is one of the best bittering hops for British ales.
Believe it or not, there are more than 120 varieties of hops; that’s quite a vast collection. So, how do you pick the right hops varieties to grow? Ask yourself these questions.
- What varieties grow best in my location?
- What flavors or characteristics do I want in my beer?
- Do I have the desired yield?
A Note on Alpha Acids
When choosing a hops variety, note the alpha acid percentage. This will tell you how bitter that particular type is. The higher the percentage, the more bitter the beer.
How to Grow Hops
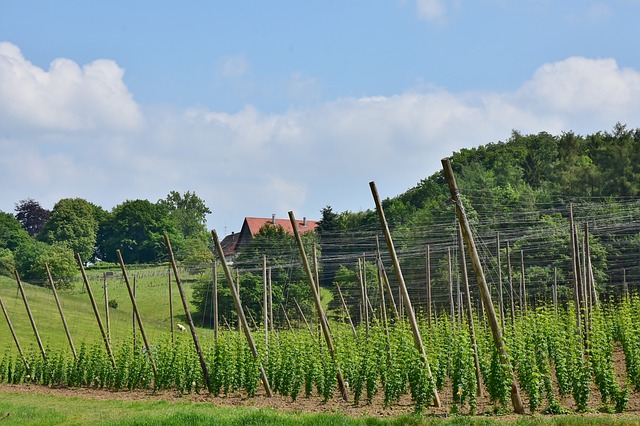
Hops are a dioecious plant, which means there is a separate male and female plant. The female plant grows the flowers used in the brewing process, while the male plants are the pollinators. Hops are hardy perennials that need lots of sun and space to thrive.
Growing Zones
Hops grow in USDA hardiness zones 3-8. Locations between 35 and 55 latitudes are ideal, but you can grow hops in almost any area. Hops are sensitive to day length, so they don’t do well in extreme latitudes.
Sun Requirements
Pick a location in full sun with 6 to 8 hours of sun each day. If you can, select an area that gets the most sunlight during the late morning and early afternoon. The sun isn’t as brutal at this time, and some shade in the late afternoon doesn’t hurt. Mature hops are frost hardy.
Soil Requirements
Growing hops requires rich, well-draining soil that has plenty of well-rotted organic matter. Clay soil is a problem, so if you have it, improve your earth’s drainage before planting. To improve drainage, add compost and aged manure to the earth. Straw and sand can also be useful or try planting in mounds or raised beds. The ground should have a pH level between 6-7.5.
How to Start Hops
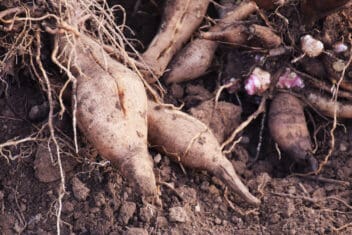
You can grow hops using either rhizomes or crowns. Rhizomes are a piece of root from a female plant while a crown is an entire plant. Rhizome options are more abundant in the fall. They’ll arrive in the early spring, and you should store them in a cold, dark place until you’re ready to plant them. You can also find varieties that ship in the spring.
Supporting Plants
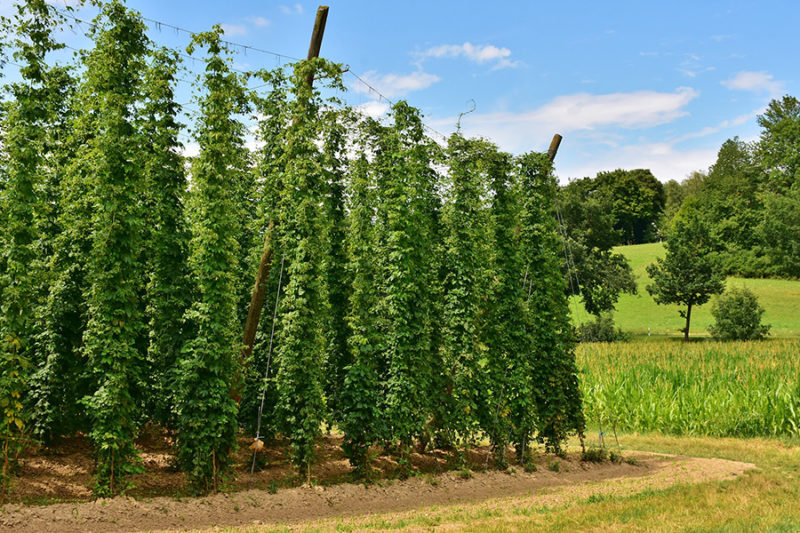
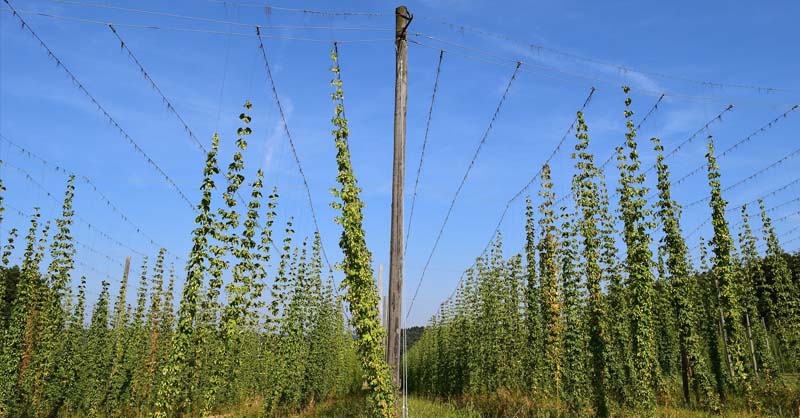
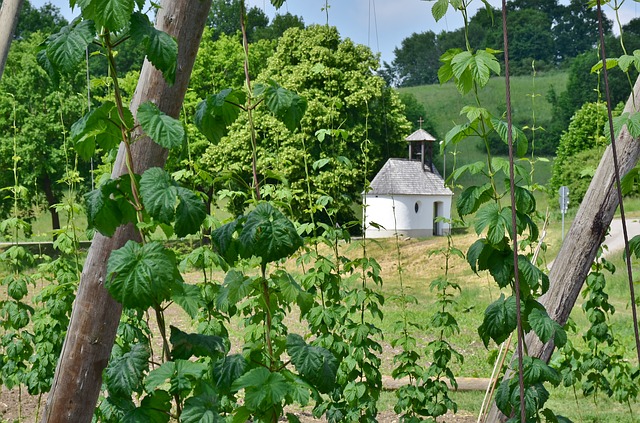
Hops need a support system to grow upwards, such as a pole or a sturdy trellis. They also need room to sprawl out. Hops can quickly cover a 20-foot vertical trellis. Keep in mind that hops bines, not vines. Yes, that’s a word. It means hops grow around a support structure in a helix, while vines use tendrils and suckers to climb upwards. Each winter, the foliage dies back, but the roots are alive and will sprout new growth each year.
Planting Hops Outside
Hops require a growing season of at least 120 days. Plan to put your hops outside after the last frost has passed, and the soil has warmed up. This time can be between February and April depending on your location. Dormant roots can live through temperatures as low as -20℉, but frost kills newer plants.
Place the rhizome horizontally into the soil. If it has buds, make sure the buds are pointed upwards and the roots downwards. Cover with soil, pack gently and then lightly water the earth.
If you’re planting crowns, place the crown into a hole in the ground, and mound the dirt around it, packing gently, and add water.
Starting Hops Indoors
You can start hops indoors 6 to 8 weeks before the last frost date if you have a short growing season. Be sure to harden the plants off for one week before transplanting.
Spacing
Plant the rhizomes in rows of hilled earth about 2-3 feet apart with 3-5 feet between rows. The mound should be around one foot high for each rhizome to encourage drainage.
Growing Hops in Containers
Hops can grow in containers, but it’s going to take more effort. Containers make proper drainage a bit more complicated and can confine the root system. Your yield might be less than you planned if you opt to grow them this way. That said, they make a lovely vine to grow on a backyard patio.
To plant hops in containers, select a high-quality potting mix with extra compost to improve the drainage. The pot needs to be at least 20 inches in diameter to provide enough space for the roots to grow and spread.
How to Care for Hops
Watering
Hops require a lot of water, and a drip irrigation system is an ideal choice because watering at the roots can help to reduce disease. Established plants need around 1.5 inches of water each week.
Fertilizing
Prior to planting, work an all-purpose fertilizer 6 to 8 inches deep into the soil. Side dress with well-composted manure throughout the season.
Training
Throughout early summer in June and early July, gardeners must train the hops. When the shoots are 1-2 feet long, it’s time to start training them using strong bailing twine. Stretch a cord 10 to 15 feet over the row of plants and bring twine down to each plant. Then, secure the twine with a stake at the base of the plant. Encourage the hops to grow up the twine by gently twisting the plant around each line.
Mulching
Hops prefer not to compete with weeds, so use a well-rotted organic mulch to keep encroaching plants at bay. Spread the mulch around the plants in springtime before the primary growing season begins. Cover the plants with 1-2 inches of mulch, but make sure you mark your plants. It’s easy to forget where you put what varieties.
Pruning
As mentioned before, hops love to sprawl out, so you’ll want to attempt to confine it to the area you selected with judicious pruning. Hops will continue to bear for several years before it needs to be replaced by younger vines.
Common Hops Pests and Diseases
Downy Mildew
Downy mildew is caused by a fungus called Pseudoperonospora humuli. Try saying that five times fast! Infected plants have a brittle, stunted look and won’t be able to climb upwards. This fungus stops the growth of the cones and turns them brown.
The best solution is to remove all of the infected plans and burn them. You can use a sulfur-based fungicide as well.
Powdery Mildew
Powdery mildew is a significant problem in the Pacific Northwest. You’ll notice white spots on the leaves, buds, and cones. The infected cones turn a reddish-brown color as they start to die. Typically, this mildew is caused by lack of air circulation, so the plants need to be thinned out to allow more air to flow around the plants. There’s no cure, so you’ll need to remove and burn all of the infected plants.
Hop Stunt Viroid
Hop stunt viroid is a viral pathogen that stunts the growth of a plant and reduces its yield by as much as 80 percent. You might not notice the infection until after three or five growing seasons, increasing the risk of spreading the disease.
Choose stock that is certified free of this pathogen and remove any infected plants from your garden. Be sure to sterilize your tools in between use.
Hop Aphid
Hop aphids cause damage by feeding on developing cones, causing them to turn brown. Aphids spread large amounts of a sticky substance that leaves a fungus on the leaves and cones. They can transmit diseases to other plants. To control them, try introducing ladybugs to your garden. You can also use insecticidal soaps or neem oil.
Black Root Rot
Black root rot can live in the soil for a long time. It needs overly-wet soil to survive, so be sure to address any areas in your garden that pool or collect water. You know you have it if the bine wilts and fades, and the roots look black and rotted.
White Mold
Also known as Sclerotinia wilt, white mold produces lesions on the stem below the soil line, which eventually develop a white fungus. Keep plants well spaced to improve air circulation and water in the morning so plants can dry out before the evening.
Verticillium Wilt
If the leaves of your plant start yellowing from the base and moving up, you might have verticillium wilt. Check to see if dying leaves have a striped pattern or if there is discoloration of the woody tissue under the bark. Those are both sure signs that you’ve got it.
The best offense is a good defense. Plant resistant varieties like Bullion and Brewers Gold. Keep your garden well weeded, don’t over-fertilize with nitrogen and avoid over-irrigating.
Mosaic Virus
The bad news about mosaic virus is there is no cure. The good news is you can take steps to prevent it. It can be spread by aphids and by contaminated tools, so keep pests under control and sanitize your equipment. You can also purchase certified virus-free stock.
To know if you have it, look for rings or arcs of yellowing patterns in the leaves. These patterns will eventually turn necrotic.
Japanese Beetle
Japanese beetles can cause a lot of problems in a short amount of time. If you spot any on your plants, take action right away, because the females will attract more and more males until you have a serious situation.
Pheromone traps and trap plants like grapes and rose of Sharon can be effective. Organic growers can use Impede or Trilogy sprays, while conventional growers can use Sevin, Nuprid, and Brigade. Sprinkle diatomaceous around plants for an added barrier.
California Prionus
The larva of this beetle feeds on hop roots. They can girdle plants and destroy them. Even if they don’t kill your plants, they can cause leaves to yellow and wilt.
The adults have long horn-like antennae that may have a saw-like appearance. They emerge in the summer. The larvae live in the soil for up to 5 years, nibbling on roots. You can use insecticides to control them.
Potato Leahopper
If you see yellowing on hop leaf margins that eventually causes leaves to curl and die, you likely have potato leafhopper. This pest sucks the juices out of plants blocks the channels with a toxin.
Check the underside of your hop leaves frequently for this pest. The best control is to use pesticides specifically formatted for the hopper.
Spider Mites
The two-spotted spider mites damage hop plants by sucking the juices from leaves and hop cones. You’ll likely notice the webbing of this arachnid before you notice the tiny pests themselves. In extreme cases, mites can defoliate a plant. They also reduce the alpha acid content in the cones.
Spray plants with a jet of water to knock them loose and then treat plants repeatedly with a neem oil-based spray.
Companion Plants for Hops
Hops play nicely with a variety of plants. Here are the best companion plant options:
- Yarrow
- Chives
- Anise
- Corn
- Coriander
- Grapes
- Rose of Sharon
Avoid planting hops near:
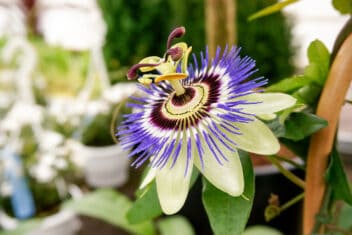
- Potatoes
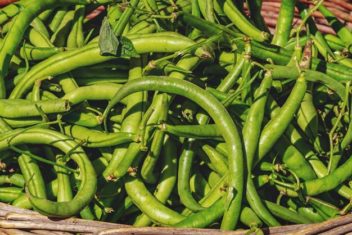
- Beans
- Peas
- Tomatoes
Harvesting and Storing Hops
Growing hops requires patience. It takes around three years for plants to reach full production. The first year, you’ll only get about ten percent of a harvest. By the third year, the output will be at 100 percent. Yield depends on the area, but most hops harvesting takes place between the middle of August and the middle of September.
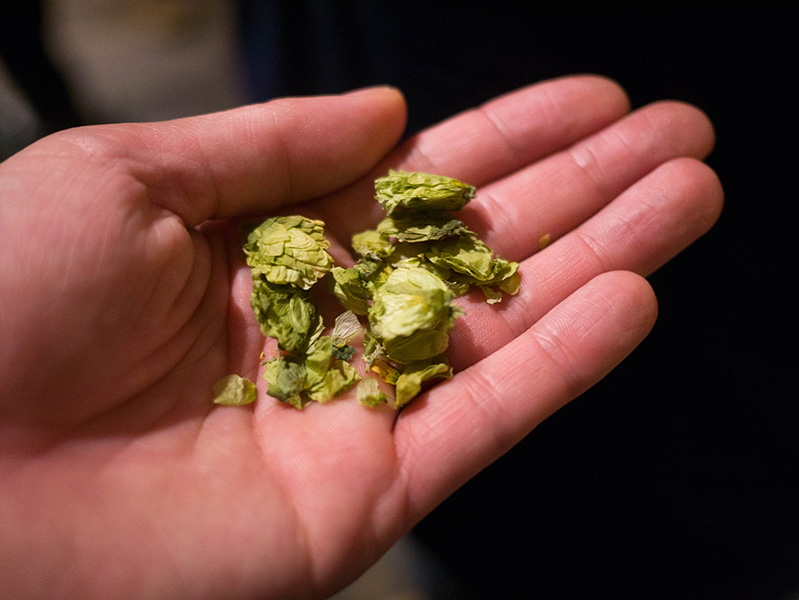
You know it’s time to harvest hops when the cones start to feel papery and dry. If you touch them, they will leave a yellow powder on your fingers. When you squeeze the cones, they release a fragrance and spring back to their original shape. You’ll also see the lower bracts of the cone turn brown. This happens about 13-16 weeks after planting.
To harvest hops, you can either cut the bines when most of the cones are ready or hand-pick the cones. Once harvested, hop cones must be dried before storing to prevent spoilage. Most growers air-dry their hops by spreading them out on a window screen in a single layer out of direct sunlight. Turn the cones each day to dry evenly.
The two other choices are using a dehydrator or an oven. Keep the temperature around 140°F until the hop flowers are dry.
To extend the shelf life of your harvest, store hops properly. Moisture, air, and heat are the enemy. You can store them in the refrigerator or the freezer in a vacuum sealed bag. Properly dried and stored, hop cones can last up to two years.
Other Uses for Hops
If you have more hops than you plan to use making beer, consider eating them or turning them into medicine. You’d be surprised at some of the great recipes out there for hops, from macarons to hot wings.
You can also make hop extract, which can be used to treat menopausal symptoms, insomnia, and sleep disorders from shift work.
For brewers and gardeners alike, producing hops at home has its rewards and difficulties. It requires some planning and work, but the reward of growing locally sourced hops to create beer is worth the challenge. Growing hops, much like homebrewing, is a labor of love that makes the beer taste that much better.

