Sunny spaces in your summer garden are easy to fill with color because so many plants love the sun and bloom in summer. But what about shady spots? Or winter color? If you’re growing hellebores in your garden, then you have both covered!
This wonderful evergreen thrives in shady spots and starts blossoming as early as November, depending on where you live and which one you grow. In colder regions, they’ll pop up before pretty much anything else, providing late-winter color.
Let’s look at growing hellebores.
What Are Hellebores?
Often seen on the edges of woodlands, hellebores are reliable plants from the genus Helleborus in the Ranunculaceae family. This group also includes delphinium, anemone, and monkshood.
Hellebores are herbaceous perennials native to the Middle East. They grow well in USDA Hardiness Zones 3 to 9 and usually bloom in early spring.
Hellebores tolerate a wide range of temperatures and with a little protection in very cold winters, will reliably produce season after season.
There are around 20 species of hellebores with countless hybridized versions to choose from. You may also know them as Christmas rose, winter rose, or Lenton rose.
Best Varieties of Hellebores
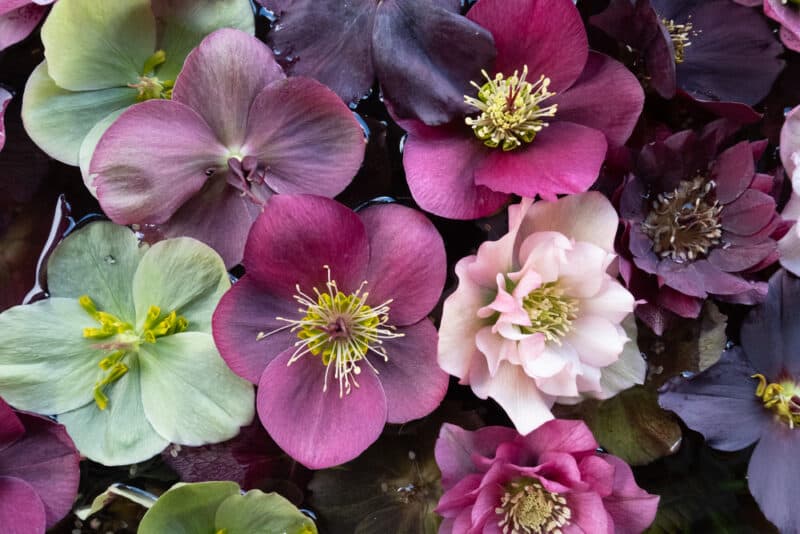
By far the majority of hellebores for growing in the home garden are hybrids that as a group is known as Helleborus x hybridus. You may also see plants labeled as H. orientalis or H. niger, as these are two of the more common species.
They provide color in winter through spring, starting when most of the garden is still drab and colorless. There are so many different colors, flower shapes, and sizes that you have oodles of options.
Here are a few favorites:
- Phillip Ballard: This variety has intensely dark blue flowers that in the sun sometimes look black. Zones 6-9 suit this variety.
- Winter Jewels: Suitable in Zones 5-8, the golden blooms are edged nicely with pink.
- Angel Glow: Grow this one in Zones 6-8. Pink blooms fade to light green as they age on the plant.
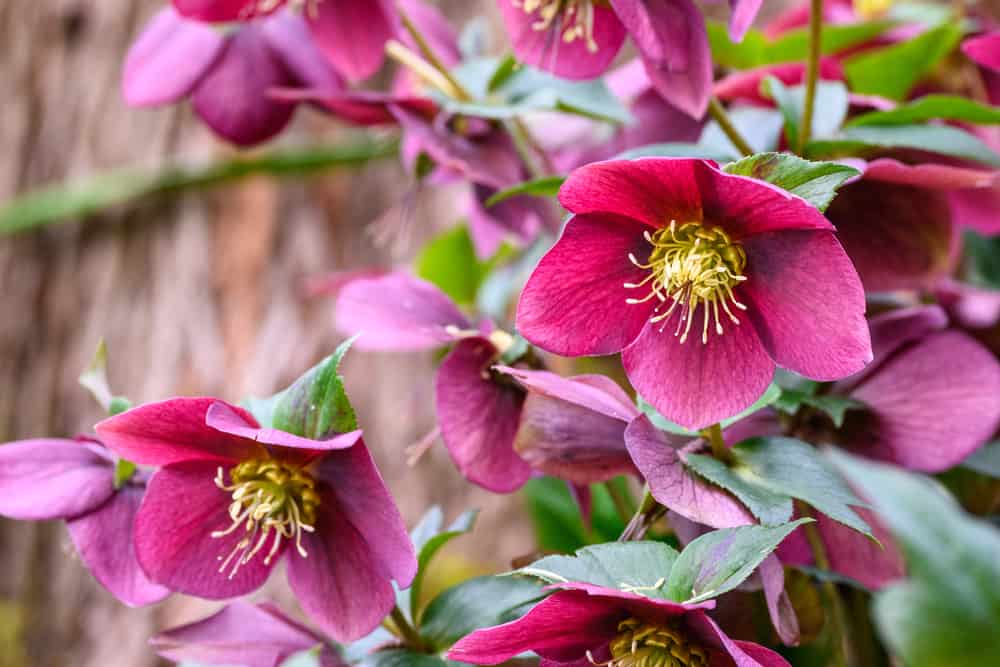
- Anna’s Red: The blooms are a deep, rich red-to-purple color. The leaves often have pink veins. Plant in Zones 4-9.
- Onyx Odyssey: This hybrid has purple-black double blossoms that make a striking contrast to a layer of snow. Grow in Zones 5-8.
- Harvington Red: Those in Zones 4-9 can grow this vigorous hybrid with single pinkish-red flowers.
- Winter Sunshine: Bring some winter color to your garden with this single-flowered hybrid. Each blossom is ivory and yellow on the face with a pink back. Grow in Zones 4-9.
- Silver Shadow: This plant, happy in Zones 6-9, has pastel pink and purple single flowers.
- Yellow Lady: The flowers on this hybrid are beautiful yellow speckled with maroon.
- Bob’s Best: This lovely plant has flowers that are pink when they first emerge before gradually turning ivory with green stripes. Plant in Zones 6-9.
See what is available in your area. Hybrids come in single, double, and semi-double flower forms, but if you plan to attract pollinators, they prefer a single form.
How to Propagate Hellebores
There is some disagreement on dividing hellebores. Some hybrids don’t react well to it, but I’ve had no issues with Helleborus x hybridus.
The benefit of dividing over seed collection is the resulting plant is just like the mother plant. Growing hellebores hybrids from seeds is anybody’s guess as to what they will look like.

Dividing
Do this in late fall before blooms appear. Always wear protective gloves when handling hellebores due to the sap they contain.
- Dig up the entire plant and gently remove all the soil from the crown. If you have compacted soil, water around the plant an hour before starting to dig it up.
- Cut between the growth buds, making sure you have at least two buds in each new division, but three is even better.
- Once divided, place the divisions in a bucket of water. You mustn’t let them dry out.
- Replant in the new spot.
Seeds
Start with fresh seeds because hellebore seeds don’t stay viable for very long.
- Collect the whole seed head by snipping it off over a paper bag.
- Lay newspaper on a table and empty the bag on it.
- Using your thumb and forefinger, rub the seeds from the seed head onto the newspaper.
- Collect the seeds which are easily recognized and discard the chaff.
Another way to collect seeds if you don’t have a lot of time or don’t want to go through the above method is to use organza bags on the plants.
- Purchase organza bags that are large enough for a four-inch flower.
- When the flower head forms and the sepals (the green most outer part of the flower) turn brown, place the bag over the flower head on the plant and pull the drawstring closed.
- Gently shake the bag every day for a couple of weeks.
- When you hear the seeds rattle inside, snip the flower head off.
- Over newspaper, divide the seeds and chaff and store the seeds in a paper envelope.
Plant collected seeds straight away otherwise they form a hard surface that needs to be stratified as they go dormant. Plant the fresh seeds in containers and leave them outside through summer. Keep the soil moist and the seeds will germinate next spring.
Don’t let the soil dry out.
Stratifying Hellebores Seeds
If you use old, not fresh, hellebores seeds, you will have to go through a stratifying process in order to get them to germinate. If you don’t do this step, the seeds won’t germinate.
- Soak the seeds in cold water until you see them swell. This can take up to two days but is often complete after one.
- Sow the seeds in good quality potting mix and store them in an area at about 35ºF for six weeks.
- Move the containers to an area where they can be maintained at about 50ºF.
- Germination should start in around six weeks but may be longer.
How to Care for Hellebores
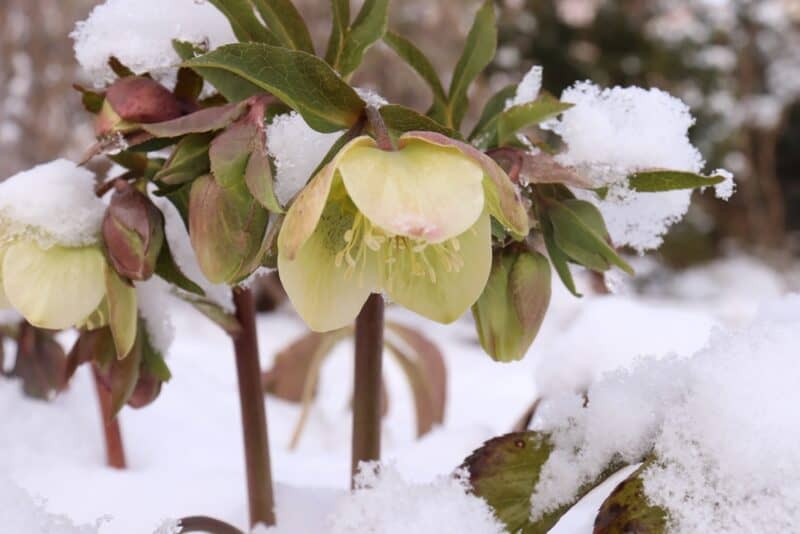
Hellebores are tolerant of most temperatures in USDA Growing Zones 3-9. In areas with very cold winters, protect the plant from winter conditions with windproofing, frost cloth, or other protection.
The soil should be rich and loamy. It must drain well, but be able to hold moisture. The pH should be between 7.0-8.0. The perfect soil holds moisture but not too long.
Dig in well-rotted manure or other organic matter prior to planting. Do this at least two weeks prior to planting.
Once a plant is established, it can withstand slightly dry soil. For the first few months, make sure the soil remains moist. Dig down into the soil with your hands. If the soil is dry an inch deep, it’s time to water.
Plant in an area with partial or full shade in the summer, that gets winter sun when the cooler weather appears.
Under deciduous trees is a perfect location. They shade the hellebore from the summer sun and then allow the winter sun in once their leaves fall off.
You don’t need to fertilize hellebore if the soil is rich in organic matter. Add another layer around the plant in spring and fall and water well.
Pruning Hellebores
A good tidy-up at the right time will do hellebores a world of good. Cut away any tattered foliage in winter or early spring. Do this once new growth begins to appear. Cut back the old growth as close to the base as you can get.
Overwintering
Other than the basic pruning and tidy-up above, hellebores will naturally overwinter and bounce back when spring arrives next season. In very cold areas, protect from the harshest winter conditions. Even in those cold areas, hellebores will push through cold soil when it’s ready.
Best Companion Plants for Hellebore
Hellebores go together well with lots of plants. Here is just a sampling:
Annuals
- Begonia
- Impatiens
- Cleomes
- Pansy
Perennials
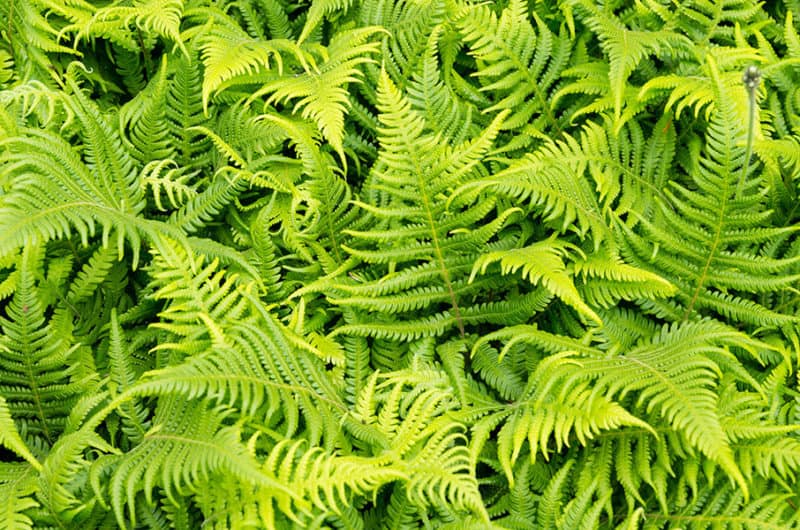
- Fern
- Epimedium
- Astilbe
Trees and Shrubs
- Rhododendron
- Azaela
- Mahonia
- Dogwood
- Maple
- Beech
- Oak
Problems and Solutions for Growing Hellebore
While hellebores are fairly tough plants and, if properly cared for, don’t generally have lots of pests and diseases, there are a few issues that you should be aware of:
Hellebore Black Death
We might as well start with the most serious. This is a reasonably new disease caused by the virus Helleborus net necrosis (HeNNV).
You will see deformed plants, black lesions, and dark rings on foliage. This is most common in spring to the middle of summer. This is also due to the fact hellebores like shaded positions.
Unfortunately, you will need to dig up and destroy the infected plants. Burn them or put them in the garbage.
Control aphids as this may help in the prevention of this disease. Make sure the plants you purchase show no symptoms of this disease.
Leaf Spot
Also called fungal leaf spot, this fungal disease shows up with brown spotted leaves. Fungal spores settle on wet leaves in humid weather. Small circles form into bigger ones that meet and eventually kill the leaf before it falls to the ground.
Poor air circulation is one of the environmental causes, so make sure you plant hellebores with sufficient space between them and other plants.
For a natural treatment, mix 1/2 a teaspoon of baking soda with a gallon of water. Spray liberally until the disease stops spreading.
If this doesn’t work, use a copper-based fungicide. A generic fungicide will work as well.
Aphids
Aphids suck the life out of hellebores as well as causing other issues like hellebore black death. Read our article on aphids here to learn how to identify and treat this common pest.
Downy Mildew
This is a common fungal disease, especially in humid and damp conditions. Make sure you don’t water overhead and get the leaves wet. This article explains downy mildew in detail.
