Whether it’s a good thing or a bad thing to be called a queen bee, we can all agree on the fact that everything certainly does revolve around a hive’s queen bee. She may not bark orders at her subjects, but one thing is for sure, not much would get done if a queen bee were to fall sick or die.
It can be easy to purchase your queen bees online, or from local breeders, but there are also some valid reasons you should consider rearing queen bees yourself. Let’s take a look at why some beekeepers decided to rear the queens of their hives.
Reasons for Rearing Queen Bees
Sure it may seem easy to order queen bees when needed, but as your experience with beekeeping grows, you may find yourself considering the benefits of rearing queen bees.
Here are some of the main reasons to keep queen rearing as an option for your apiary:
1. Cost of Queen Bees
Queen bees can cost anywhere from $15 to $25 depending on the seller and the features of the queen. If you raise your own queens, your starting cost will be minimal, and you can continue to raise queens for minimal cost over and over again.
2. Supply and Demand
In a world where consumers have become accustomed to placing an order and receiving the product either the same, or next day, ordering bees can be a bit of a shock to the retail system.
There aren’t a ton of people raising bees, and there are even less that sell them online. But what is more troubling, is the fact that it can take months to receive an ordered queen bee.
Time constraints have to do with the time of year, the size of your chosen retailer’s operation, and other environmental factors that may affect the bee population as a whole.
Waiting for a new queen to arrive can be a dangerous situation. Knowing how to rear your own can be extremely helpful if you are in a tough situation with your colony.
If you plan to buy locally and you know there is a keeper nearby that has a constant flow of new queen bees, then supply and demand may not be a problem for you, but wouldn’t it be nice not to have to depend on an outside source for a new queen bee?
3. Swarm Prevention
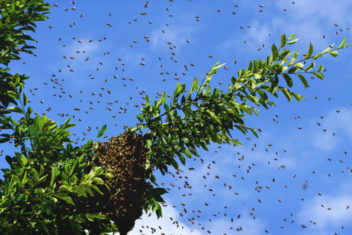
Swarming is a natural event that occurs when a hive has outgrown itself or loses a queen. When a hive swarms, you may lose half or all of your colony depending upon the circumstances, and this is a worrying beekeeping problem.
Rearing a new queen will allow you to head off a swarm quickly, or split your hive into two without losing any of your colony.
4. To Expand Your Apiary
So you love beekeeping, and one hive won’t do it anymore. It’s time to add a few more hives to your apiary, and each one needs a queen of its own. If you want to expand and love your present queen’s productivity and hive’s behavior, it only makes sense to rear a new queen from her.
5. Sell
Let’s take it one step further— you love beekeeping so much that you want to sell and share your honey and bees! More hives equal more honey (and more bees). But, more importantly, remember how much queen bees go for? Yup, you can make some extra ching from rearing queen bees if you’d like.
6. In Case You Need to Re-queen
There are quite a few reasons to either swap out your queen, and if you have your own queen rearing production, you can have a new queen ready to go quite quickly.
Queens hatch from their queen cells in 16 days, as opposed to the 21 days it takes for worker bees, so it doesn’t take long to have a new queen ready to go if you are raising your own.
Reasons to Re-queen
1. An Aging Queen Bee
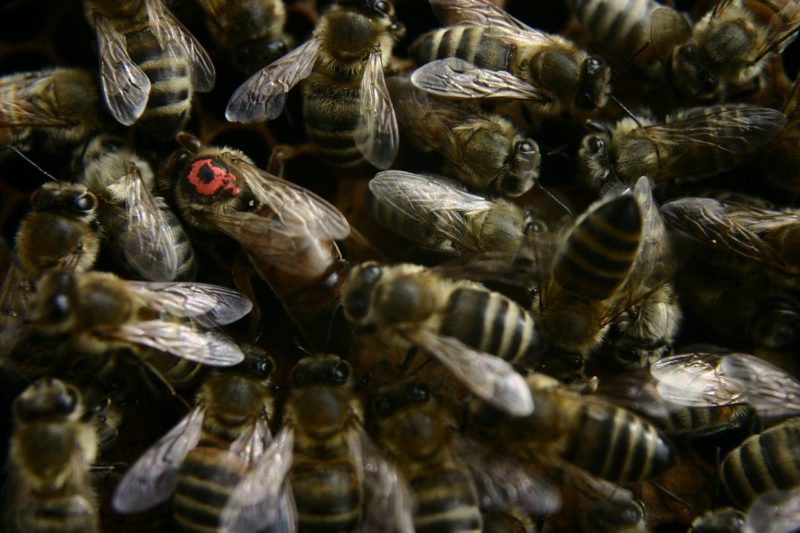
If your queen has been around for a while, (some can live up to 6 years, by the way) she may start failing. Some beekeepers like to head off a swarm caused by the replacement of an old queen, or they prefer to have more control over their prospective new queen, thus, they rear a queen of their choice to replace the aging queen before a swarm occurs.
2. A Sick Queen Bee or Hive
If your reliable queen suddenly falls sick, or the rest of the hive tends to have a lot of health issues, upgrading to a new queen or having one ready to go in about 21 days can sometimes save a hive from falling into disrepair.
3. Your Current Queen Bee is Not Producing
Some queens just aren’t cut out to rule the kingdom and don’t produce as many new worker bees as expected, or they only produce drone bees. In either of these situations, rearing a new queen bee could resolve either issue quickly rather than waiting months or even a year for a new mail-order queen.
4. An Aggressive Hive
Some hives can become more aggressive than others, that’s not to say bees are aggressive in nature, but if you have a hive that has suddenly become, well, a little more rude to you and others in the neighborhood, you may want to consider re-queening. Often this will be enough to calm a hive down for a more pleasant beekeeping experience.
Preparing to Rear Queens
When you decide to begin rearing a new queen will depend on what you need her for and how soon you will need her. However, if you aren’t in a hurry, the summer months are usually the best time of year to rear queens due to the high activity of the hives and the warmer temperatures.
Depending upon the type of method you will use for your queen rearing process, there are a few things you should prepare before starting your new venture.
Equipment
1. Extra Nucs
In most queen rearing methods, you cannot allow new queens to develop in the presence of a current queen or other developing queens, because they will kill each other in order to rule the hive.
Extra nucs of queenless worker bees are beneficial in some of the methods used for rearing queens because the grafted or developed queen cell can be placed in a nuc with nurse bees to feed her and help her develop.
Mating nucs are also used to start a queen or to test her ability to establish a hive of her own. Sometimes beekeepers use these hives to prove that she will be a fruitful queen prior to selling her.
As usual, always make sure you have everything you need before you begin the process of queen rearing. Here’s a few things you might need, depending on the method you use:
2. Grafting Tool
A grafting tool is used in grafting methods, often referred to as the Doolittle Method, of queen rearing. It is a small flexible pencil-like tube that can be used to gently remove newly hatched larvae, along with royal jelly, and place into queen cups.
3. Queen Cups
Queen cups are mock cells that you will use with the grafting method. After using your grafting tool to remove the larva, you will gently place it into a queen cup for the remainder of her development.
4. Queen Cages
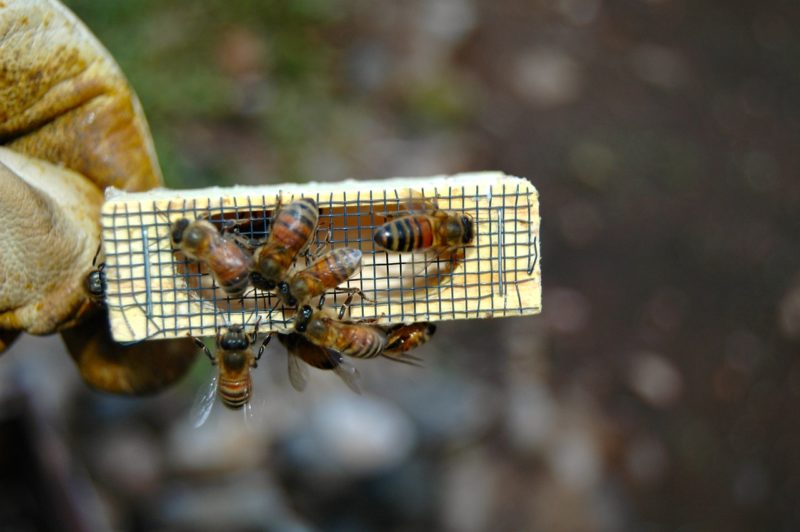
If you are shipping your new queen bees, or you need a place to hold them for a short time, Benton Cages work extremely well. They allow the queen to move freely, and have a compartment for food.
5. Queen Castles
If you plan to allow worker bees to nurse developing queen cells from a current (already formed) frame, you will need to have them ready to go before you begin transferring the frames and bees.
6. Magnifying Glass
Bees are tiny enough, to begin with, but when you are trying to see a small larva, it can be quite difficult, especially if you are using a grafting tool to remove it. Having a magnifying glass handy will allow you to see what you are doing when you are grafting larvae from a thriving hive.
7. Smoker
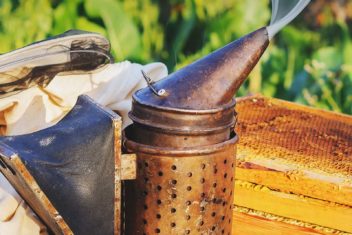
You can never be too careful when you are working with your hive. So always have your smoker ready to go, and remember a little goes a long way.
8. Protective Gear
Your protective gear will keep you safe from aggressive hives, or hives that think you are after their honey. As with your smoker, use your protective gear, especially if you need to grow in confidence.
Methods of Rearing Queens
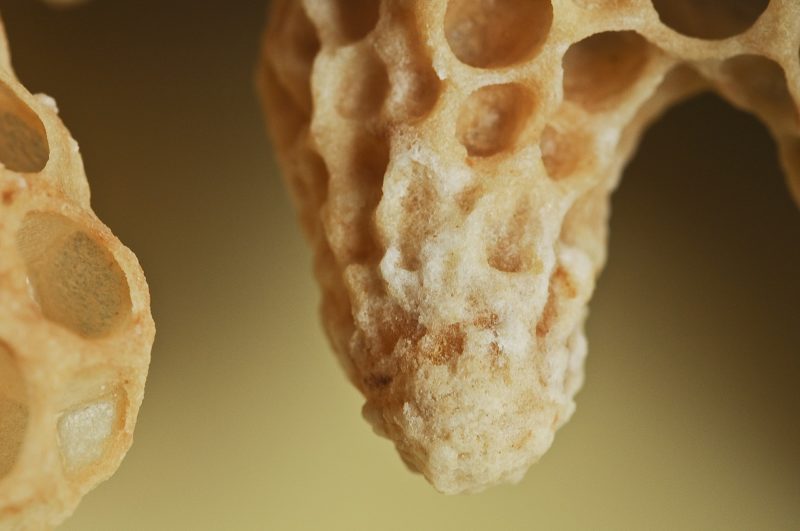
There are many tried and true methods that beekeepers use to rear their own queens, and more are popping up every year.
The following methods are those that have had most of the kinks worked out and are quite reliable for new queen bee rearers:
1. Grafting
Grafting is one of the most widely used methods of queen rearing. It involves a grafting tool which is a small instrument used to remove larva along with the gel-like fluid from a newly laid, uncapped, cell.
Once removed, the larva is placed in a mock queen cell called a cell starter and put into a hive full of queenless worker bees, who continue to care for her by feeding her royal jelly (the gel-like fluid).
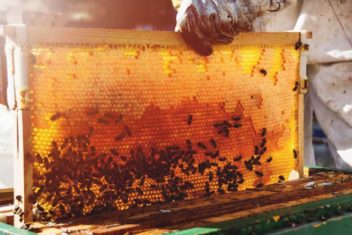
The nurse bees then do their job by rearing a queen from the larvae in the starter cells and capping them.
Once the new queen cell is ready to hatch, it is imperative that she is protected from the bees that have been keeping her safe. Most beekeepers will use a queen excluder to keep her safe after hatch.
Once she is free from her cell, she is either ready to be sold or placed in a mating hive.
While many beekeepers use this method, timing is crucial to ensure the larva is not too old, and that the queen cell cups are moved at the right time to their next destination. It can also create more confusion and unnecessary movement because the larva, and eventually, queen cell, will be moved at least three times before hatch.
2. Jenter Kit Method
The Jenter method is considered to be one of the easier ways to rear queens because instead of grafting larvae, a frame is used to trap a laying queen and she will continue to lay her eggs in the new frame’s removable cells.
The reason some beekeepers like this method is because grafting can be tedious and timing the queen cell’s moves can be bothersome.
The Jenter kit includes a plastic cover so you can see when eggs have been laid, and when larvae have recently hatched. The fresher the hatch, the better the odds of producing a quality queen.
Once new larvae have been identified, the cells are removed from the Jenter kit frame and placed in a separate frame to develop on their own.
New queen bees will try to kill each other, so even though they are being raised in the same container, the Jenter method utilizes a cage over each new queen cell to prevent the destruction of the new queens.
3. Splitting the Hive
Splitting the hive is a process that beekeepers utilize to prevent a swarm. If you want to rear a queen simply to create a new hive in your apiary, this process may be the best option for you.
This method can be used if your bees have already begun nurturing queen cells on their own, which does indicate a swarm is probably going to occur, or you can force it by letting your hive become overcrowded. This will prompt bees to prepare to split into two separate hives.
4. Using Queen Castles
Queen castles are another simple way to rear more than one queen at once.
Basically, a queen castle is an apartment building of four separate hives that each have their own frame of both brood cells and honey cells.
Brood cells and honey cells are placed in each of the compartments, existing worker bees are shaken into the compartments and they will begin thriving and rearing their own queens in each compartment.
In this method, to harvest your queens, you will need to monitor your hive for queen cells, and once they are well-developed, you can remove each cell and continue to allow the queen to hatch in a safe environment.
What to Do With New Queen Bees
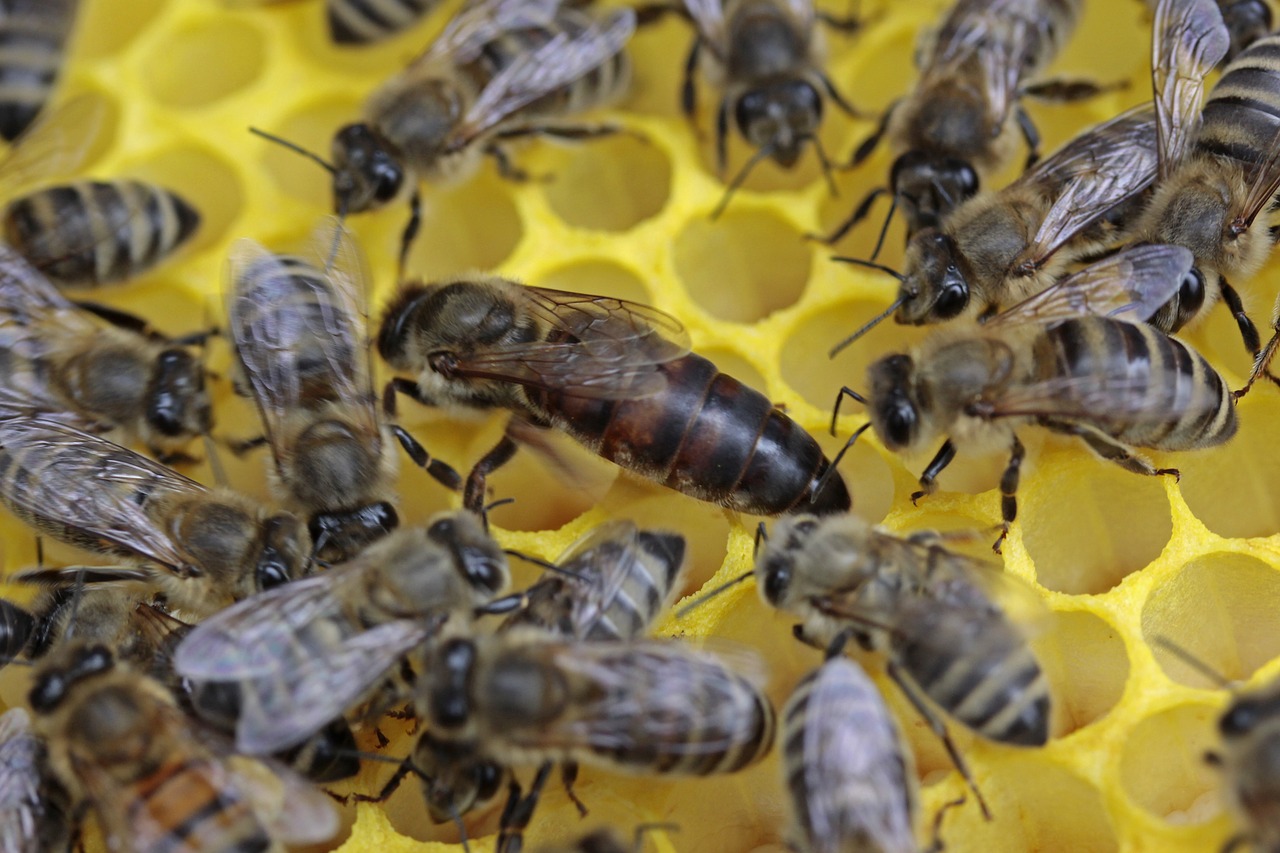
Depending upon the method you have used there will be a few loose ends to tie up once your queen has hatched. It is important to reiterate the importance of keeping queens cells that are ready to hatch, separated. Remember, Queen bees hatch in only 16 days time, so make sure you are documenting everything.
1. Create a New Hive
If you plan to split a hive or create a new colony in your own apiary, ensure that the new hive ready, and full of worker bees. Place your chosen queen into a queen cage, with a candy plug, and allow the worker bees to become accustomed to her scent, and eat their way through the candy to release her on their own.
Check back in a week to ensure that she has successfully emerged from the cage, is laying eggs, and the colony is thriving.
2. If You’ve Used a Queen Castle
If you’ve used a queen castle, you may have more than one queen cell in each compartment. You can choose to remove the queen cells and allow for each of them to hatch separately. Although, you may decide it is just easier to allow the queens to duke it out and the winner takes all. You then have a small colony ready for a hive of their own.
3. Sell Your Queen Bees
If you are selling your queen bees, you would be doing your new business, and your customers a service by testing your queen out in a mating hive before selling her. You can do this by slowly introducing her, as mentioned earlier, to the mating nuc and monitoring the hive for a few weeks.
Shipping Queen Bees
The easiest way to sell your queen bees is locally to fellow beekeepers, but there are many beekeepers who are moving to sell online.
You can easily set up an online store and sell your bee products, and queen bees. Just like poultry can be shipped through the US postal service, so can bees!
If you decide to use a postal service, be sure to give your local USPS a heads up so that they know what they are shipping.
When shipping queen bees, you will almost always place them in a Benton Cage, which was explicitly designed for queen bees. It is a cage that keeps her separate, and contained, from other bees that she may be shipped with.
Benton Cages have just enough room for your queen bees to move about during shipping, and an area that is used to plug, and essentially trap, the queen inside the cage, with candy by the way.
The queen then eats this candy during transport, and eventually so does any new worker bees she is introduced to. It is just enough to get her through to her new home and to allow worker bees enough time to become familiar with the new queen’s scent.
Rearing queen bees isn’t a necessity for new beekeepers, but knowing that it is possible, and not that difficult, may come in handy. There are many methods of rearing queen bees, but there may be only one or two that you are comfortable with, so be sure to select the version of queen rearing that works best for you and your apiary.
