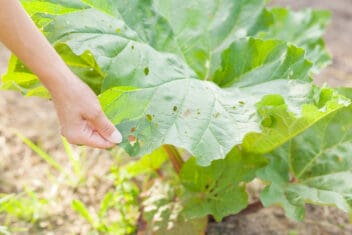
Are you hoping to water your garden easily, quickly, and without spending a lot of money on an irrigation system?
You’ve come to the right place. I’m going to walk you through the olla irrigation system. This is an inexpensive system and can be fully DIY if that’s your cup of tea.
I’ll share with you how an olla irrigation system works, the benefits of it, and how you can turn this simple idea into a self-sustained masterpiece.
If this sounds like what you’ve been looking for, read on. It could save you a great deal of time and money while properly caring for your garden.
Here’s what you must know about having an olla irrigation system:
What is an Olla Irrigation System?
An olla irrigation system is when you bury an object underground which holds water. The object is made of a porous material such as clay, which allows the water to seep through the object.
This system eliminates any watering done by the gardener because all the water is underground and ready to seep out when the plants need it.
An olla (oy-yah) has been around for thousands of years and is still used by farmers around the world today.
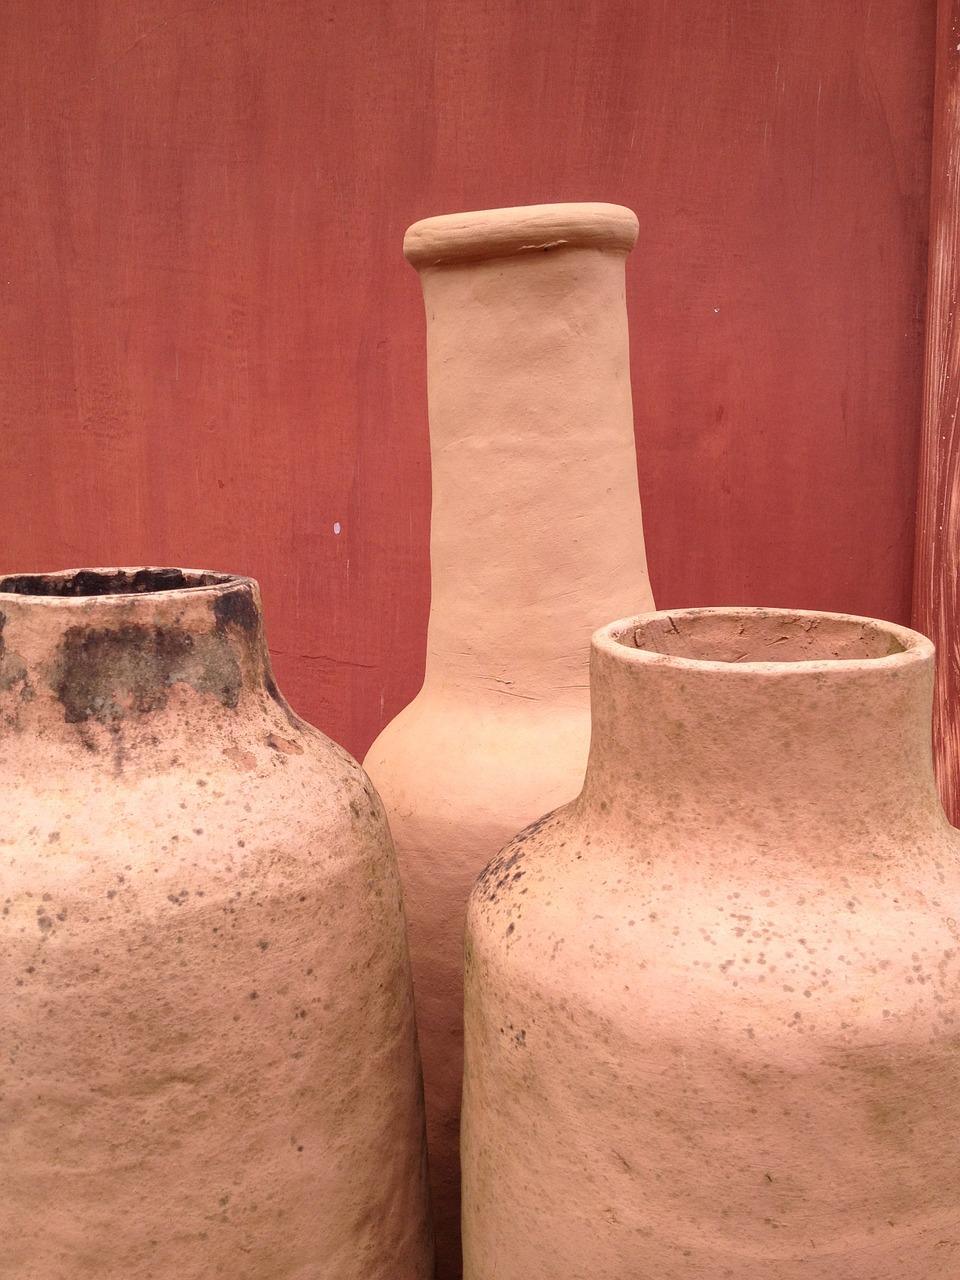
Ollas are unglazed clay pots that fit into the ground around your crops and hold water until needed. It’s a neat idea, inexpensive, and can save many hours of manual labor.
How Does the System Work?
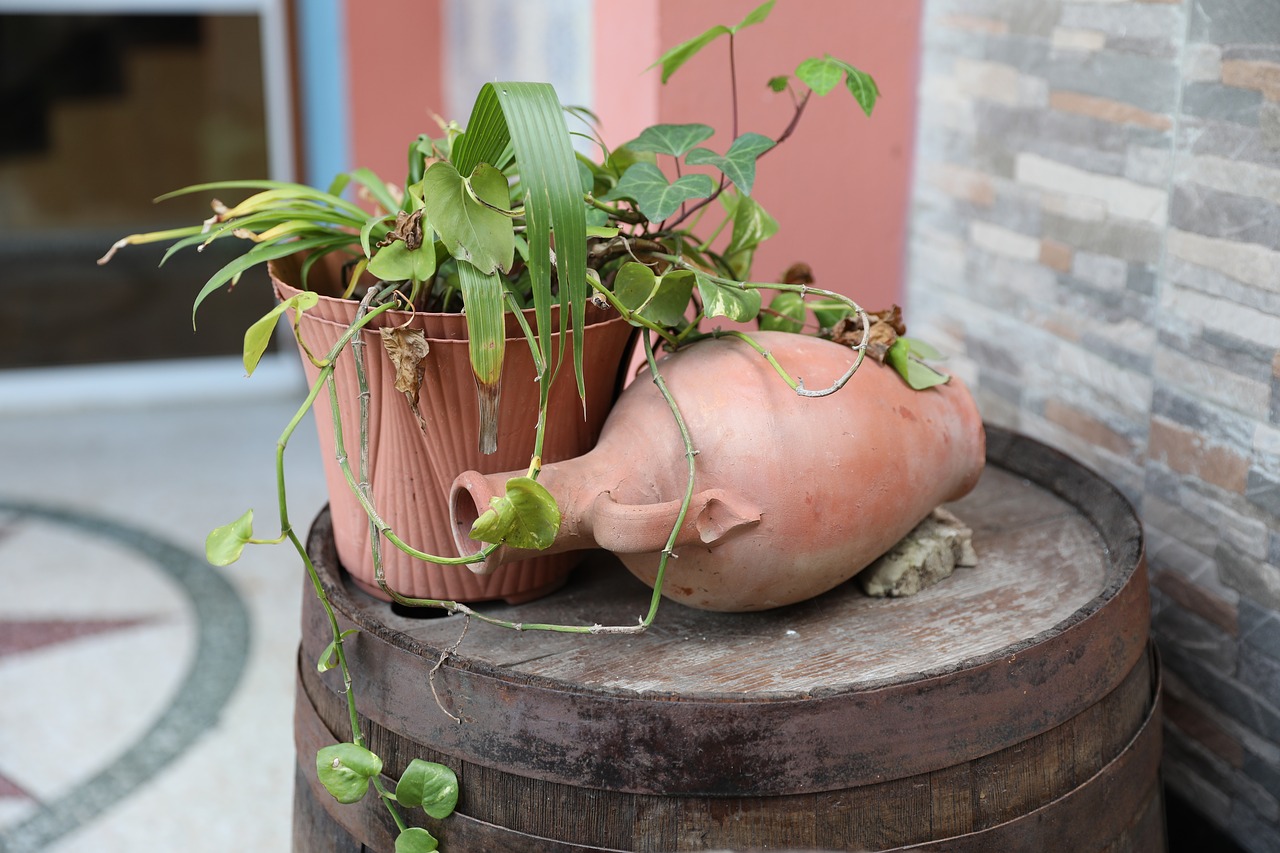
An olla irrigation system is an effective way to water your crops.
Ollas are shaped like large clay bottles and are buried beneath the ground. They have a long neck which feeds into a large rounded body.
The long neck sticks out of the ground as an easy way for you to add water to the pot as needed. Be sure to place a rock or a clay cover over the top of the reservoir to avoid mosquitos from breeding in the water, soil from getting into the water, and also to prevent water from evaporating.
The pot is unglazed which allows water to seep through the sides.
However, the water doesn’t ooze out of the container at any time. The soil and plants around it will form a suction when they need more water.
If the soil is dry, water will seep from the underground reservoir. The roots of the crops will grow around the pot and be able to access this water as needed.
It eliminates a great deal of waste because the plants and soil only draw what they need, and the water goes directly to them.
However, remember to fill your underground reservoirs (especially) ollas when they reach half empty. Don’t let them get any further down.
By allowing the water level to drop too low, you risk sediment building up on the sides of the reservoir. The system is based on the balance between the water volume in the olla, and the water in the soil surrounding it. Not having sufficient water inside will upset the balance, preventing water from seeping out and making the system ineffective.
The Right Garden for This System
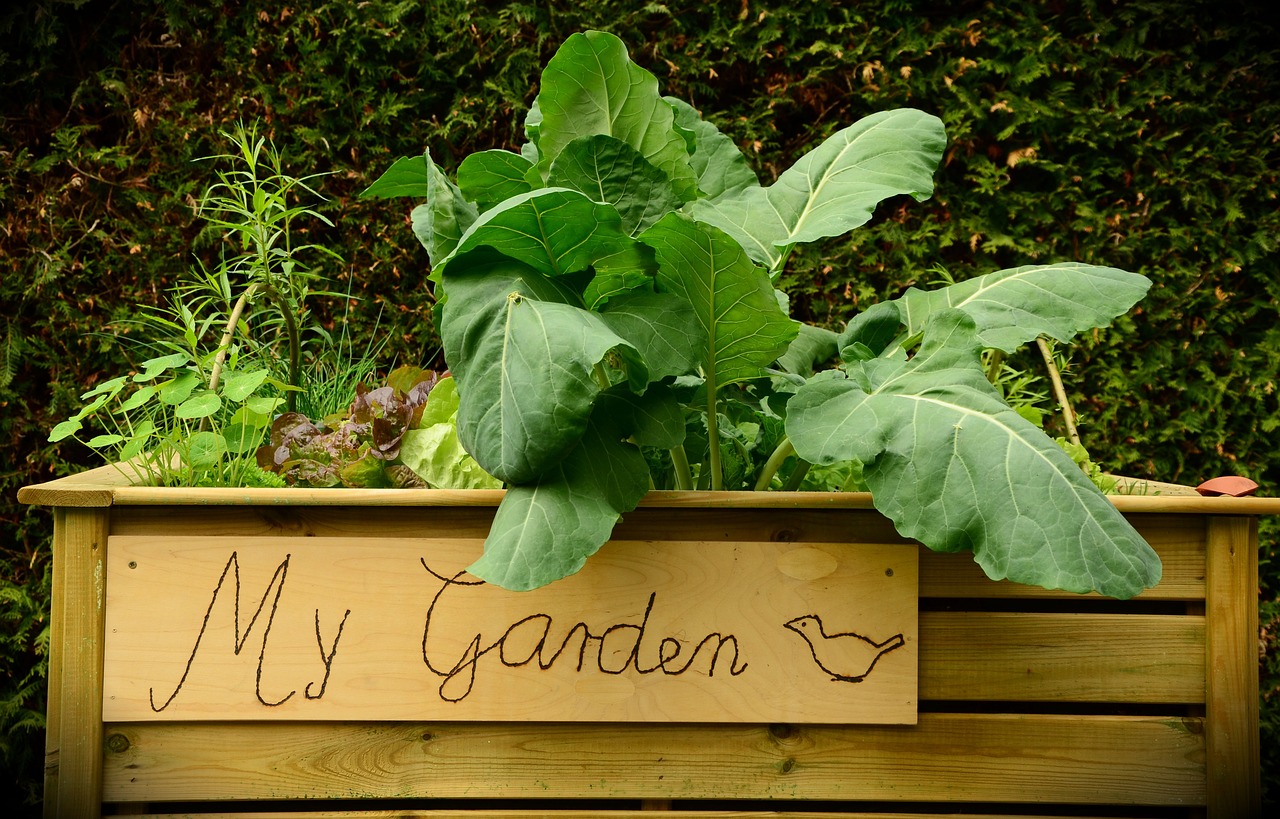
Will an olla irrigation system work well for any garden? This style of irrigation does work best in specific garden set-ups. Here’s what you must know before choosing this system:
1. Types of Gardens
Ollas can irrigate with space with a radius of approximately 18-inches. It could be more or less depending upon the size of the olla.
Therefore, it’s best to stick with smaller garden settings if choosing this irrigation system. If you have a small garden, a square foot garden, raised beds, or a container garden, this would be an excellent option for you.
2. Types of plants
The ideal plant to use with this system is perennials. Especially for your larger size ollas, placing them correctly takes a fair amount of work. Once your plants have established their roots around the ollas, this little eco-system provides long-term benefit for the plants.
Digging up and relocating ollas each year for your annual garden is something to be avoided.
3. Creating Ollas
If you don’t have an olla and aren’t the best at creating your own pottery, you might be interested in making your own DIY ollas from other upcycled materials.
For watering single plants, you can use empty water bottles or pop bottles. If you have a larger area you’d like to cover, you could use buckets, totes, cat litter containers, or barrels. Make sure each item has a tight-fitting lid.
You must poke holes in the lids of the bottles for them to work or poke holes in the sides of the larger containers for the water to seep through.
Helpful Hints
This style of irrigation system is straight-forward. You put the reservoir in the ground, the water seeps out of the container, and your crops get watered.
However, there are a few extra tips that can make the process even smoother. Here’s what you should know:
1. Choose the Right Color
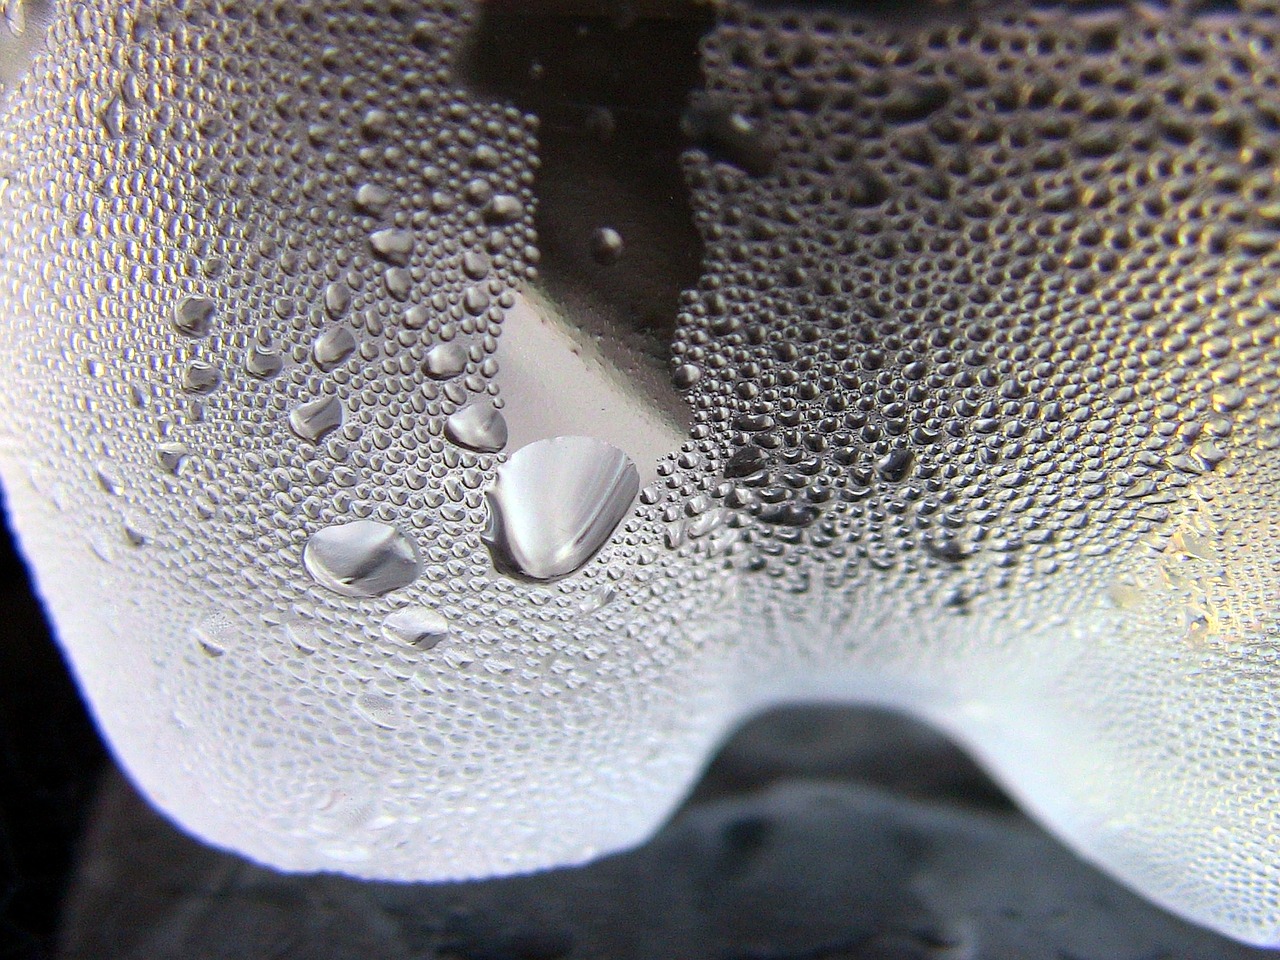
If you’re using DIY ollas created from upcycled materials, it’s important to choose the right color container.
When watering single plants, bottles are the best fit. If you don’t get the entire bottle beneath the ground, you leave room for algae to form in dark-colored bottles. Go with clear bottles because when the sun hits the exposed area of the bottle, it’ll kill off any unwanted algae which may try to form.
This will keep your water crystal clear and your bottle unclogged. By doing this, your crops will get water as needed effectively.
2. Make It a Chain System
Having multiple ollas in the ground will make your life much easier when watering your garden. Yet, you can take it a step further to make things even easier.
You can collect rainwater in a barrel at the head of your garden. From there, attach a drip irrigation system and let the emitters fit directly into the olla.
The water from the rain barrel will continuously fill the ollas which eliminate all work you must do. The garden will water itself, the ollas will refill themselves, and the rainwater will take care of the source.
Benefits of an Olla Irrigation System
The only drawback to this style of system is you would have to have many large ollas for it to work for large planting areas, but there are many benefits that are worth discussing. Here’s the upside to an olla irrigation system:
1. Saves Resources
When watering with this style of system, the olla only emits the amount of water your crops need. The water also goes directly to the root of the plants.
There is very little, if any, waste associated with this method of watering. If you’re interested in saving resources, this method will have you covered.
2. Prevents Overwatering and Runoff
The water balance and soil moisture tension determine how much water is used.
Therefore, you don’t need to worry about overwatering your plants anymore. Plus, there’s no concern about heavy watering and runoff washing away the nutrients in your soil.
3. Less Expensive Than Other Systems
I love systems that have a DIY option because this equates to money saved. If you’re working on a budget, this style of irrigation system could be for you.
You can create ollas yourself, you can create the automatic refilling system yourself, and harvesting rainwater is free.
4. Take the Work Out of It
Are you someone who loves to garden, but you have a difficult time doing all the labor-intensive tasks which come along with gardening?
This method of watering your garden takes a great deal of the work out of it. I love this about this irrigation system because it makes gardening an option for practically everyone.
An added bonus is that you can even take a well-deserved vacation and know that your plants will be watered.
You now know what an olla irrigation system is. There are many benefits to this style of watering.
Plus, it’s easy and inexpensive to set-up and utilizes. Hopefully, this will give you new ideas and less watering chores for your garden.
