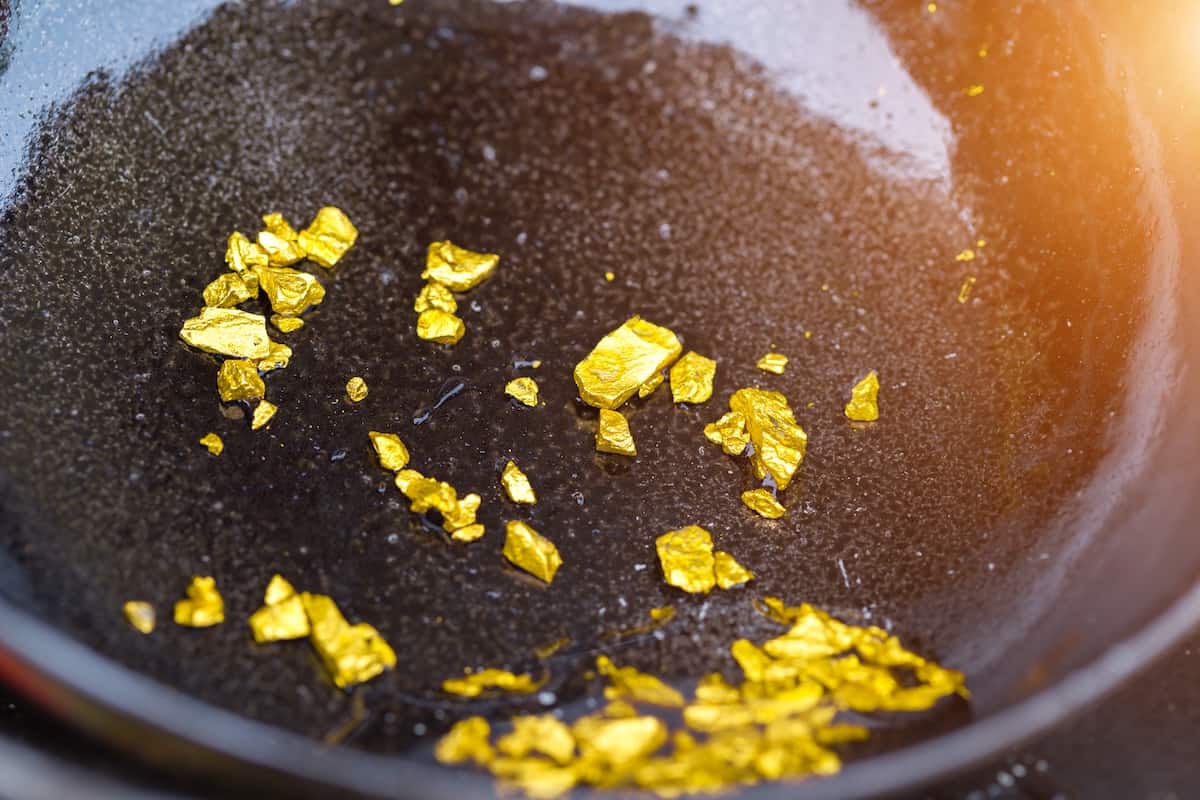
Those of us who were enthralled by adventure books and films in our youth have dreamed of finding treasure out in the wild; of flecks of gold or diamond just waiting in stream beds for brave, diligent folks to find. Mineral panning has allowed countless people to make their fortunes, and many of today’s cities grew from clusters of prospector’s tents.
If you’re interested in trying your hand at panning for gold, diamonds, or other minerals, you may be in luck! There’s undoubtedly still plenty out there to find, and the process can be as much fun as it is lucrative.
What You’ll Need
As with any other endeavor, your mineral panning attempts are more likely to be successful if you have the right equipment. Since this is an outdoor pursuit, you’ll need to be prepared for all manner of weather conditions.
As such, in addition to the standard tools you’ll need to get the job done, you’ll likely want to have accessories and such that’ll make things easier and more comfortable for you.
While not everything on the following list is necessary for mineral panning, consider what would work best for you and the conditions you’ll be working in. For example, a gold prospector in October up in Alaska will have different needs than one working in Texas in April.
Tools and Equipment:
- Trowel or small shovel
- Picks, brushes, and additional small tools
- Mineral pan
- Strainer (aka “classifier”)
- “Sniffer” bottle: these are also known as “sucker” bottles and are used to suck up tiny bits of minerals when you find them
- Small plastic containers with lids: to hold the aforementioned fragments so you don’t lose them
- Larger bucket (ideal for doubling as a stool so you’re not crouching all the time)
- Sturdy gloves to protect your hands: aim for neoprene or other diving gloves, as your hands will constantly be cold and wet as you work
- Knee-high boots (ideal for keeping you dry and for fending off snake bites in some areas)
- Knee pads (optional), as you’ll likely be spending a fair bit of time kneeling, and that’ll hurt after a while
- Warm socks: your feet will get freezing in those boots, so have at least a few pairs to change between, plus a couple more than you think you’ll need
- Weather-appropriate clothing for the season, plus a full change of clothes in case you fall into the water and get soaked
- Rain poncho
- Hat (either to keep the sun off or the cold out)
- First aid kit for treating cuts and scrapes
- Tent or another shelter with something comfortable to sit or lie down on inside: it’s good to have a “base camp” nearby to retreat to if you get tired, wet, cold, or injured
- Sufficient amounts of food and water, plus hot beverages (and/or the means with which to make them)
The last item on that list cannot be stressed enough. When your hands are cold, aching, and cramping from hours of dipping in and out of cold water, wrapping those hands around a hot mug of something delicious is soothing on levels you can’t even begin to imagine.
I recommend having a thermos of something hot pre-prepared so you can enjoy it instantly, and a portable stove + kettle or pot to brew more. Coffee, hot chocolate, soup—whatever makes you happiest.
What Type of Pan to Use
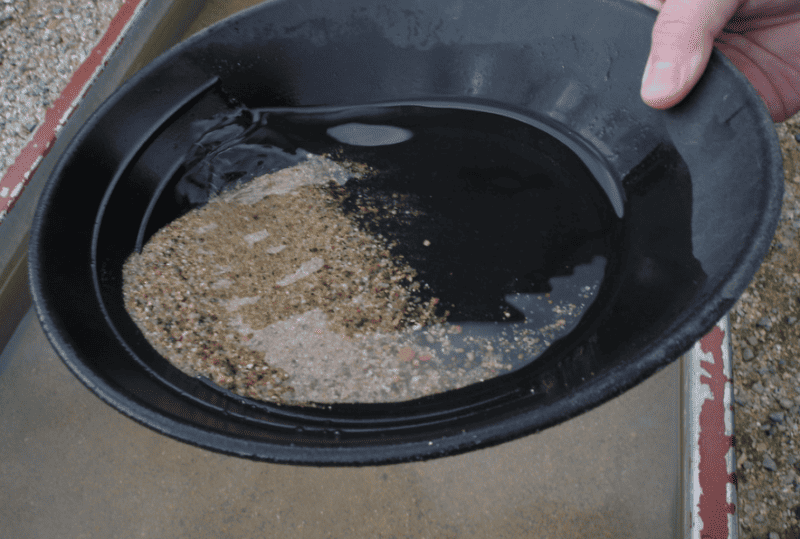
People have been mineral panning for thousands of years. As such, they’ve used countless different containers to sift through sediments for shiny, pretty flakes and fragments. You can use any number of pans for your mineral panning endeavors, provided that they feature the following criteria:
- Shallow
- Lightweight
- Can be gripped easily with both hands
As you can imagine, many different pans can fall into this category. That said, if you have an extra $12-15 to spare, consider getting yourself a dedicated mineral or gold pan. You can also add some DIY ridges to a shallow aluminum or plastic pan with a hot glue gun.
Where to Find Minerals
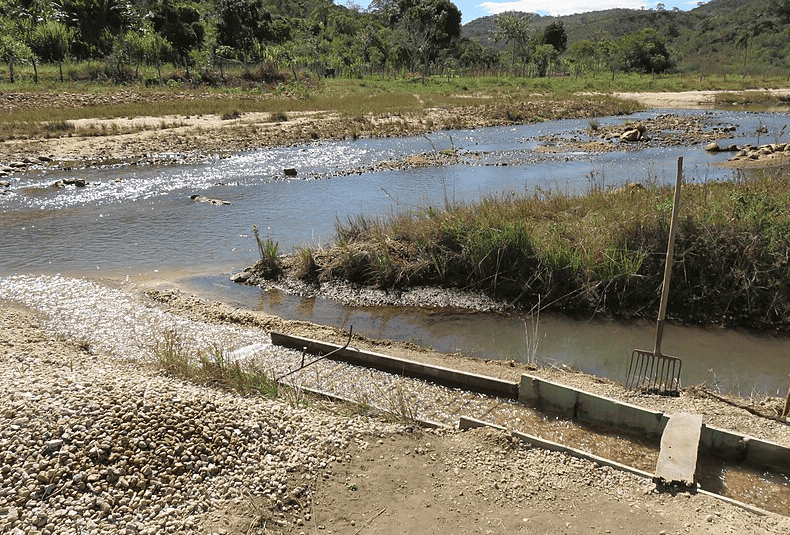
Now that you have the supplies you’ll need for mineral panning, you’ll need a good spot for prospecting.
This may go without saying, but one of the best places to pan for gold and other minerals is a place where said minerals have been found in the past. Additionally, your best bet is generally a waterway in an area that’s rich in basalt, granite, and granodiorite rock.
Choose a location where the water is about half a foot deep, and moving: you’re unlikely to find minerals in stagnant pools. Aim for rivers, streams, and creeks. Furthermore, pick an area where there’s a sharp bend in the waterway, or a large boulder set right into the water.
Minerals are carried along with water currents, and when those currents are interrupted, minerals will drop off and settle into the sediment while the water courses onward.
This is why sharp pends and large boulders are so ideal: those little flakes and nuggets you’re looking for are more likely to be found in these drop-off areas. Aim for the downsides of large rocks that protrude from the water for your first few times out.
Basically, the opposite side of where the current hits. Look at the place where the eddies of water swirl around because that’s where minerals are most likely to settle.
Get a Permit
If you aren’t panning on your own property, you will likely need a permit. Some states treat wet panning in a similar way to fishing. You’re taking resources out of the water, so you’ll need to pay a fee and/or obtain a license.
If you ever decide to upgrade your mineral game and use motorized equipment, many areas require additional permitting and licensing. Of course, if you plan on panning on someone else’s property, get permission first.
Some states even require a permit even if you’re working on your own property or on someone else’s property with permission. Be sure you understand the local laws.
Wet Mineral Panning
You can use a couple of techniques for mineral panning, but wet panning is the more common (and easier) approach.
With this method, you dig into the silt in the river or creek bed, and slosh it around with water to separate the particles.
When you do this, you can either scoop some of the lower sediment with your pan, or use a trowel or spade to dig into it. Then add enough water so the different particles move around easily as you slosh it about.
Once you have the water-sediment mixture in your pan, shake everything enthusiastically. Some people advise moving it around in circular motions, while others prefer a rhythmic side-to-side motion. Try a few different techniques until you find one that works for you.
Shake it Up!
After you’ve agitated the sediment in the water, tilt the pan slightly to allow some of that sediment to pour out. You’ll do this because gold and other precious minerals will be the heaviest particles in your pan. As such, they’ll sink to the bottom while lighter sediment will float upwards to be tipped out.
You’ll need to keep adding water a little at a time as you repeat this process while checking repeatedly to see if there are any glittery flecks on the inside of your pan. If you’re lucky, you may find some lovely gold or diamond flakes in there.
Once that happens, you can pour what’s left into your classifier (sieve) to pick through the bits more easily. When and if you find any, use the sucker/sniffer bottle to lift the shinies out and place them into the small lidded containers you’ve prepared.
Dry Panning
While wet panning is the tried-and-true method used around the world, it’s not the only technique out there. In fact, people in arid areas sometimes use a dry-pan technique if there’s little to no water available nearby.
In fact, some people specifically do dry mineral panning when looking for precious and semiprecious minerals.
This technique is similar to wet mineral panning inasmuch as you’re going to shake sediments around in a pan in order to separate the lightweight stuff from the heavier mineral pieces.
As with wet panning, seek out large rocks that look as though they’ve been stuck in place for a good, long while. Wind and weather erosion will knock the heavier mineral particles around, and they’re likely to get stuck in and around large rocks, then trickle down through sand and light soil into nice, cozy resting places.
Tip over some of these large boulders while watching out for snakes, scorpions, and poisonous spiders, especially if you’re in areas where they’re more prevalent.
Then use a trowel to dig around the boulder to loosen up the sediment and to brush off any that have caked onto the rock over time. Minerals will likely get stuck into crevices here, so get creative with picks if needed.
Then shovel some of the material around you into your pan and shake it around. Let the wind blow the lighter sediment and sand particles off, leaving heavier minerals and such in the bottom of the pan. If there’s no wind, you can blow on the contents to help remove lighter matter.
As you keep eliminating the lighter sediments, you should be able to see whether there are any sparkly treasures left in the heavier stuff below.
Practice Makes Perfect
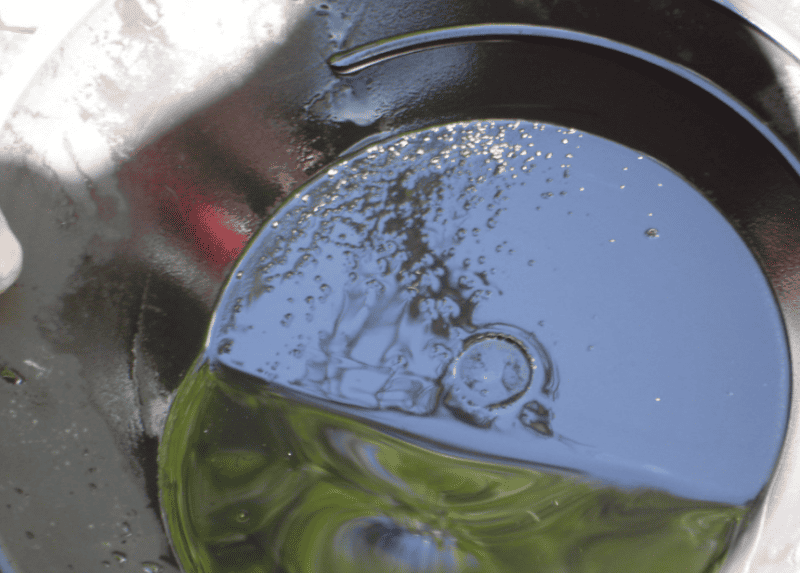
When it comes to mineral panning, the best way to ensure any measure of success is to get plenty of practice ahead of time.
The way that many people learn how to pan for gold, for example, is to start with copper. If you’d like to try this method, get yourself a spool of copper wire and a set of wire cutters. Clip off several pieces that are 1-2mm in length and pop those into a pan along with some of the sediment from the river or creek you’re planning to pan from.
Practice both the wet and dry panning techniques mentioned above until you get the knack for eliminating the majority of the sediment without pouring the copper babies out with the bathwater, so to speak.
Since gold, silver, and diamonds are much heavier and denser than copper, they’ll sink to the bottom more easily. If you manage to pan the copper successfully, you’ll have a much easier time with any other mineral.
What’s Next?
When and if you do find gold, silver, platinum, copper, or even diamonds during your mineral panning adventures, there’s a good chance you’ll want to sell what you’ve found. After all, the main point of prospecting and panning is to find treasure, right?
One of the best places to sell mineral flakes and nuggets is a jewelry shop. Call ahead or email a few different places to see if they evaluate and buy raw minerals and how much they pay out per ounce.
Other options include pawn shops or eBay. If you go for the latter, ensure that you use an accurate scale, as minerals are sold by weight rather than volume.
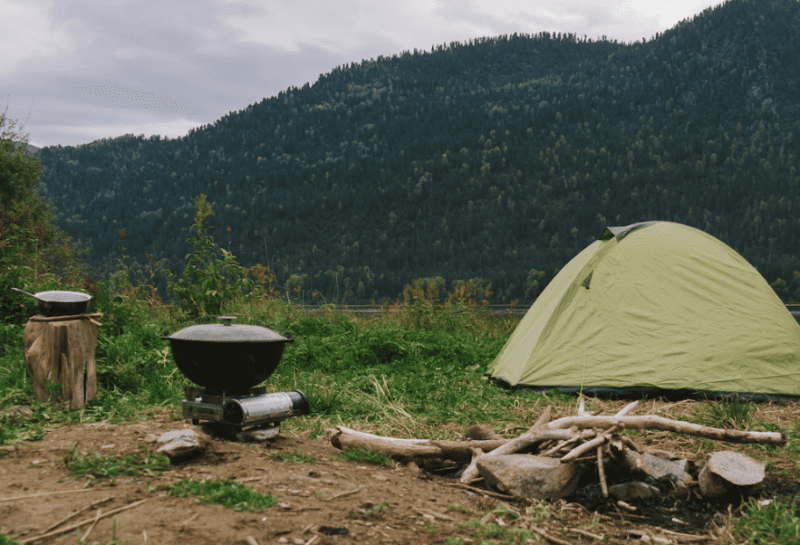
Be prepared to put in a lot of long, cold, wet hours while mineral panning. While some people immediately succeed with this endeavor, others may search for weeks, months, or even years before they find anything of worth.
That said, with the tumultuous weather we’ve had in recent years, it’s possible that mineral deposits that were long buried have been churned up by high winds and flooded riverbanks. Focus on having fun without any expectations, and hopefully, you’ll be pleasantly surprised by what you find!
